How to Refinish Wood Floors without Sanding | Pretty Handy Girl

How to Refinish Wood Floors without Sanding | Pretty Handy Girl
How to Refinish Wood Floors without Sanding

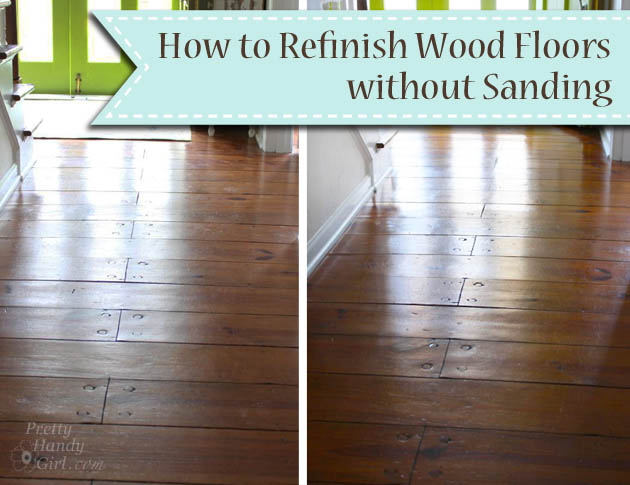
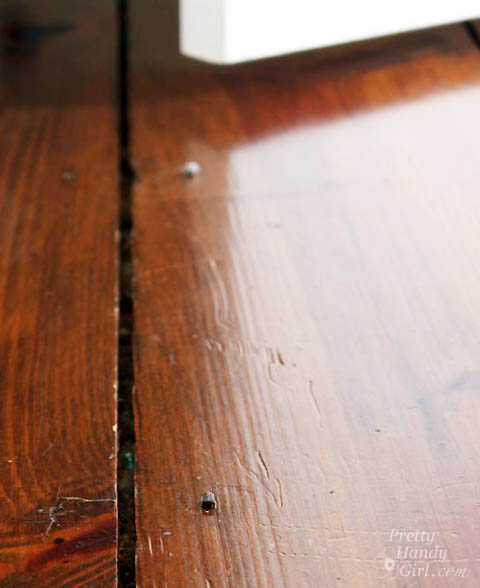
I love our antique heart pine floors! They are beautifully distressed. The round pegs and square nails securing them in place add loads of character. However, the square nails sit flush with the surface preventing us from ever being able to refinish them with a sander. The nails would tear up the sandpaper in no time. But, that’s no problem because I know a way to Refinish Wood Floors without Sanding!
 

How to Refinish Wood Floors without Sanding | Pretty Handy Girl

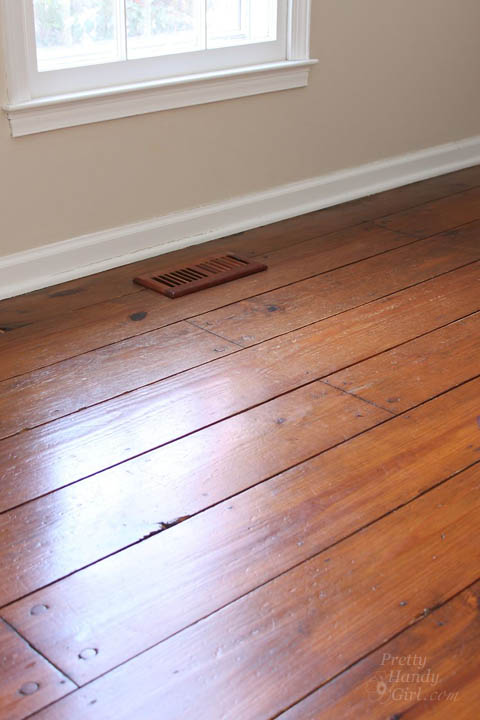
From time to time, our floors start to look dull…
How to Refinish Wood Floors without Sanding | Pretty Handy Girl

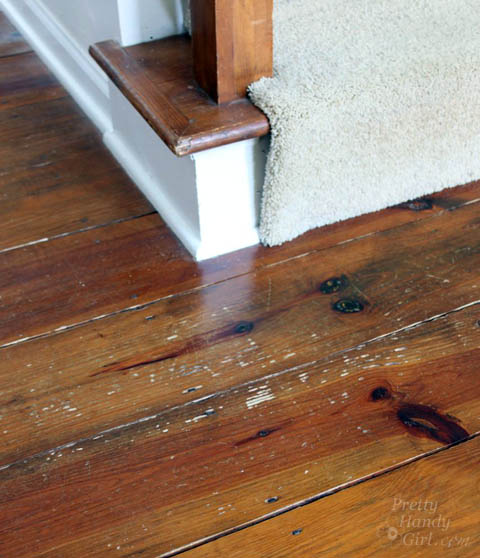
…and the scratches are more noticeable. This is when I know it’s time to refinish them.
How to Refinish Wood Floors without Sanding | Pretty Handy Girl

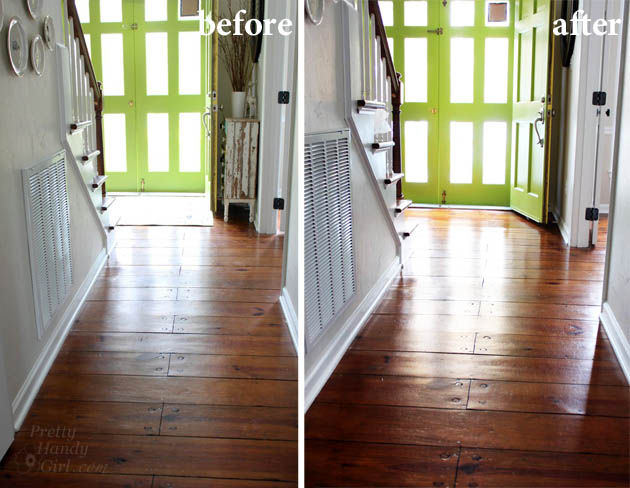
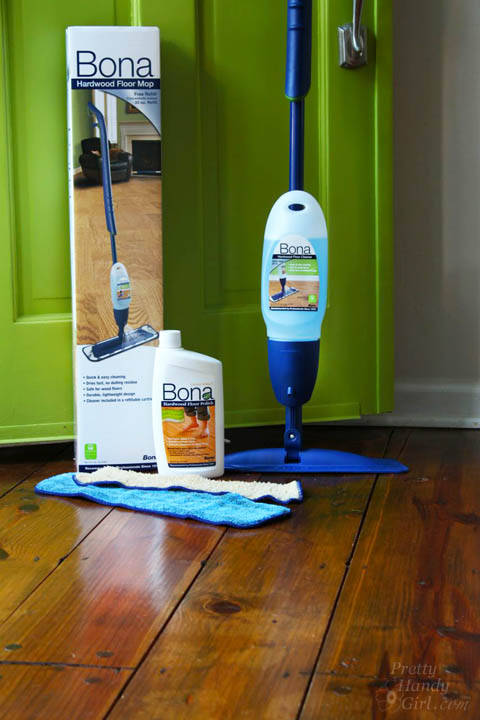
The first time I refinished our floors, it was several years ago when we were painting the office and dining room. I decided to try to refinish the floors because the rooms were already devoid of furniture. Several neighbors had recommended Bona® Hardwood Floor Cleaner and Bona® Hardwood Floor Polish. I was skeptical, but the results were beautiful floors that had luster, but still showed their beautiful age.
Before and After Finishing Wood Floors without Sanding | Pretty Handy Girl

The Bona® Hardwood Floor Cleaner did a fabulous job of cleaning the floor without damaging them. And, the Bona® Hardwood Floor Polish provided a strong finish without any waxy build up. The high gloss protective layer adds some shine, but isn’t overly shiny. The polish also fills micro-scratches, evening out the appearance of the floor.
How to Refinish Wood Floors without Sanding | Pretty Handy Girl

Fast forward to this past week when Bona asked me to write a sponsored post for them, I jumped for joy because I already use and love the Bona® Hardwood Floor Products! (Here’s my full disclosure: Yes, this is a sponsored post. No, I was not told what to write. And yes, I probably would have blogged about my experiences using Bona® Hardwood Floor Products at some point anyway. Win-win.)

I highly recommend trying the combo of the Bona® Hardwood Floor Cleaner and the Bona® Hardwood Floor Polish before spending huge amounts of money to have your floors refinished. (Bona® Hardwood Floor Cleaner & Polish will not work on floors that have an oil or wax coating. Test in an inconspicuous area to be sure it will work for your floors.)

Here’s how to Refinish Your Wood Floors without Sanding:

Materials:

(I’ve included affiliate links for your convenience. I earn a small percentage from a purchase using these links. There is no additional cost to you. You can read more about affiliate links here.)

Instructions for Cleaning the Wood Floors:

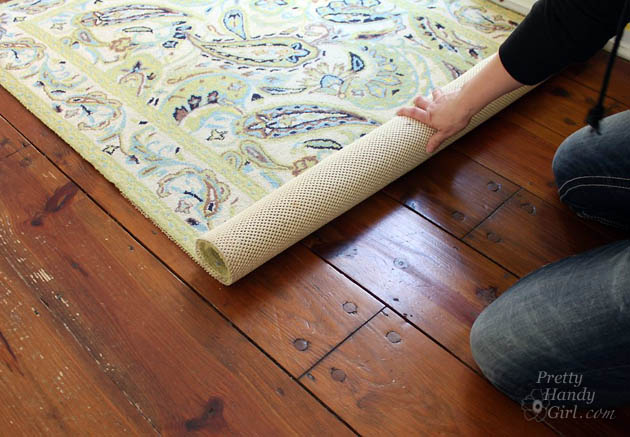
Remove all rugs and furniture from the room. If you have heavy furniture pieces that are never moved, you can leave them in place.
How to Refinish Wood Floors without Sanding | Pretty Handy Girl

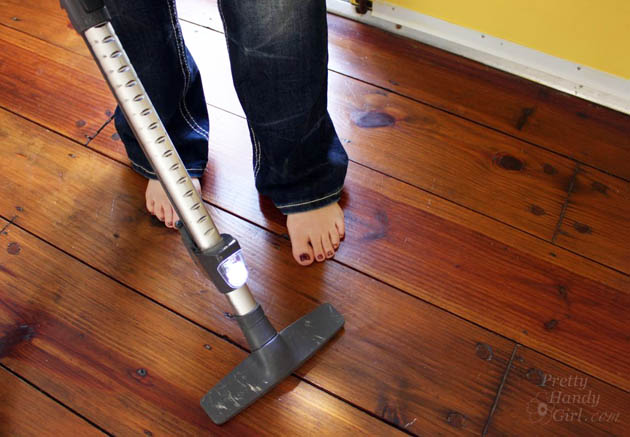
Vacuum or sweep the floors to remove all dirt and debris.
How to Refinish Wood Floors without Sanding | Pretty Handy Girl

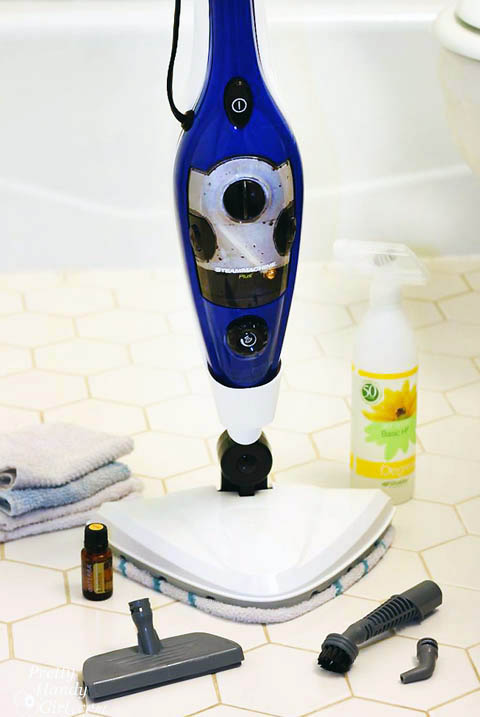
Assemble your Bona® Hardwood Floor Spray Mop as shown here: Read more

Build a Wood Plank Desktop for about $40

Hey there, everyone!  I’m Katie from Addicted 2 DIY.  I’m so, so excited to be here today sharing this simple — and most importantly — inexpensive way to update a desk!  I’m in the middle of updating our den/kid’s office space and one of the biggest things that had to go was the awful eyesore my boys used as a desktop.

Build a Wood Plank Desktop for about $40

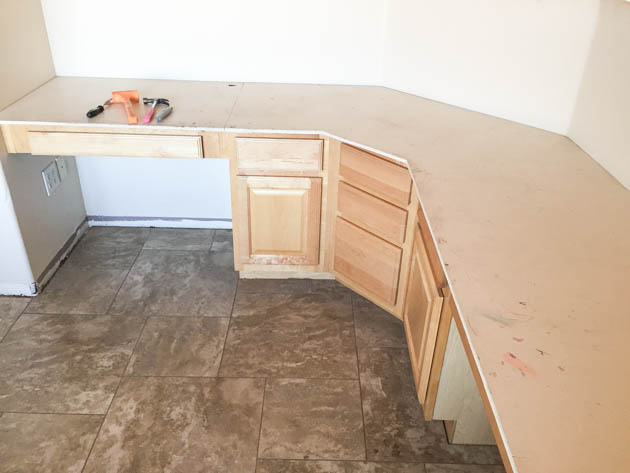
This was the glorious before photo of their desk area.  The particle board top was from the previous homeowners. While we were remodeling the house, we slapped a coat of paint on it until we could decide what to do with it.  Four years later, I decided enough was enough.  I was tired of feeling embarrassed when anyone saw this room.  I took the old top off, painted the cabinets, and built a new wood top for it. Here’s how you can Build a Wood Plank Desktop for About $40!

Build a Wood Plank Desktop Materials:

  • 8 – 2″ x 6″x 8′ pine boards
  • 2 – 2″x 2″ x 8′ pine boards (if you need the extra width)
  • drill
  • 2 1/2″ screws
  • compound miter saw
  • scrap pieces of 3/4″ wood
  • wood shims
  • belt sander and/or orbital sander
  • sandpaper discs and sheets (80 grit and 220 grit)
  • wood stain
  • polyurethane
  • paint brush

Build a Wood Plank Desktop Instructions:

If your desk area is straight or an L shape, you can ignore these four steps below and measure and cut your pieces to the length needed using your miter saw.

Build a Wood Plank Desktop for about $40

If your desk shape is similar to mine, follow these steps:

1. Cut your 2×6 pieces to slightly overlap the middle section on each side.  Make sure the pieces are long enough to accommodate the angled cuts you’ll be making.

2. If you don’t have a tool to determine the cut angle, lay your middle pieces of wood on top of the side pieces you’ve already laid out and mark where the lines intersect.

3. Mark where the line intersects on the first and last pieces of wood with a pencil.

4. You can snap a chalk line to get your angle, or you can use a long ruler and draw the line with a pencil.

Determine the angle of your cuts based on where the miter saw blade lines up with the chalk line.  In this case, it was 22.5 degrees.  That being said, this desktop was built between two imperfect (and not completely square) walls and some of the cuts had to be tweaked slightly on the angle. Read more

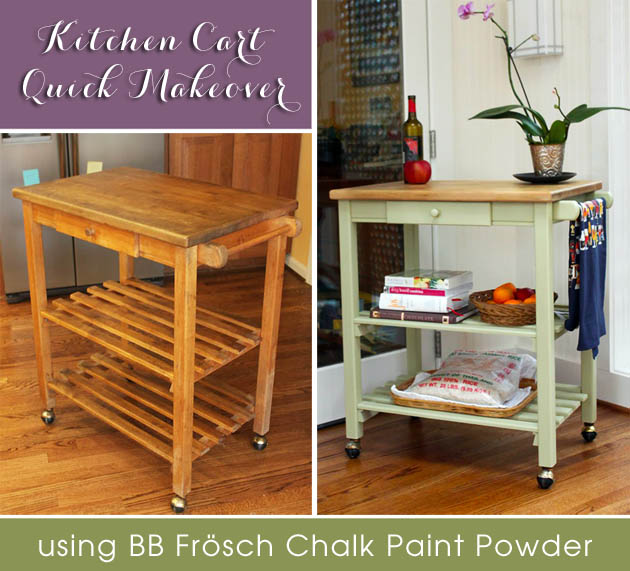
Quick Kitchen Cart Makeover with BB Frösh Chalk Paint Powder

Quick Kitchen Cart Makeover with BB Frösh Chalk Paint Powder

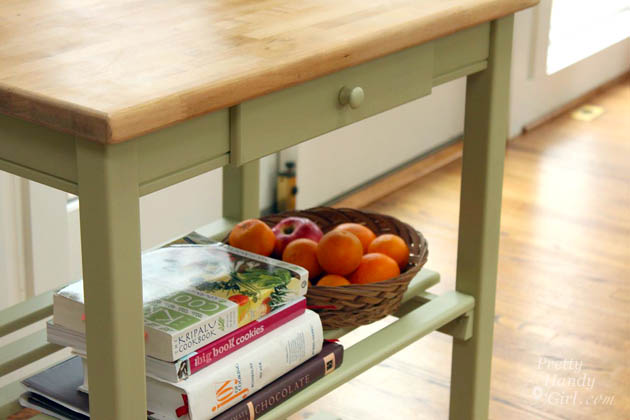
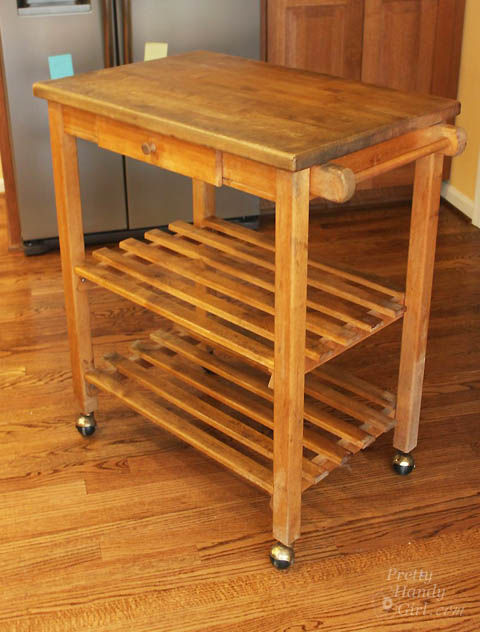
It seems I have a penchant for painting my late grandmother’s old furniture. You may remember the coffee table I wrote on of her’s. This kitchen cart was Grandma’s, but it had seen better days. It has been hanging out in my Dad’s kitchen for years now. My sister Caitlin decided to rope me into giving this kitchen cart a quick makeover over the holidays.

Quick Kitchen Cart Makeover with BB Frösh Chalk Paint Powder

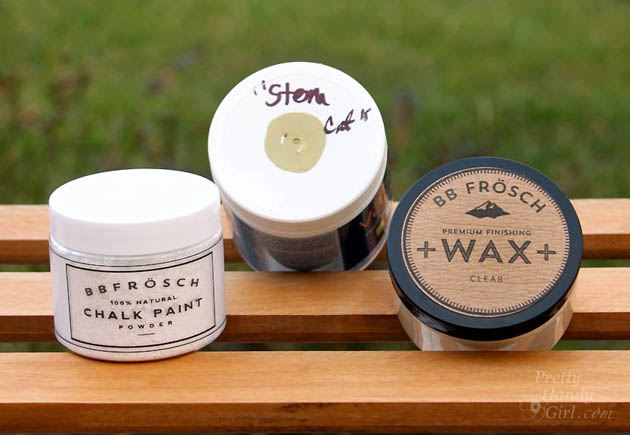
It actually turned into the perfect opportunity to try BB Frösch Chalk Paint Powder. The powder is mixed with water first and then any flat latex paint to create a smooth, durable chalk paint that can be painted directly over any surface regardless of whether it is bare wood, metal, or previously painted. Primer is not needed! For a soft durable finish, you can add a coat of BB Frösch Clear Wax.

Quick Kitchen Cart Makeover with BB Frösh Chalk Paint Powder

I can’t wait to show you how this chalk powder works and how quickly you can give furniture a makeover.

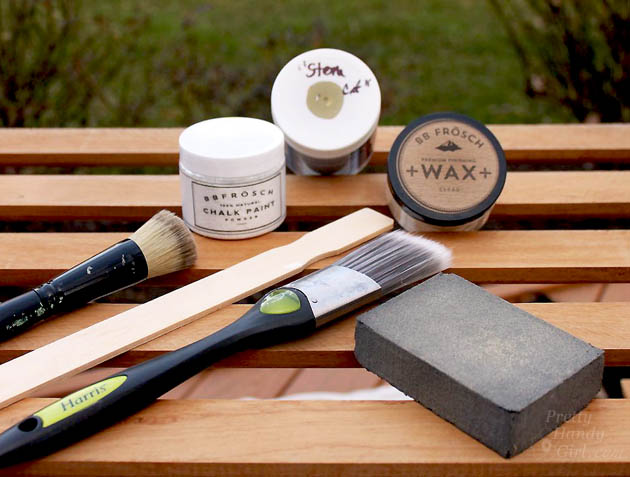
Materials:

(I’ve included affiliate links for your convenience. I earn a small percentage from a purchase using these links. There is no additional cost to you. You can read more about affiliate links here.)

Quick Kitchen Cart Makeover with BB Frösh Chalk Paint Powder

Optional (for butcher block top):


Instructions:

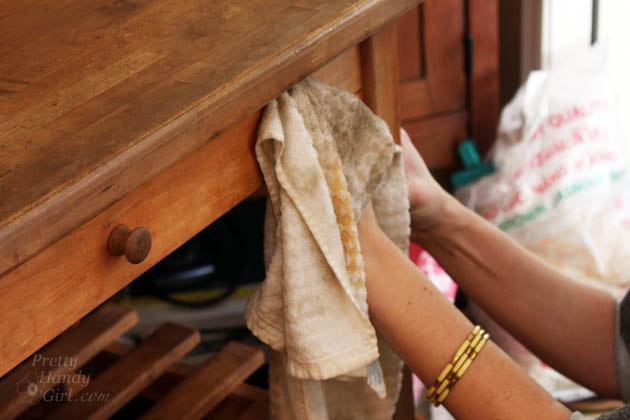
Begin by wiping off your kitchen cart with the damp rag.

Quick Kitchen Cart Makeover with BB Frösh Chalk Paint Powder

To remove the butcher block top, turn the cart upside down and remove the screws holding the top in place.

Lightly sand the rest of the cart with a sanding block. It helps to enlist the help of one adorable niece for this step. Read more

How to Clean a Stinky Bathroom as if a Magazine Photographer was coming | Pretty Handy Girl

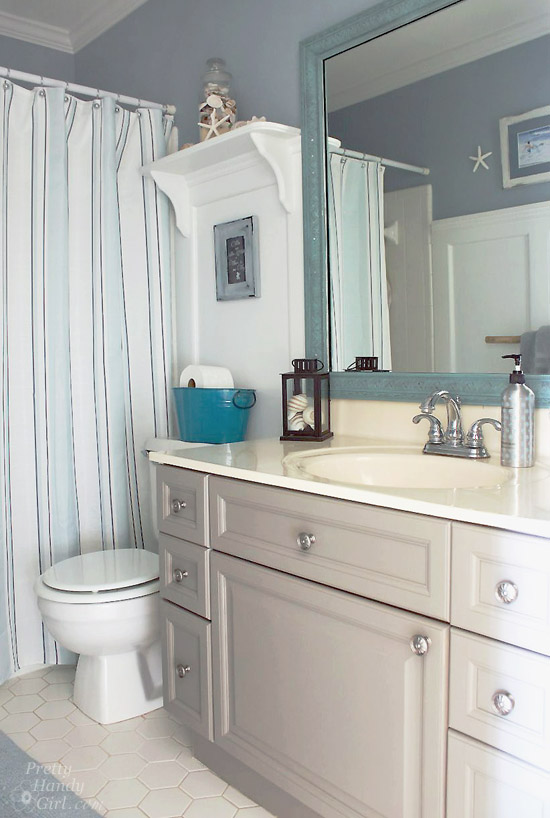
Seaside Theme Bathroom Refresh #LowesCreator | Pretty Handy Girl

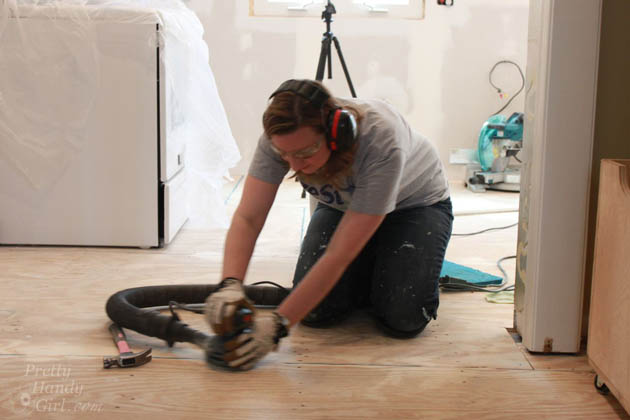
I AM SO EXCITED! Remember when I was slaving away on our kitchen on my hands and knees?

PHG_sanding_floors

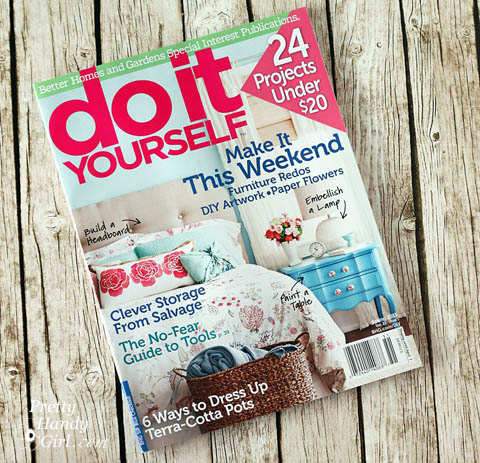
While I was in the trenches of DIY, one thing kept me going steady (besides the extra doses of Advil.) It was the dream of having our home featured in a magazine. Well, that dream became reality this week! If you happen to be in the magazine section of a store near you, you might see this:

Do It Yourself Magazine Spring 2015

Do It Yourself is one of my favorite publications because they feature beautiful homes and projects that were created by the homeowner. They Did It Themselves! Plus, the magazine shows you how to complete the same projects yourself! I am super honored that they wanted to photograph my home and some of my DIY projects for this issue.

But, I have to tell you, I was very nervous before the photo shoot. I had visions of the editor and photographer walking in my home and walking back out in disgust. As the date drew closer, I was frantically checking last minute fixes and DIY projects off my list:

master bedroom:
build king sized bed
paint ombré effect on master bedroom walls
paint knotty pine dresser
paint vanity
create button pendant light
add legs to nightstand

foyer:
hack an ugly IKEA dresser
hang mirror

boys’ bathroom:
paint mirror frame
paint vanity
re-caulk board & batten
clean, clean, clean
figure out how to get rid of the urine smell! YIKES!!!

Any of you who have boys know that they have poor aim! No matter how clean I get their bathroom it still has a slight urine odor. Please, please tell me that I’m not the only one with this problem.

Do or Do Not...There is No Try - Yoda Quote

Funny story: I created this little piece of art that hangs on the wall over the toilet in the boys’ bathroom. I thought the kids would love it because they are big Star Wars fans. I also wanted them to think about this sage advice everyday when they wake up. Handsome Guy thought it was my attempt to get the kids to improve their aim. #Headsmack

Anyway, back to the urine odor. I would be mortified if the photographer and editor walked into that bathroom and got a whiff of pee. I set forth with only a few cleaning supplies to try to eliminate the odor (because “Do or Do Not…There is No Try.)

How to Clean a Stinky Boys’ Bathroom (as if a Magazine Photographer was Coming!)

How to Clean a Stinky Bathroom as if a Magazine Photographer was coming | Pretty Handy Girl

Supplies:

(I’ve included affiliate links for your convenience. I earn a small percentage from a purchase using these links. There is no additional cost to you. You can read more about affiliate links here.)

Let’s get busy! Read more

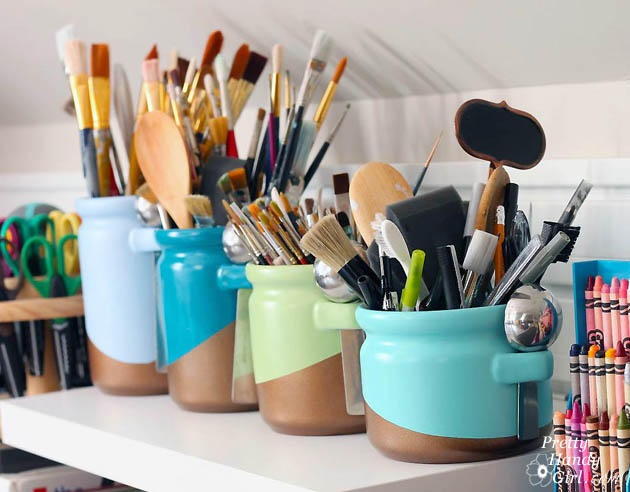
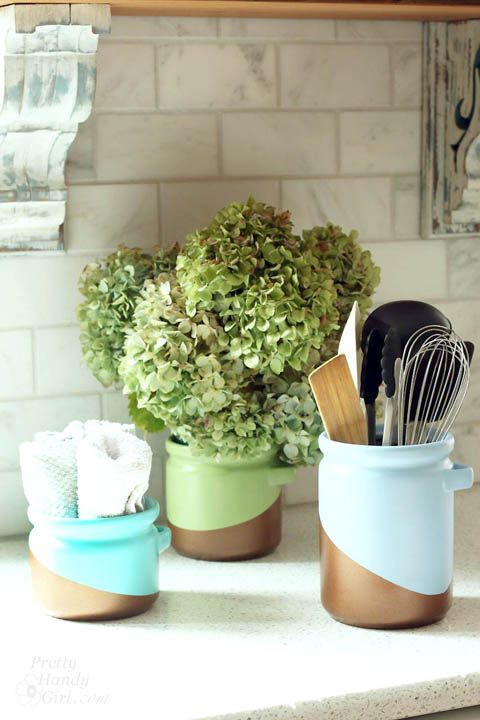
Metallic Color Block Canisters | Pretty Handy Girl

Metallic Color Block Canisters | Pretty Handy Girl

I’m back with another easy Lowe’s Creative Idea this month. When you get tired of your cobalt blue canisters you can easily spray paint them with a metallic color block pattern. That’s exactly what I decided to do with my thrift store canisters.

I’ve been on a major mission to purge things I no longer use or love from my house. I have almost completely filled our dining room with things to donate. I had contemplated donating my cobalt kitchen canisters because the color wasn’t making me happy anymore. But, then I realized that I could give them an entirely new look with some spray paint.

Materials:

Instructions:

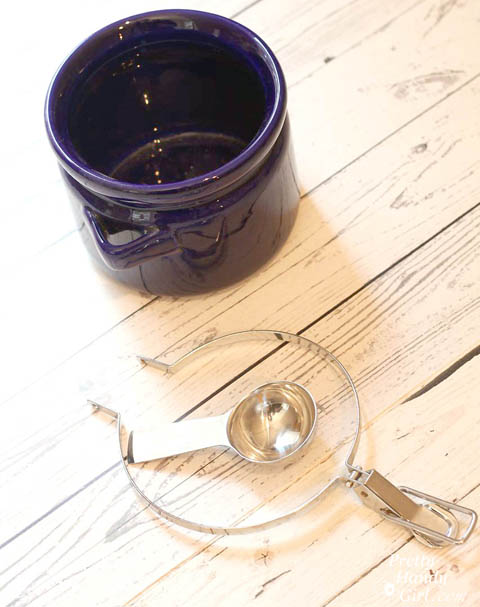
Remove the lids, the metal ring, and spoons from your canisters.

Metallic Color Block Canisters | Pretty Handy Girl
(Wood plank photo backdrop courtesy of Leen the Graphics Queen.)

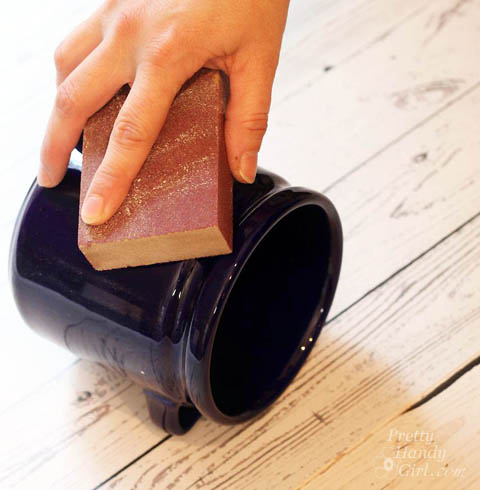
Use a sanding block to lightly rough up the surface of the canisters. Wipe all the sanding dust off with a damp rag.

Metallic Color Block Canisters | Pretty Handy Girl

Spray the outside and base of the canisters with Valspar Premium Primer. Read more