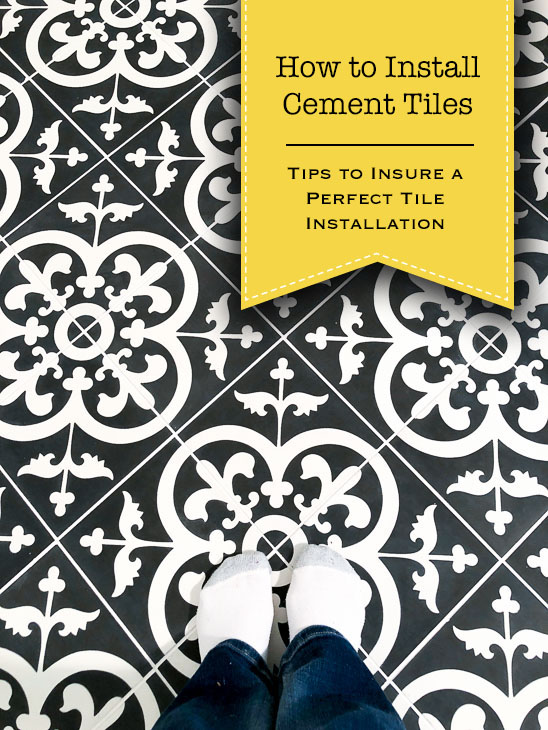
How to Install Cement Tiles and Achieve Professional Results
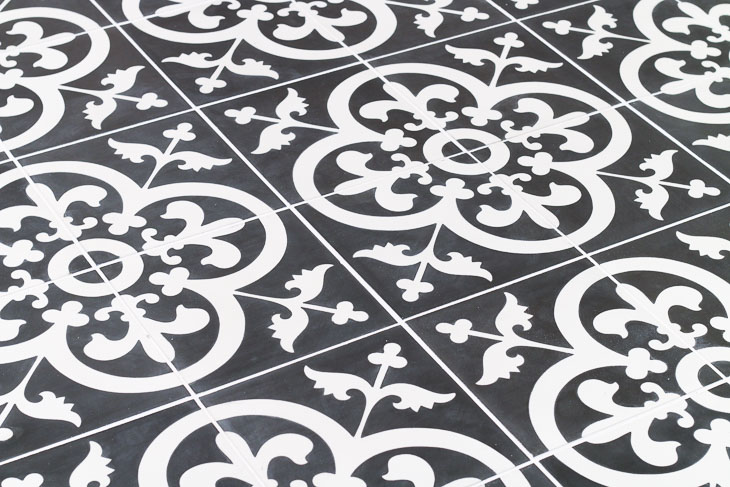
If you’ve been browsing Pinterest lately or flipping through the pages of your favorite home design magazine, you’ve probably seen (and likely fallen in love with) real cement tiles. Cement tiles are trending, so much so that porcelain and ceramic lookalikes are popping up at most tile retail shops. The first thing you’ll notice about real cement tiles, is the price tag can be steep. What you probably don’t realize is cement tile can be a bit trickier to work with than standard ceramic or porcelain tiles. Don’t let this dissuade you, because today I’m going to show you how to install those beautiful authentic cement tiles and achieve professional results. Plus, because we’re friends, I’m going to share with you my affordable source for real encaustic cement tiles!
Cement tiles purchased from most tile retailers can run upwards of $20 per square foot. But, I’m about to let you in on my secret tile source. Shhhh, lean close so I can whisper it in your ear. “TheBuilderDepot sells real cement tiles for less!” In fact they sell more than just cement tiles and their prices can’t be beat! You might remember I used beautiful marble subway tiles from TheBuilderDepot when I was renovating my kitchen.) The Builder Depot offers popular tiles at a discount because they cut out the middle man. (Here’s a brief explanation on why their prices are lower than other retailers.)

Seeing those beautiful cement tiles and a great price prompted me to contact my friend at The Builder Depot and ask him about being a Saving Etta sponsor. He agreed but on one condition; he asked me to write a tutorial on How to Install Cement Tiles and discuss the pitfalls and risks associated with improper installation techniques. Apparently customers were unaware of the proper way to install cement tiles. In fact, even seasoned tile installers were making costly mistakes because they were treating cement tiles like ceramic and porcelain tiles. There is a big difference between them.
What’s the Difference Between Cement Tiles and Porcelain or Ceramic Tiles:
- Ceramic and porcelain tiles are slick (often shiny) and aren’t absorbent on the surface.
- Encaustic cement tiles are highly porous and absorbent from the surface to the base.
- Porcelain and ceramic tiles can be grouted immediately after the thinset mortar has cured.
- Cement tiles must be sealed before grouting or you risk the grout staining (or permanently sticking to) the surface.
- Porcelain and ceramic tiles do not need to be sealed.
- Cement tiles need careful handling to avoid staining and scratching the tiles.
- Porcelain and ceramic tiles are forgiving and can stand up to a lot of abuse.
- Encaustic cement tile patterns are created by pouring different colored clay baked into the tile. It’s not merely a coating.
- Porcelain and ceramic tile patterns are applied in the glazes (painted on top of the tile).
Here’s a beautiful video showing exactly how encaustic cement tiles are made:
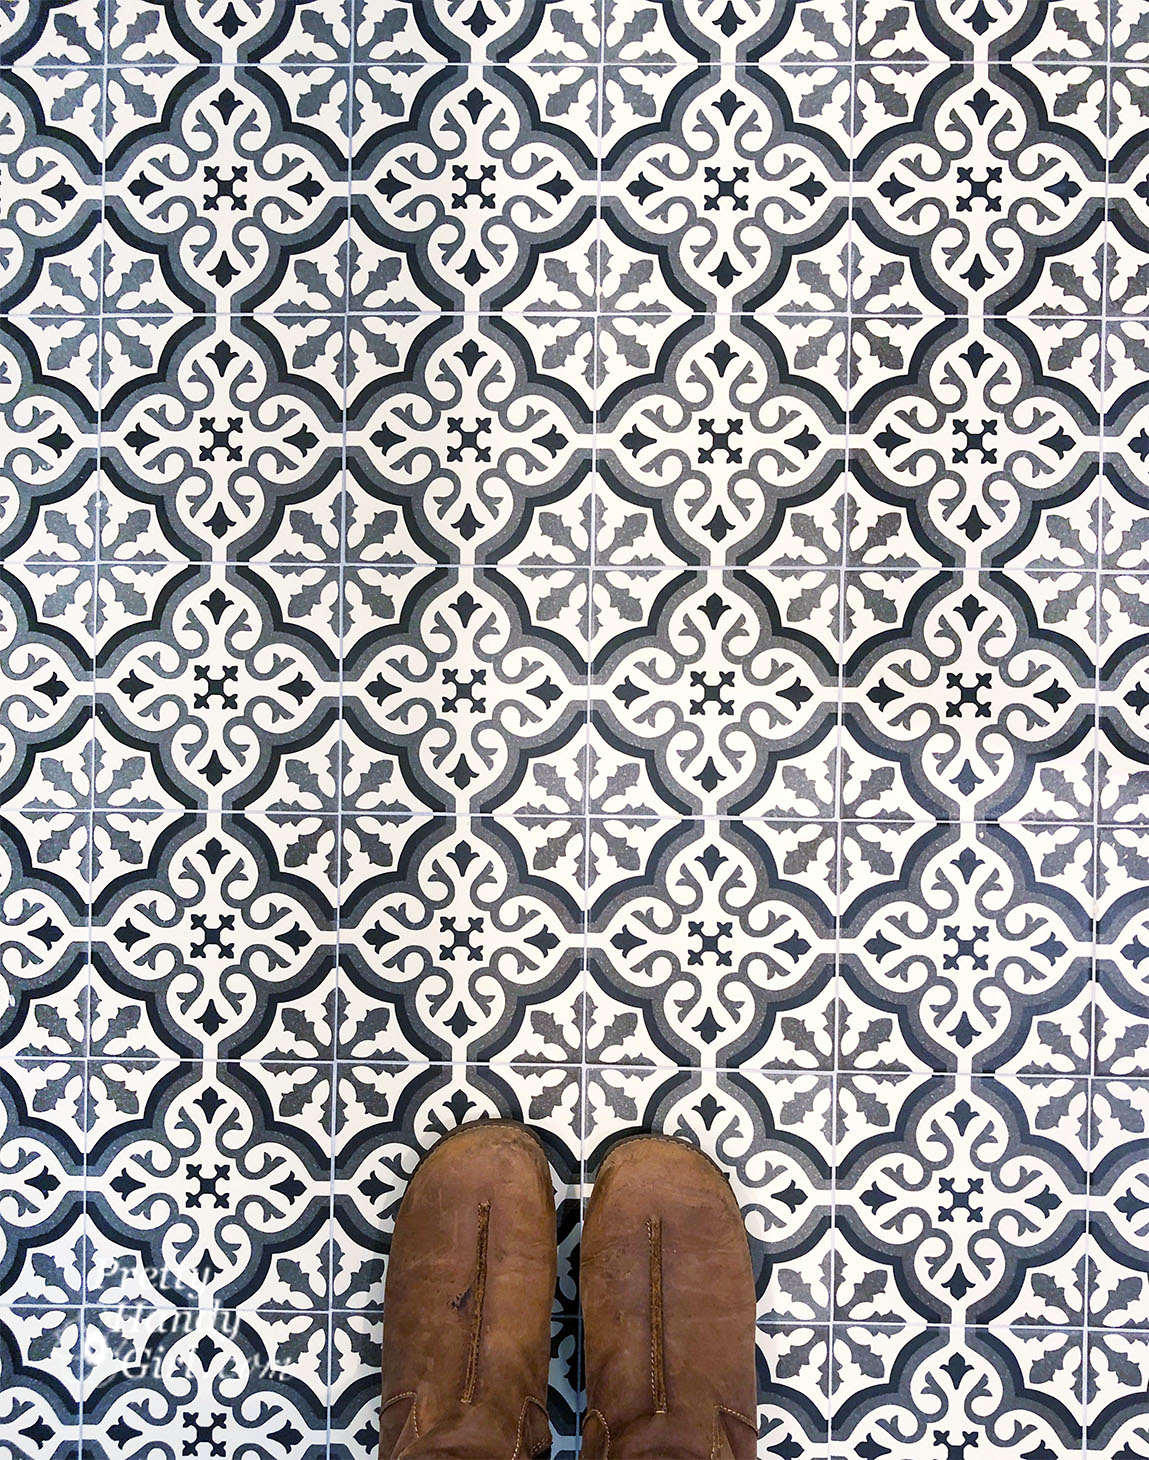
Now that you know more details about cement tiles, you can have a beautiful cement tile floor. But, you need to follow this tutorial closely. (Almost all these instructions will apply to installing cement tiles on a wall, so keep reading.)
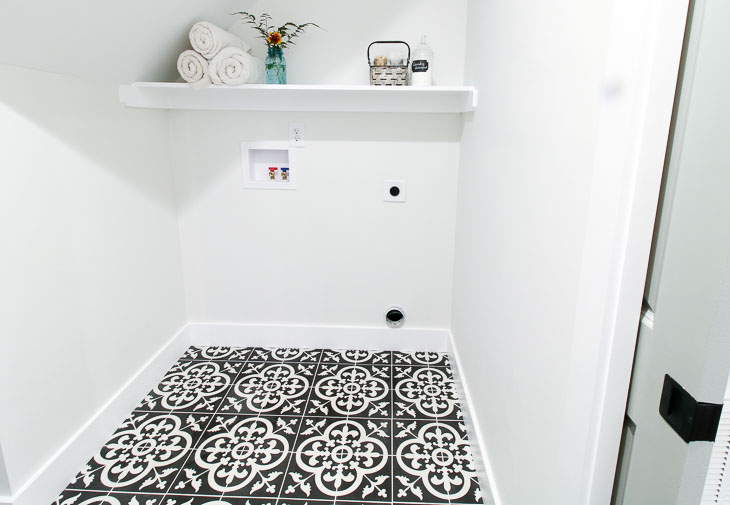
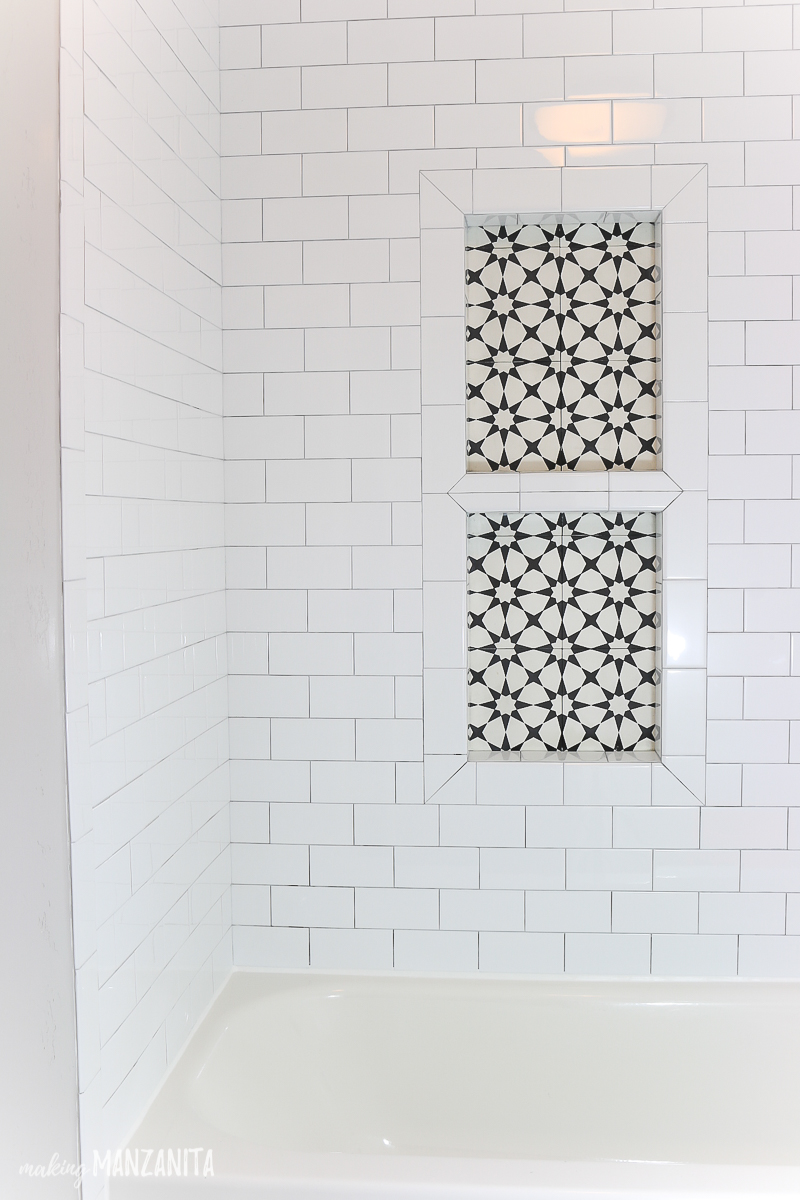 Check out this beautiful bathroom makeover with a Cement Tile Niche
by Making Manzanita
How to Handle Your Cement Tiles:
When you receive your cement tiles you’re going to be tempted to rip open the box and rub your grubby hands all over the smooth tiles (or am I the only weirdo that likes to stroke tiles?) Regardless, before you open the box, wash your hands. Cement tiles are EXTREMELY porous and will absorb oils and stain easily. Until you get to the sealing step, you’re going to have to handle these tiles with care (kid gloves wouldn’t be a bad idea.) Lest you think you can seal the tiles before installation, don’t try it. The tiles have to be porous to release moisture while the mortar is curing. If you seal it ahead of time, there’s a good chance your tiles will develop a ghosting appearance.
Cement tiles can scratch easily. Keep the packing material between the tiles until you are ready to install them. Don’t mark your tiles with a pencil or pen for cutting (unless you will be cutting off the marks.) Even faint pencil lines can’t be easily removed from the tile surface.
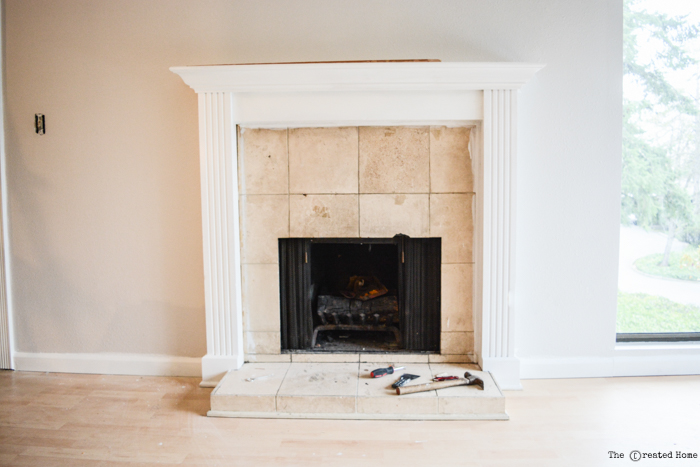
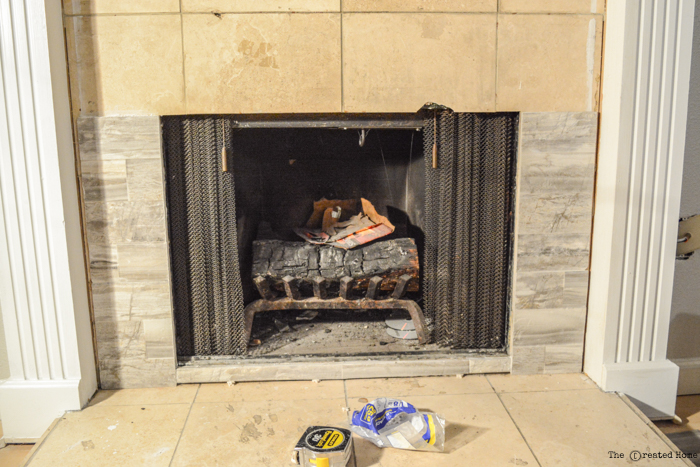
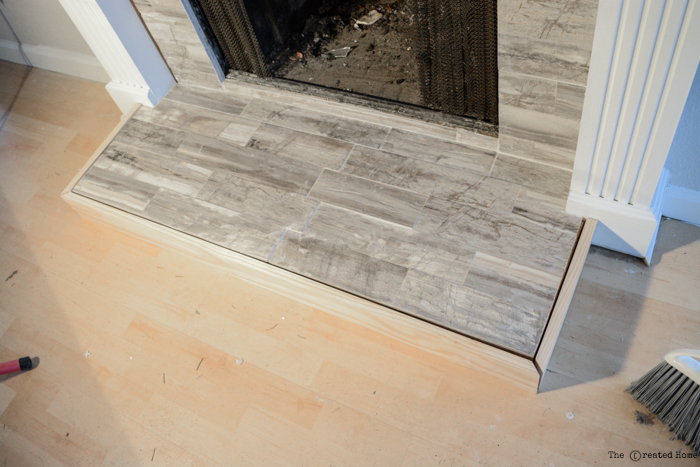
How to Prepare Your Floor for Cement Tiles:
(I’ve included affiliate links for your convenience. I earn a small percentage from a purchase using these links. There is no additional cost to you. You can read more about affiliate links here.)
Just like when you paint a room, you’ll get the best results if you take the time to prep your space before you begin.
Before laying tiles on your floor, you must put down a substrate to prevent future flexing that can lead to cracks in your grout or worse in your tiles. Typically tile installers will use cement backer board. But, because the cement tiles are so thick, I chose to use an uncoupling mat to reduce the finished floor thickness.
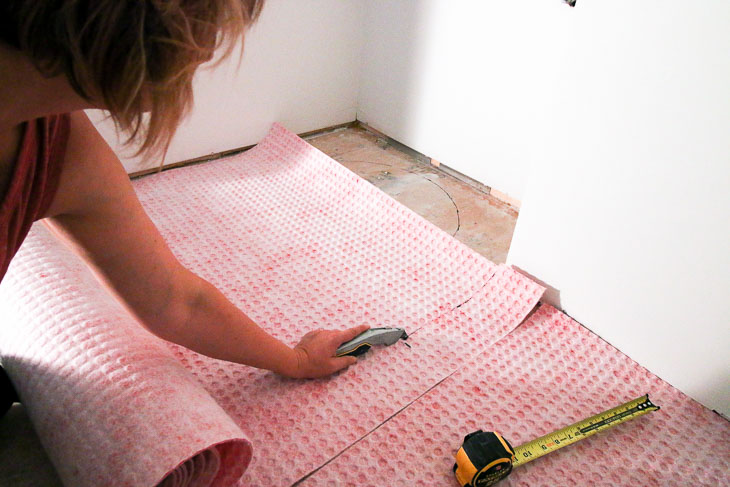
Measure and cut your mat (or cement board) with a utility knife. Dry fit the mats (or boards) before proceeding.
Whichever substrate you use, be sure to follow the manufacturer’s installation instructions. For improved waterproofing, you’ll want to cover seams with the recommended seam tape. For completely waterproofed floors, add seam tape around the perimeter of the room (as shown in this video.)
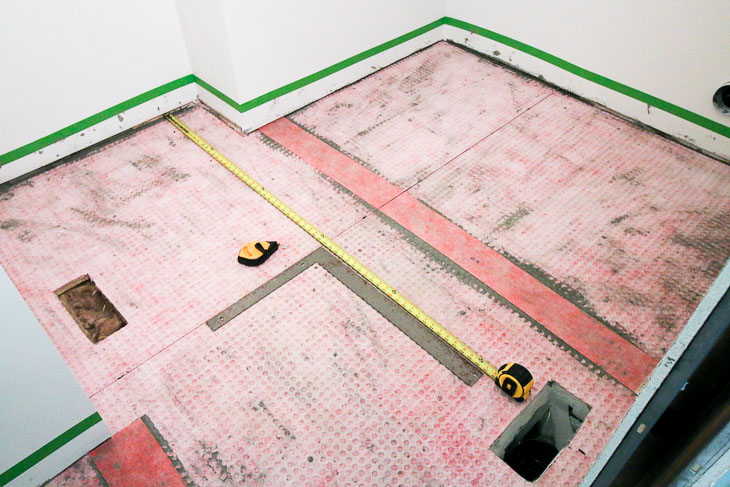
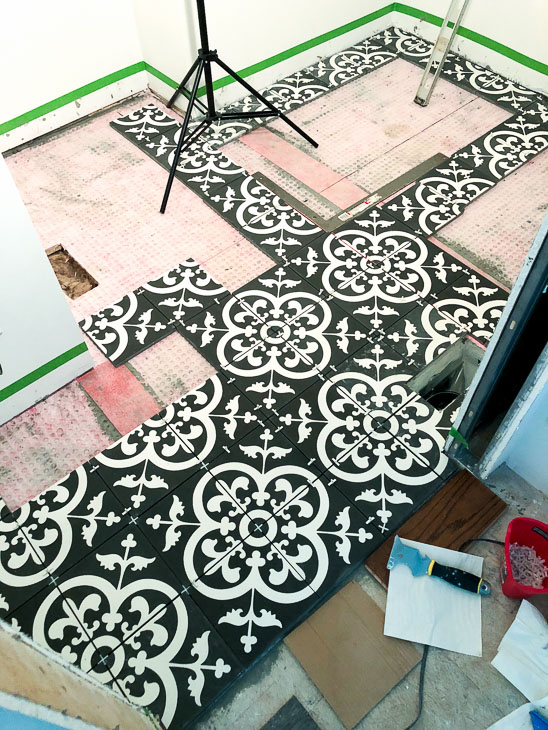
Next find the center of your room and mark perfectly perpendicular guidelines to use as a guide when laying out your tiles.

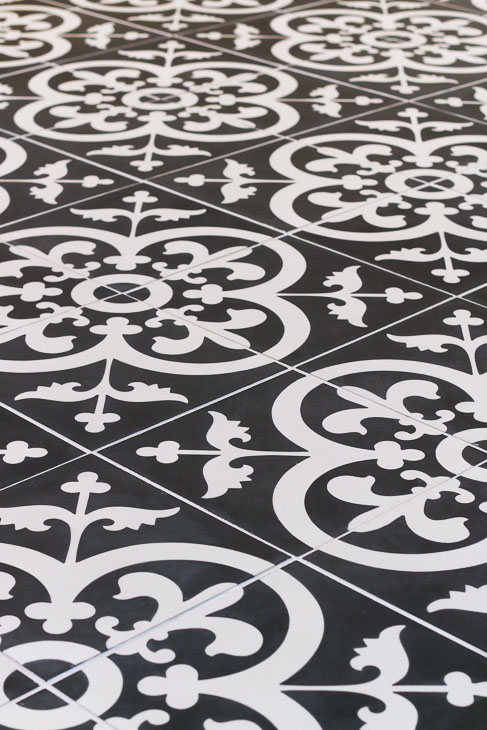
Dry fit the tiles with spacers in your room before you begin. Make any adjustments to the tile layout or pattern before you begin.
How to Install Cement Tiles:
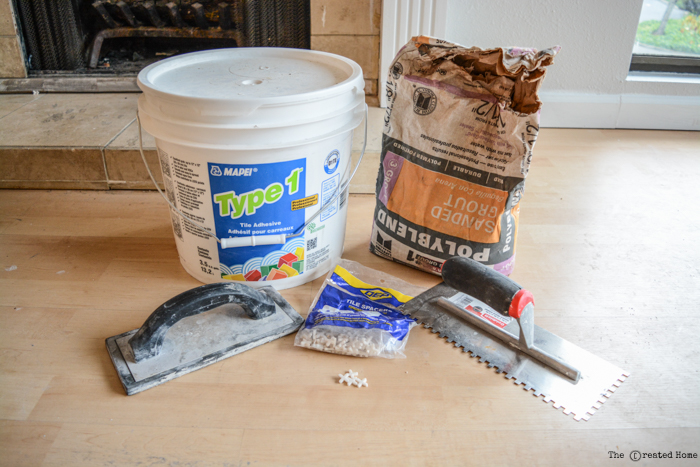
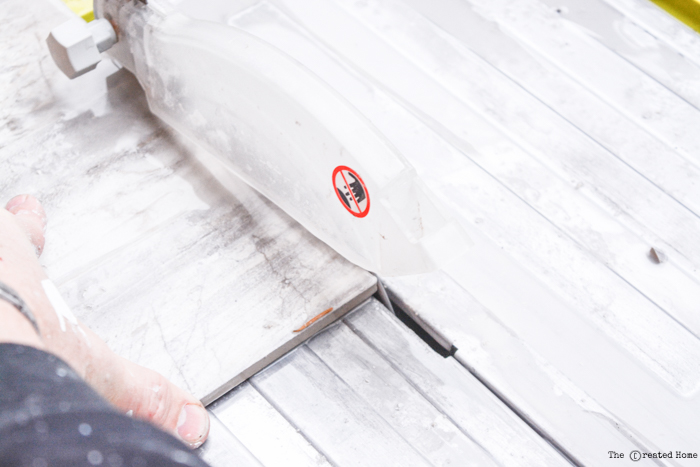
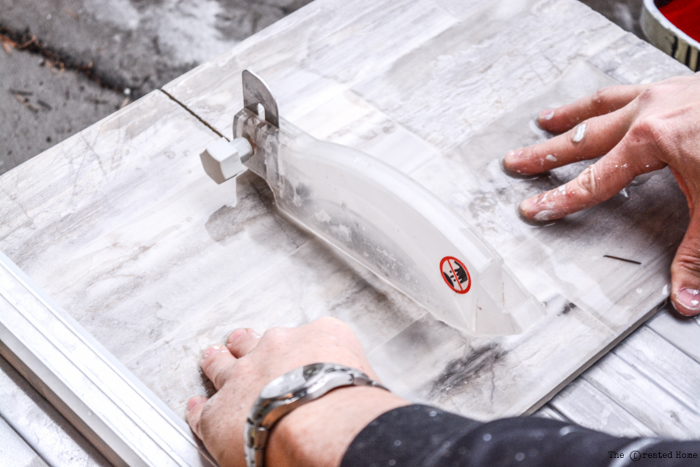
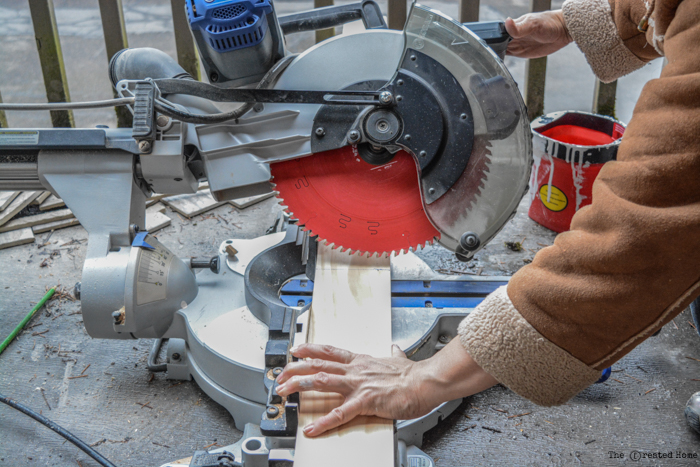
With your substrate installed, it’s time to install your tiles. Before we begin, make sure you have these tools and materials. A quick note on cutting the tiles. You can use a score and snap manual tile cutter for straight lines, but nothing beats a wet saw for angled and more complicated cuts. If you don’t want to buy a wet saw, you can rent one. Tile setting is a one person job, but it helps to have an assistant to speed things along by making cuts and mixing more mortar and grout.
Materials:
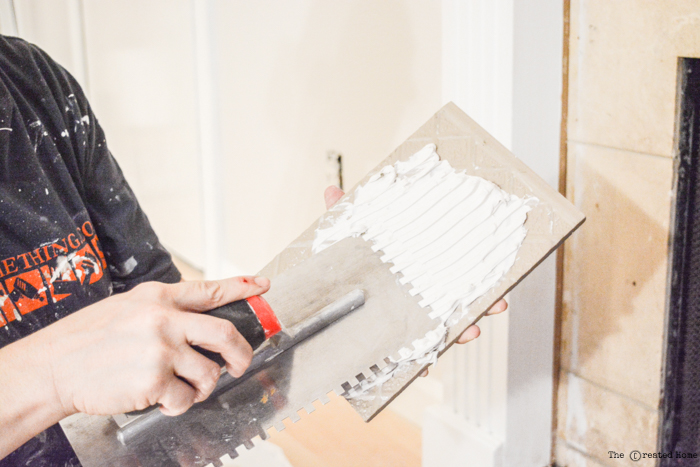
- 1/2″ Notched trowel
- Thinset mortar
- Unsanded Grout
- Tile spacers (use 1/8″ or narrower)
- Grout float
- Dish Pan
- Rubber gloves
- Bucket
- Sponge
- Corded drill
- Mixing attachment
- Kneepads or kneeling pad
- Tile cutter
- Wet saw
- Utility knife
- Chalk line
- Level
- Carpenter square
- Penetrating sealer made for porous stone or cement tiles
- Pad applicator
- Soft towels or rags
Instructions for Installing Cement Tiles:
Here’s a video I made to help you learn how to install cement tiles properly and keep them looking beautiful!
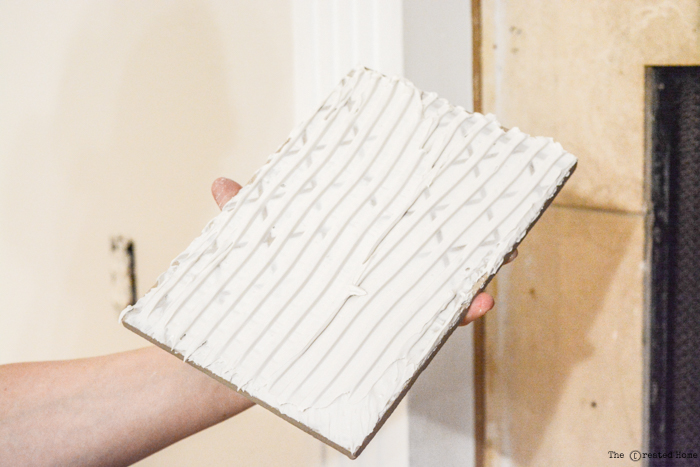
Mix your thinset mortar according to the package directions. (I usually try to achieve the consistency of peanut butter.)
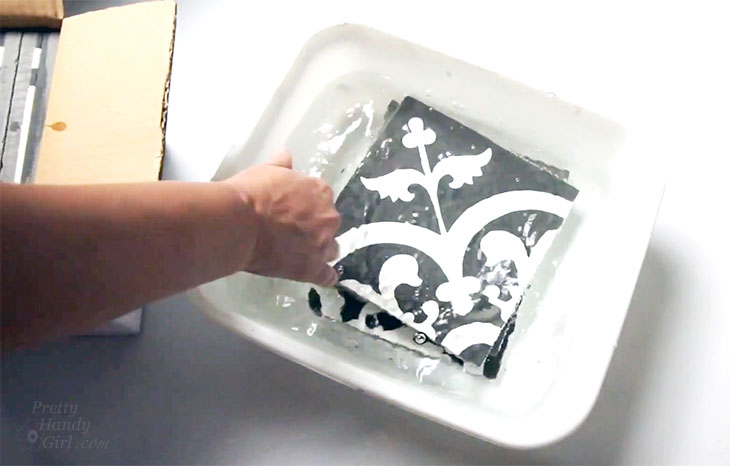
Prepping Your Cement Tiles:
One of the most important tips for working with cement tiles is to soak them in water before installation. Allow them to soak for at least 30 seconds before laying them into the mortar. If you don’t soak them, the tile will absorb too much moisture from the mortar.
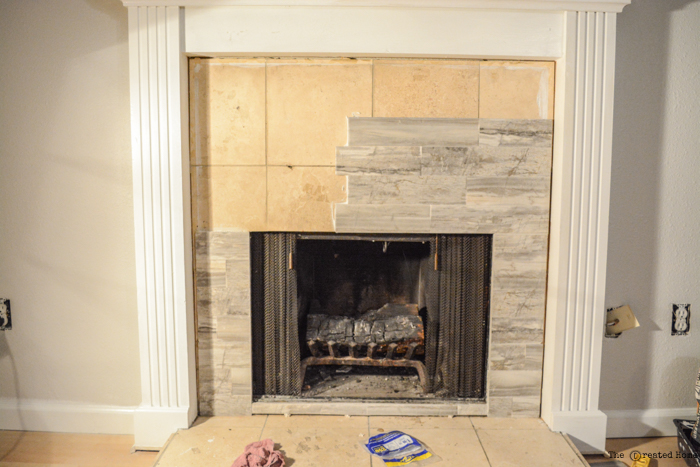
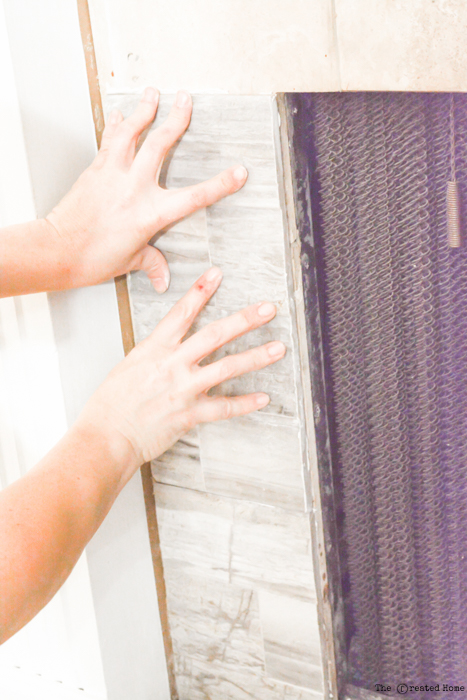
Starting from the center of your room, apply the thinset mortar to a small area and use your 1/2” notched trowel to comb the thinset. Lay your tiles down. Lift one tile to check and see if the mortar is completely covering the back of the tile. If not, your mortar consistency may be too dry.
Avoid the temptation to lay more than a few tiles at a time.
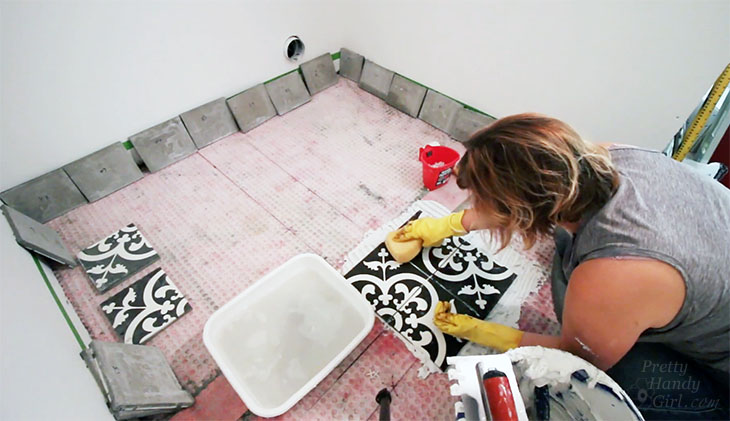
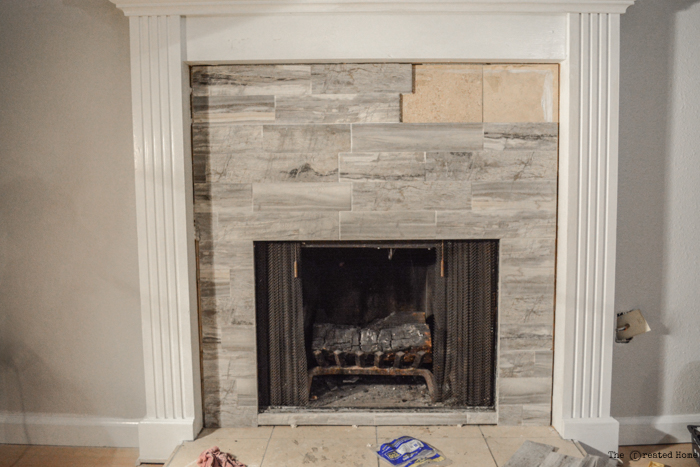
After your first small group of tiles are set, insert spacers. Check to make sure the tiles are level and the same height. Then immediately clean any and all thinset off your tiles using a damp sponge.
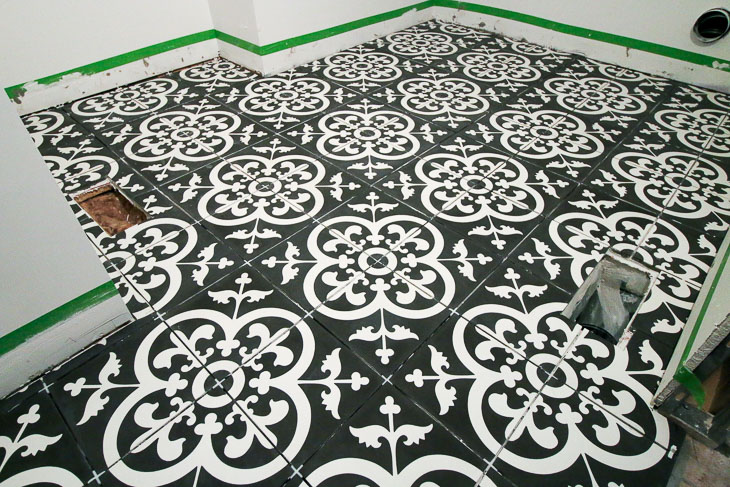
Now you can move on to installing the next small grouping. Periodically check to make sure your tiles are lined up with each other and there are no lips between tiles. (Using these self leveling spacers will eliminate any lippage on tiles.)
After all your tiles are installed, block off the room and keep off the tiles for at least 24 hours while the thinset hardens.
Sealing Cement Tiles:
We’ve arrived at the most important step when installing cement tiles! You must seal the tiles before grouting them. Use a penetrating sealer made for porous stone or cement tiles. Before sealing, make sure your tiles (and the thinset for that matter) are completely dry. You can test the tiles for any remaining moisture by laying down a piece of plastic on the tiles after installing them. If there is moisture the next day when you lift the plastic, they aren’t dry enough. Wait for them to dry or you could risk discoloration of your tiles.
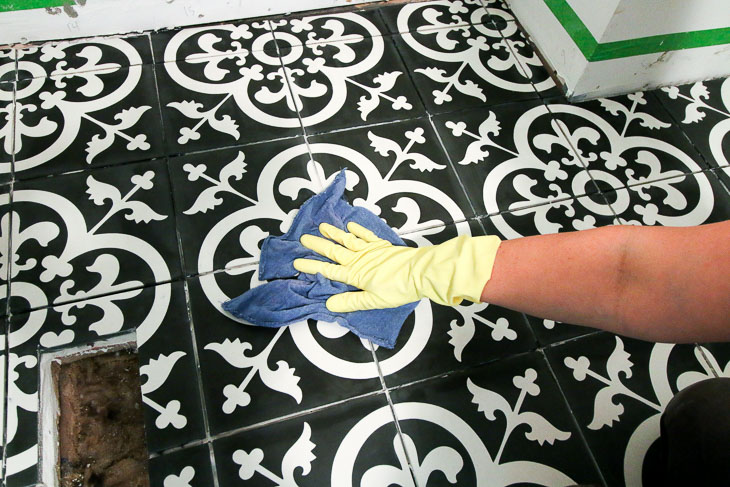
Clean the tiles by sweeping off any debris and clean with a ph balanced cleaner (a bucket of warm water with one drop of dish soap is a good cleaner.) Let the tiles dry. Wipe or buff with a rag.
Pour the sealer into the dish pan. Dip your pad applicator into the sealer liquid. Squeeze off excess sealer against the edge of the dish pan.
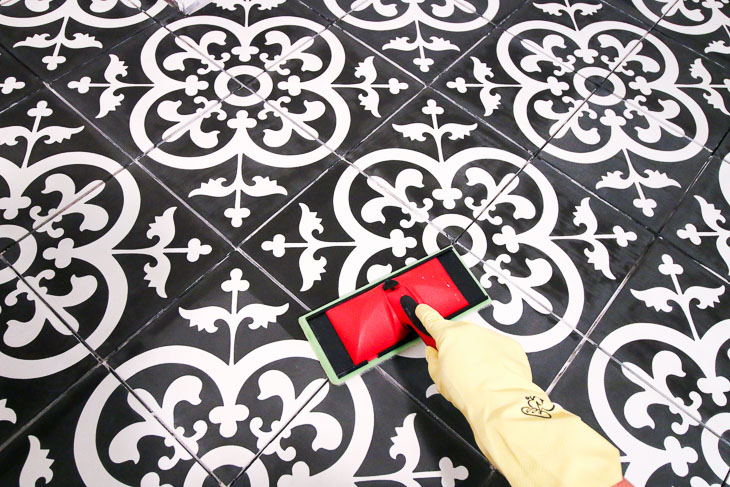
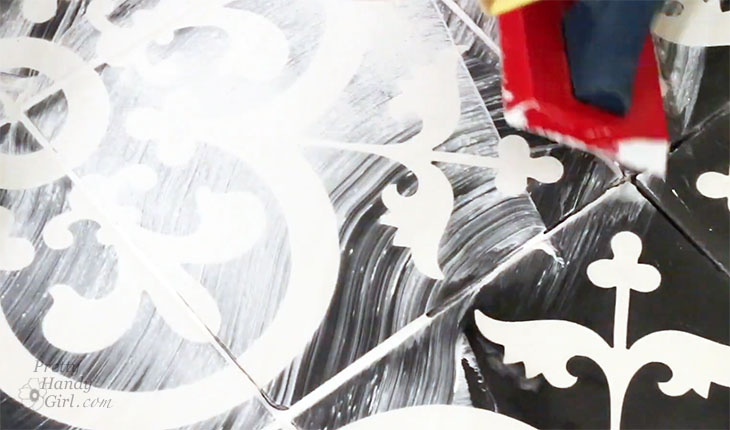
Apply the sealer in thin coats working in one direction. Remove any excess sealer from the tiles BEFORE it dries. (See the streaks below? Those streaks and any puddling needs to be buffed off to avoid uneven drying.)

Let the first coat of sealer dry completely. In fact you may want to take a break for 30 minutes or so between coats.
Be prepared to apply many coats before your cement tiles are fully sealed. (My tiles needed 5 coats to seal them. Then I had to wait another 24 hours for the sealant to fully cure before grouting.) It may seem like a long process, but this insures the tiles will withstand regular use and resist stains.
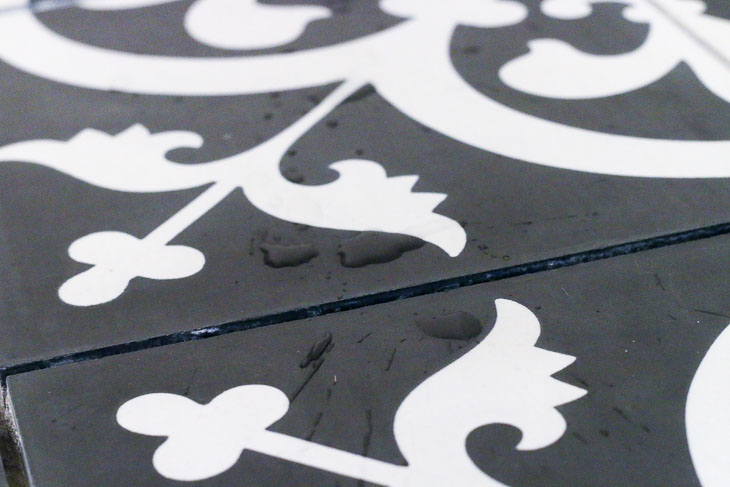
After each coat of sealant dries, you need to test to see if the cement tiles are completely sealed. Drip water onto the tiles. If the water beads up, they are sealed. However, if the water absorbs into the tiles, add another layer of sealant and try the water test again later.
Once your tiles are fully sealed, wait 24 hours before grouting.
How to Grout Tiles:
Because I work alone, it takes me a little longer to grout. To prevent my grout from hardening too quickly, I like to float my mixed grout container in a bucket of ice water to slow down the setting action.
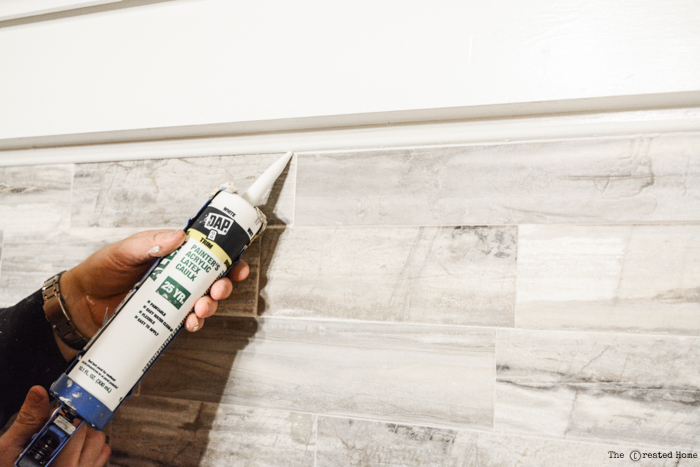
Load up your float with fresh mixed grout. Holding your grout float at a 45 degree angle against the floor, spread the grout over the gaps between the tiles in a diagonal motion. Work in small 3 – 4 square foot areas. Then scrape any excess grout off the tiles using a clean grout float.
Immediately wipe off any excess grout using a clean damp sponge. Ring out and refresh your sponge with clean water frequently.
It is imperative to get all the excess grout off the tiles or you risk the grout staining or settling into the tiles. Go ahead and move on to the next section, but go back to the previous tiles and buff off any haze with a dry rag.
After the grout has cured, clean your floors with a pH neutral mild cleanser. Then apply one final coat of penetrating sealer. A new coat of sealer should be reapplied every 6-12 months for floors, and every 2-3 years for wall tiles.
Cement Tile Maintenance:
To protect your beautiful cement tile floors, clean up any spills immediately. Never leave anything sitting on the floor that could stain or scratch your tiles. If your tiles get scratched or stained, you can use a fine grit sandpaper to sand off the stain. Just be sure to re-seal your tiles after sanding.
Still on the fence about installing cement tiles in your home? This is a good article breaking down the pros and cons of cement tiles.
A big thank you to The Builder Depot for providing the laundry room tiles for the Saving Etta project and for giving me excellent instructions for installing the cement tiles. What do you think? Do you love the cement tile look?
I hope you found this tutorial helpful. Happy tiling!

Disclosure: The Builder Depot is a proud sponsor of the Saving Etta project. I was provided with materials for this project. I was not told what to write. All opinions and ideas are my own.
If you haven’t done so already, be sure to *subscribe to my YouTube channel!

*My followers on YouTube get sneak peeks of some of the projects I’m working on, so subscribe today!
If you liked this post, you’ll also find these tile posts helpful:


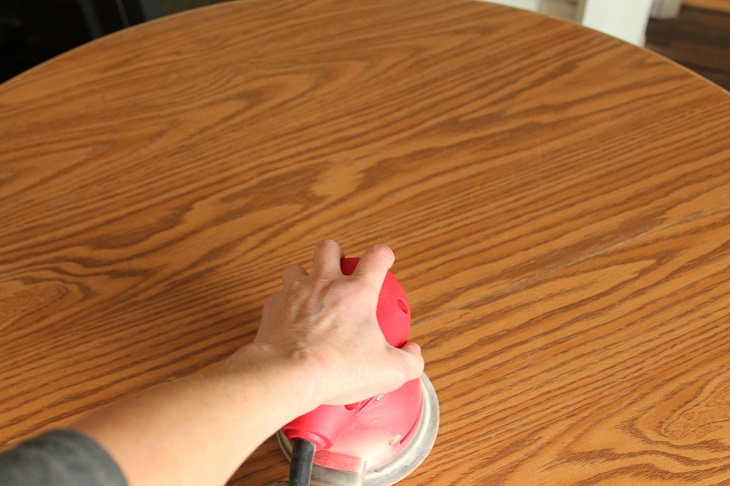
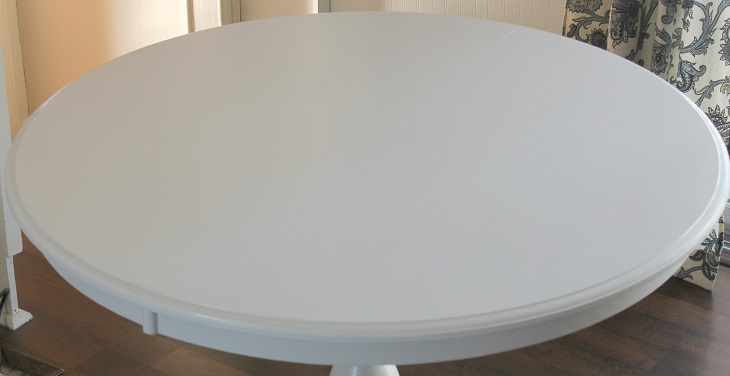
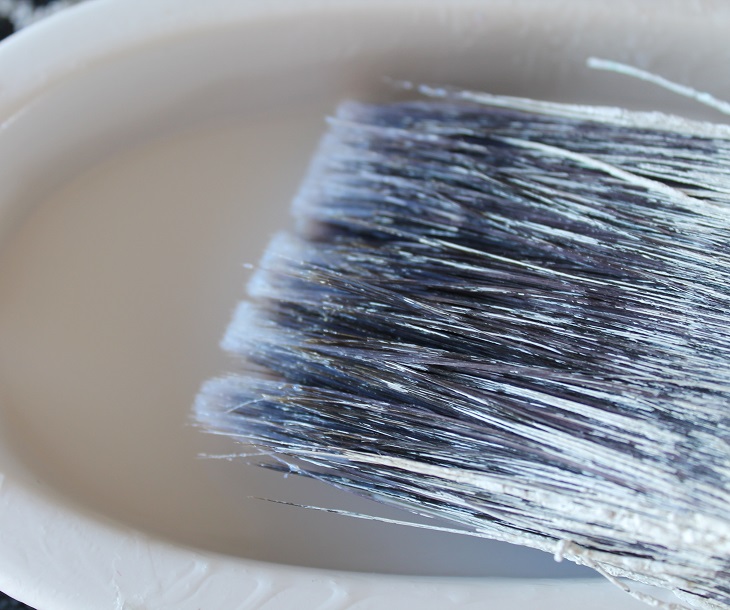
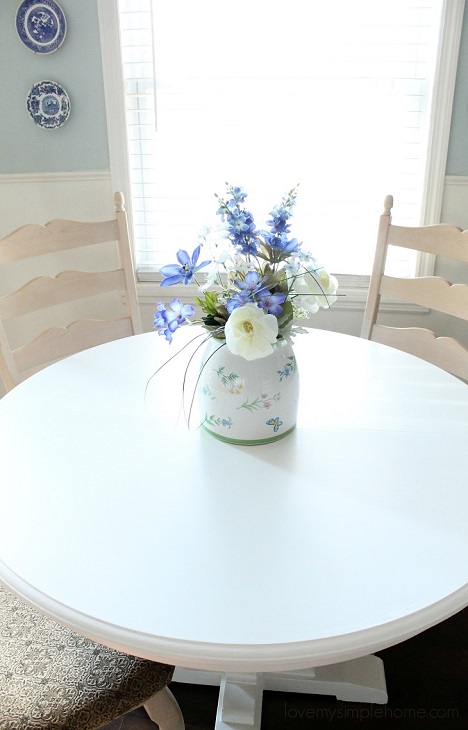
 How to Paint a Laminate Table Top