Upgrade your bathroom with these simple DIY projects! From easy repairs to budget-friendly makeovers, these tutorials will help you create a stylish and functional space without a full renovation.
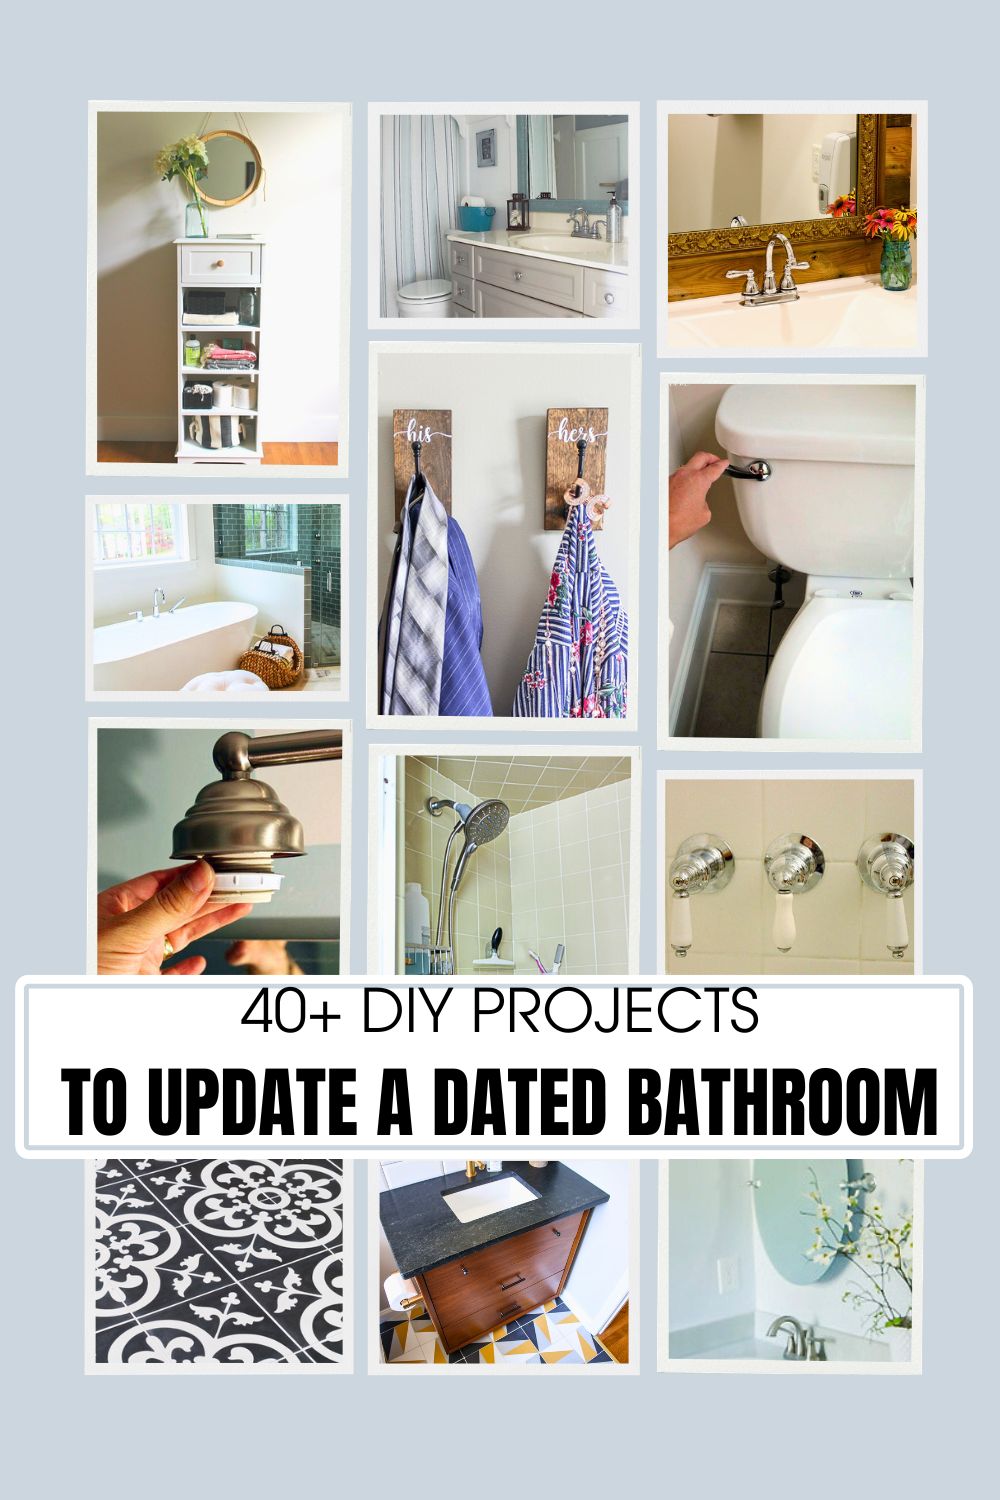
41 Bathroom DIY Projects
Ready to refresh your old bathroom without a full remodel? Or perhaps you want to give your new bathroom a personal touch? Either way, you are in the right place!
These 41 bathroom DIY projects are packed with budget friendly inspiration, from simple repairs and smart storage solutions to stylish tiling and easy updating ideas that make a big impact.
Whether you’re swapping fixtures, adding shelves, regrouting tile, or giving your vanity a facelift, each diy project is designed to be doable and practical.
You’ll find plenty of creative DIY bathroom ideas to help you personalize your space, and every makeover includes a full tutorial so you can tackle it with confidence and transform your bathroom step by step. Let’s get to it!
Bathroom DIY Projects
If you’re ready to give your space a fresh look without a full renovation, a few simple upgrades can go a long way. Check out these bathroom DIY projects that are packed with budget friendly ideas to help transform your space one step at a time.
Bathroom Storage
Smart bathroom storage can completely change how your space looks and functions. From floating shelves to DIY cabinet storage, the right storage solutions help keep everyday essentials neat while adding style.
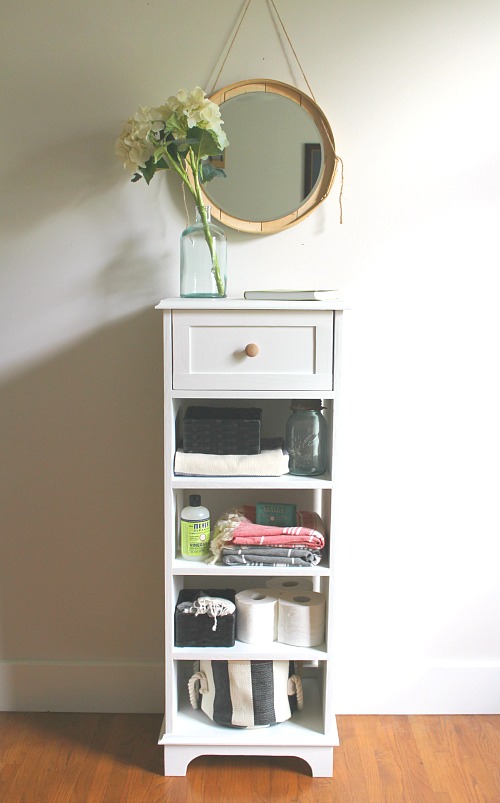
Build a Tall and Skinny Storage Cabinet
This storage unit works beautifully as a bathroom linen cabinet. It’s just the right size for towels, toilet paper rolls, baskets, and even cleaning supplies. If you don't have a medicine cabinet in your bathroom, the baskets will help keep all of the necessities in place.

DIY Drawer Dividers
DIY drawer dividers are an easy way to organize bathroom essentials and keep clutter under control. Customize them to fit your drawers perfectly for a tidy, functional space.

DIY His and Hers Towel Hooks
His and hers towel hooks are a simple way to keep everyone’s towels organized while adding a personal touch to your bathroom. This easy project is a great alternative to a traditional towel bar and helps keep towels neatly separated and easy to grab.
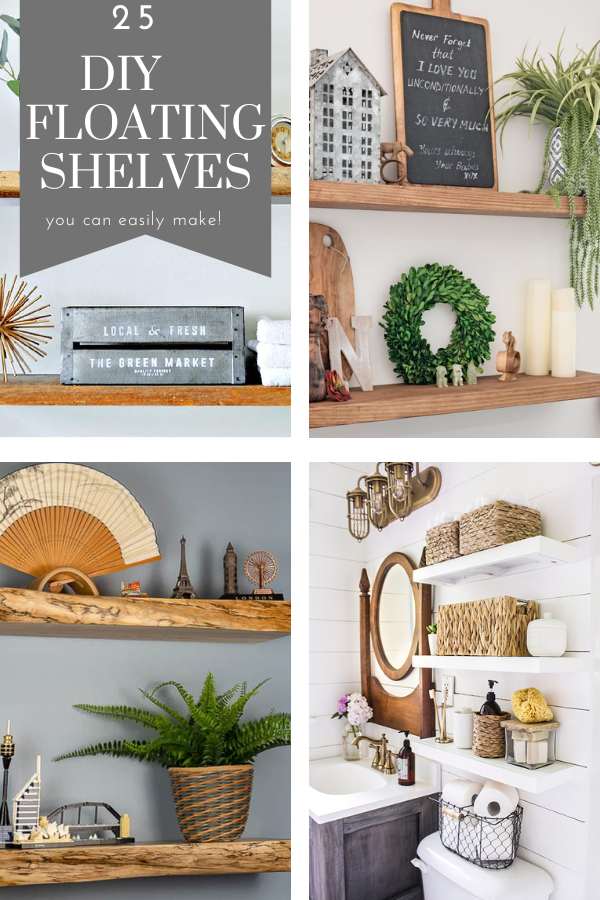
Amazing DIY Floating Shelves With Step-by-Step Tutorials
These amazing DIY floating shelves are perfect for adding stylish storage to any space. Whether you need extra room in the bathroom, kitchen, or living area, these easy builds combine function and design for a custom look on a budget.
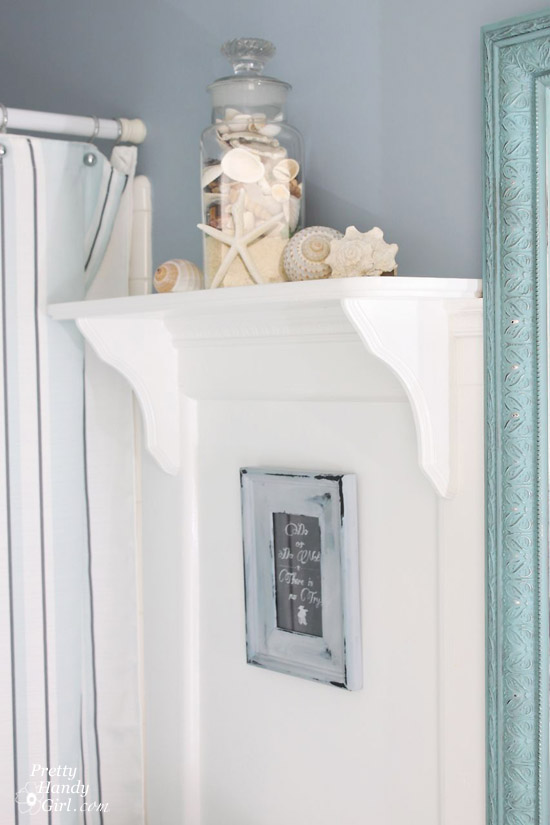
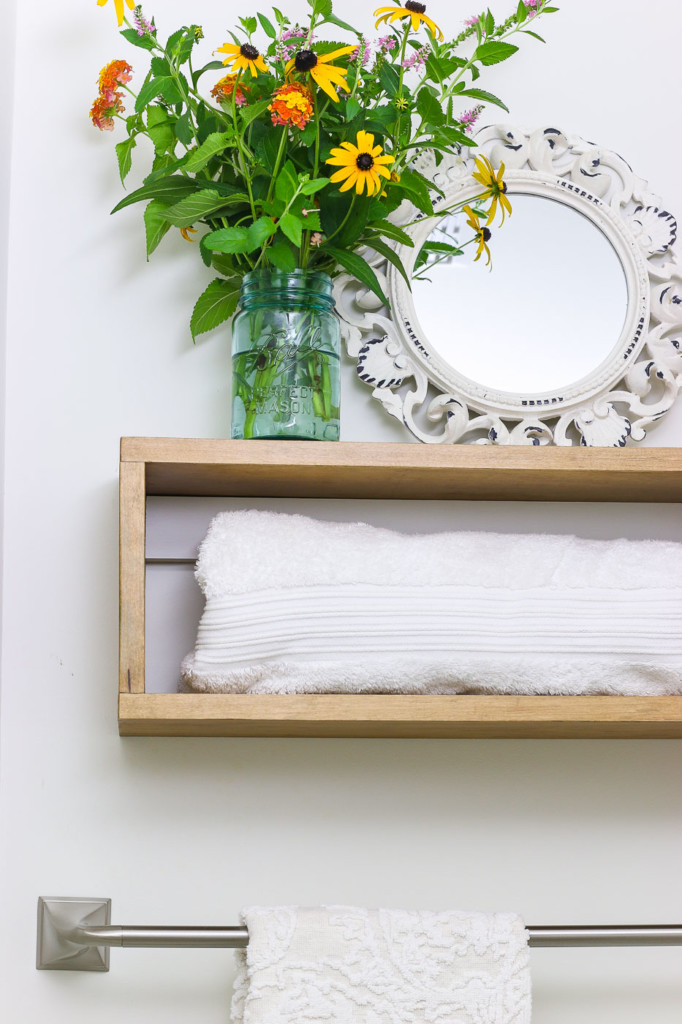
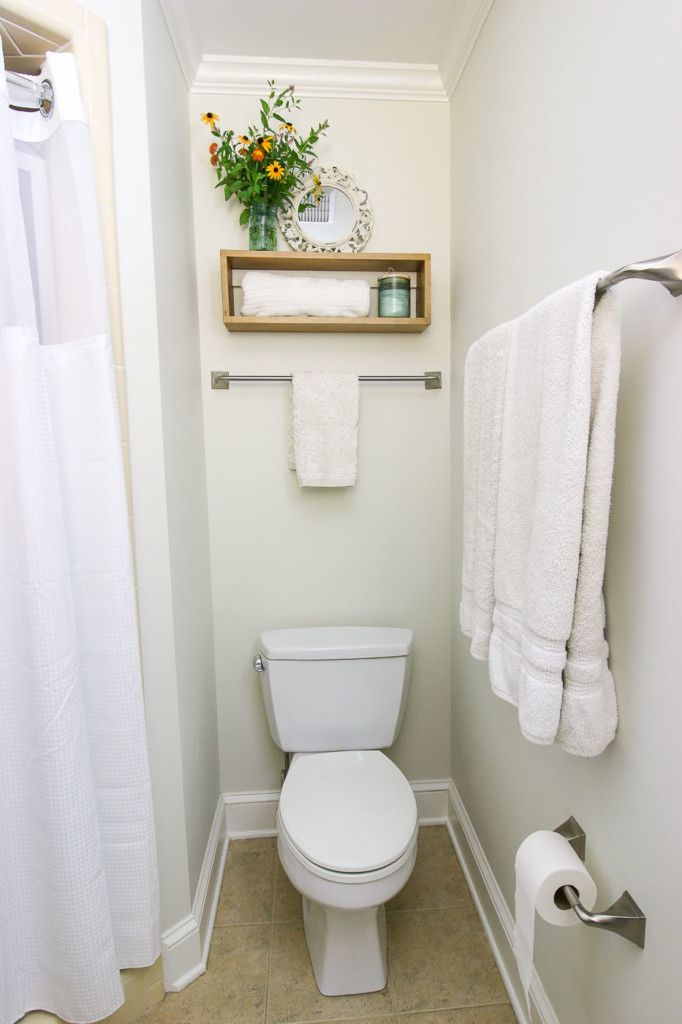
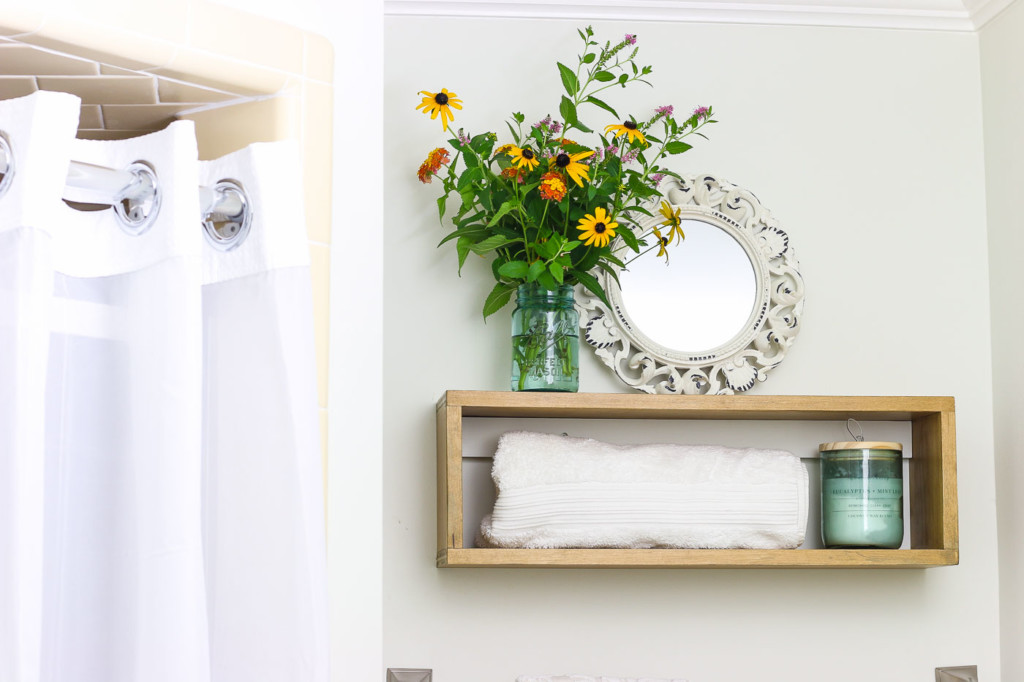
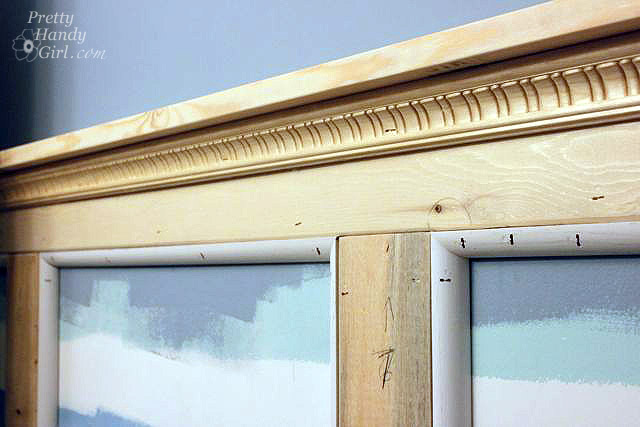
How to Build a Built-in Decorative Shelf
Learn how to build a built in decorative shelf with this easy tutorial that’s perfect for small bathroom ideas. It adds charm and extra storage without taking up valuable floor space, making it both stylish and practical.
Bathroom Updating Ideas
These bathroom updating ideas show how small changes can make a big impact. From adding board and batten for classic architectural detail to refreshing decor and accessories, these DIY projects bring style and personality to any bathroom.
Board & Batten Moulding Tutorial
This board & batten moulding tutorial shows you how to add classic architectural detail to an entire room without a major renovation. It’s a simple DIY upgrade that brings texture, charm, and a custom look to your space.

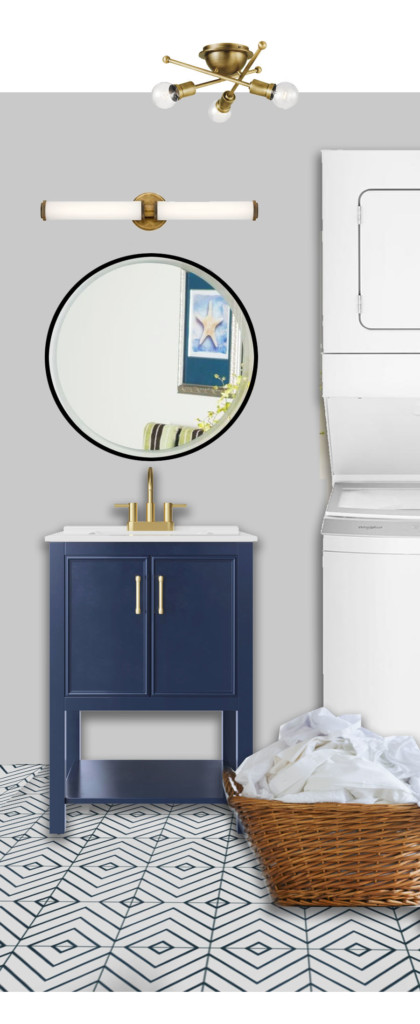
Turn a Mid-Century Modern Dresser into a Bathroom Vanity
Transform a mid-century modern dresser into a bathroom vanity for a stylish and functional upgrade. This DIY project gives your bathroom a unique, custom look while making the most of existing furniture.
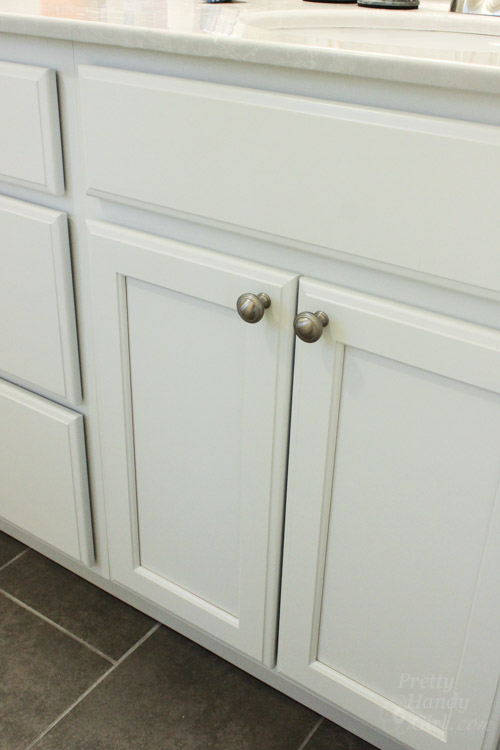
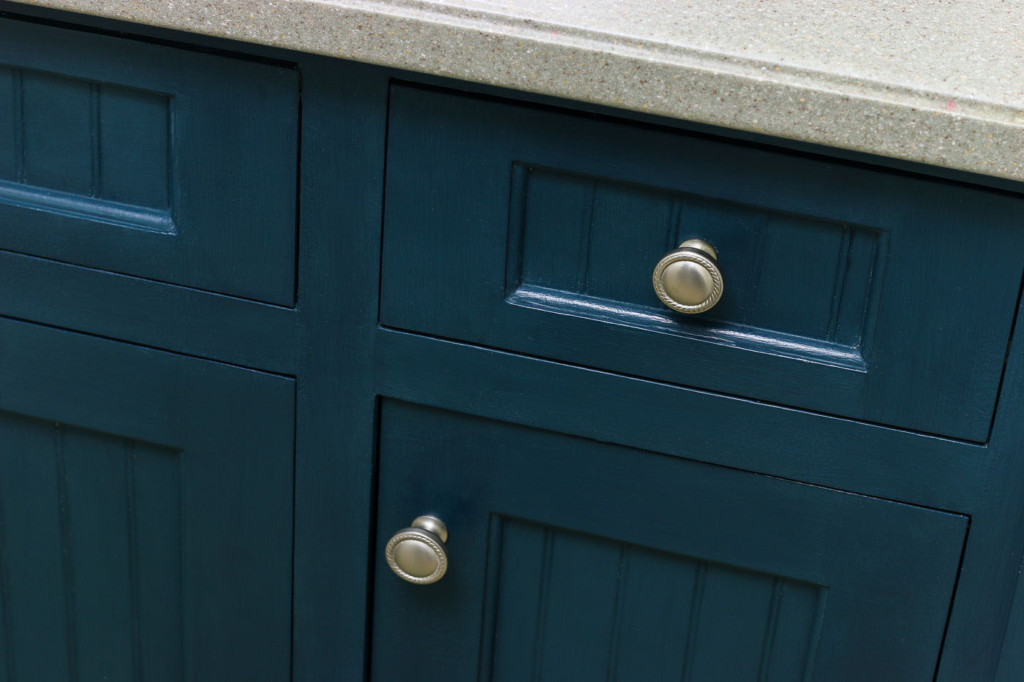
Install Knobs on New Cabinet Doors and Drawers
A foolproof tutorial for how to install knobs on new cabinet doors and drawers with perfect placement every time. New hardware can make a huge difference on cabinets, usually for little cost.
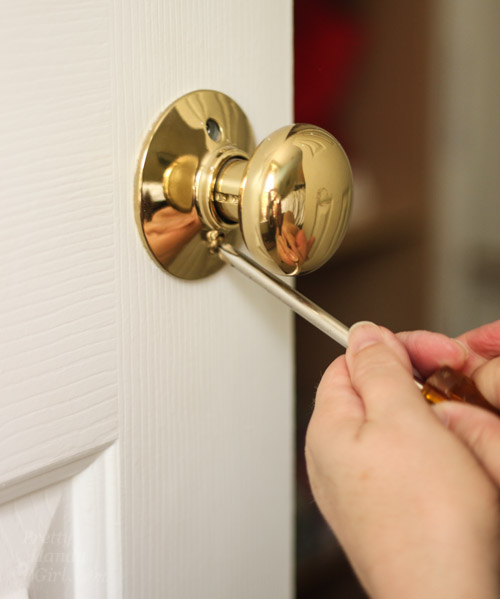
How to Replace Door Knobs
Learn how to replace door knobs with this easy DIY project. It’s a simple update that improves the look of your doors in no time.
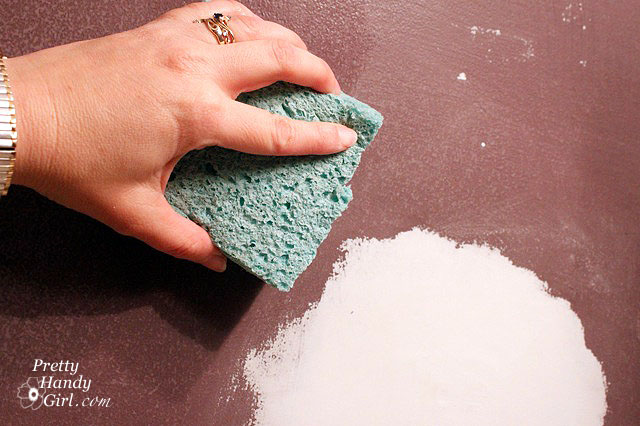
3 Steps to Painting Like a Pro - Step 1. 80% is the Prep Work
Painting like a pro starts with preparation—80% of the work is getting your surfaces ready. Proper sanding, cleaning, and priming make all the difference for a smooth, long-lasting finish in any DIY bathroom project. Be sure to check out part 2 and 3 for the full process.
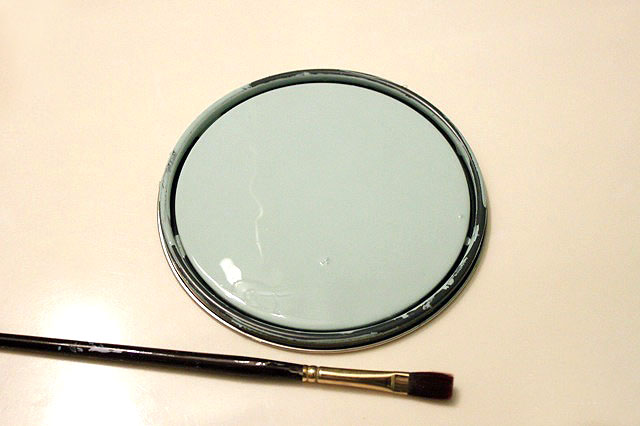
Painting Like a Pro - Part 2. Paint and Sheen
Painting like a pro continues with choosing the right paint and sheen to bring your space to life. A fresh coat of paint in a finish that complements natural light can instantly brighten your bathroom and give it a polished, professional look.

Painting Like a Pro - Step 3. Painting and Touch Ups
Painting like a pro finishes with careful painting and touch ups to ensure a flawless result. Taking your time on edges, corners, and small details guarantees your fresh coat of paint looks smooth and professional throughout your bathroom.

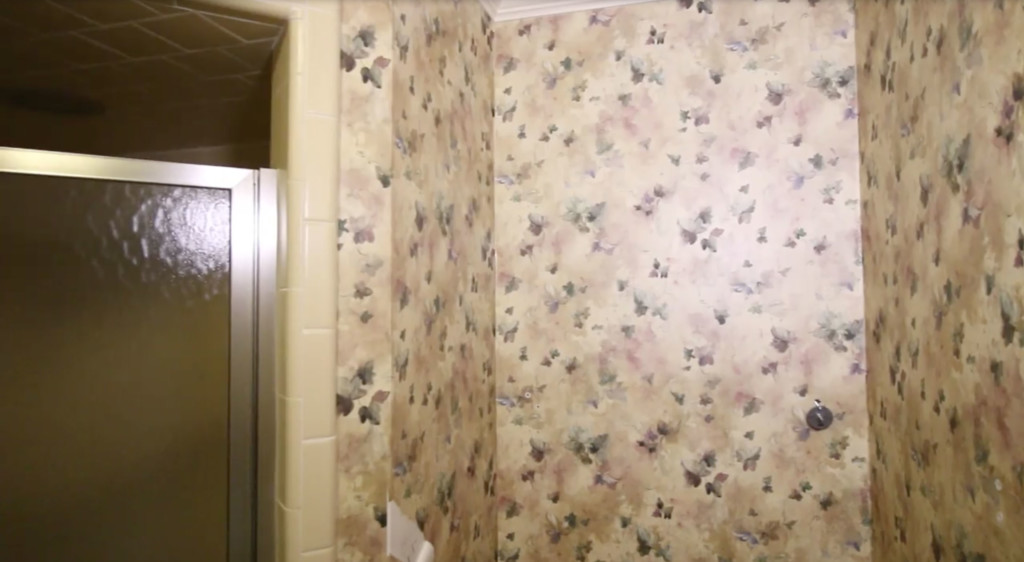
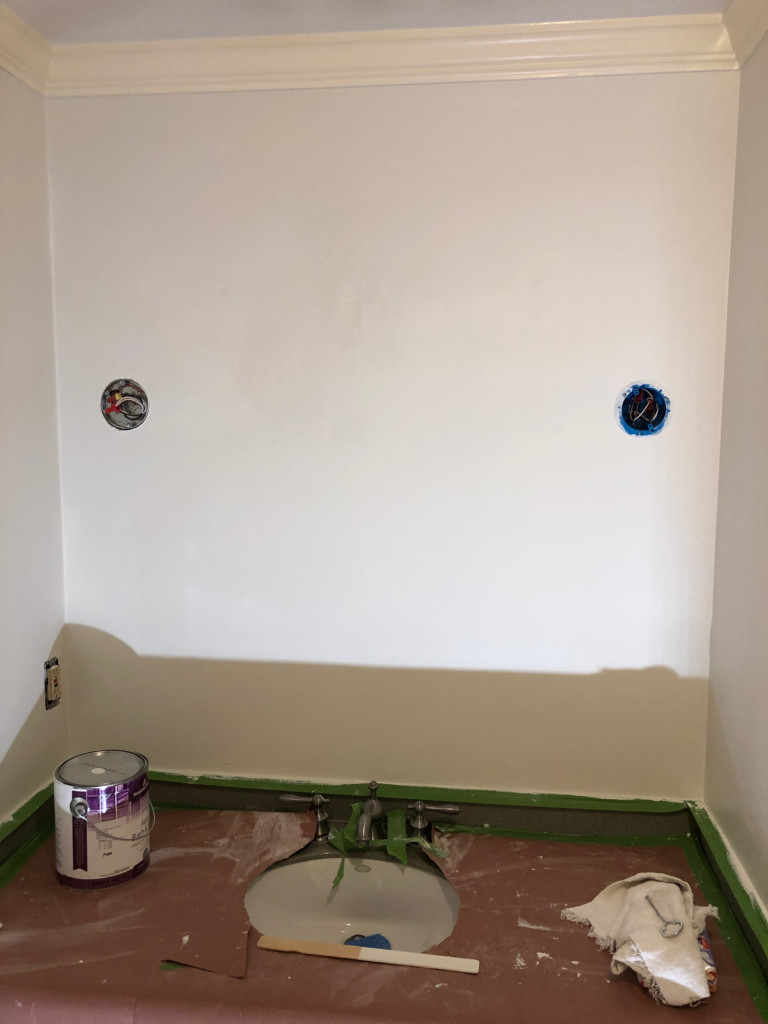
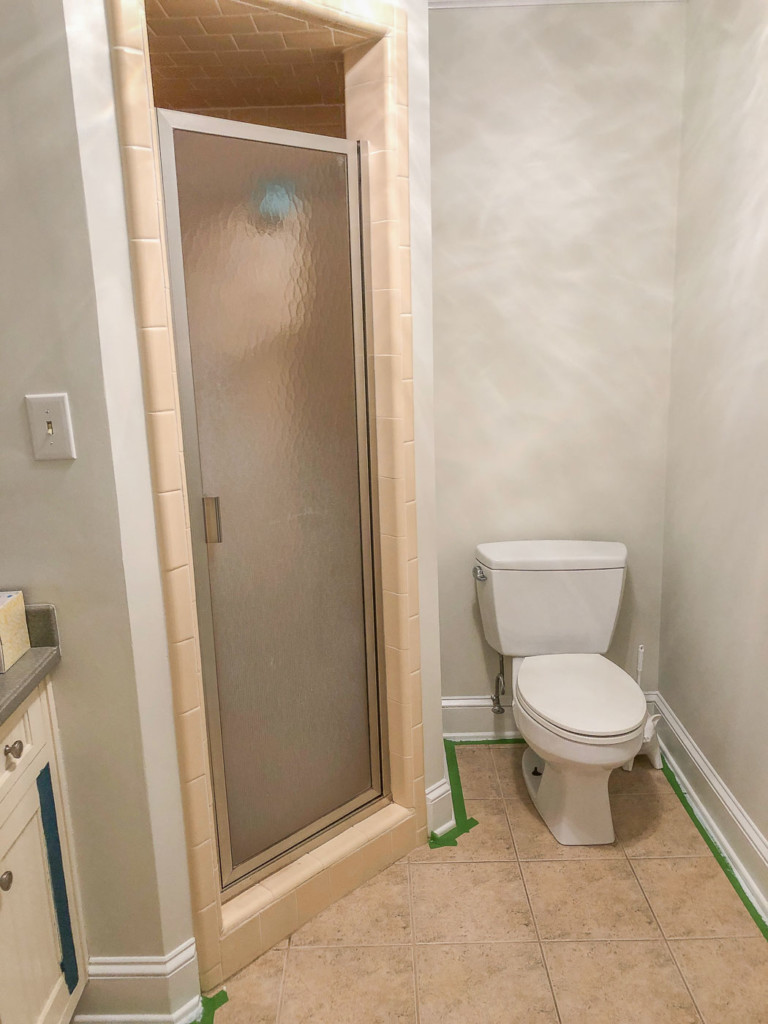
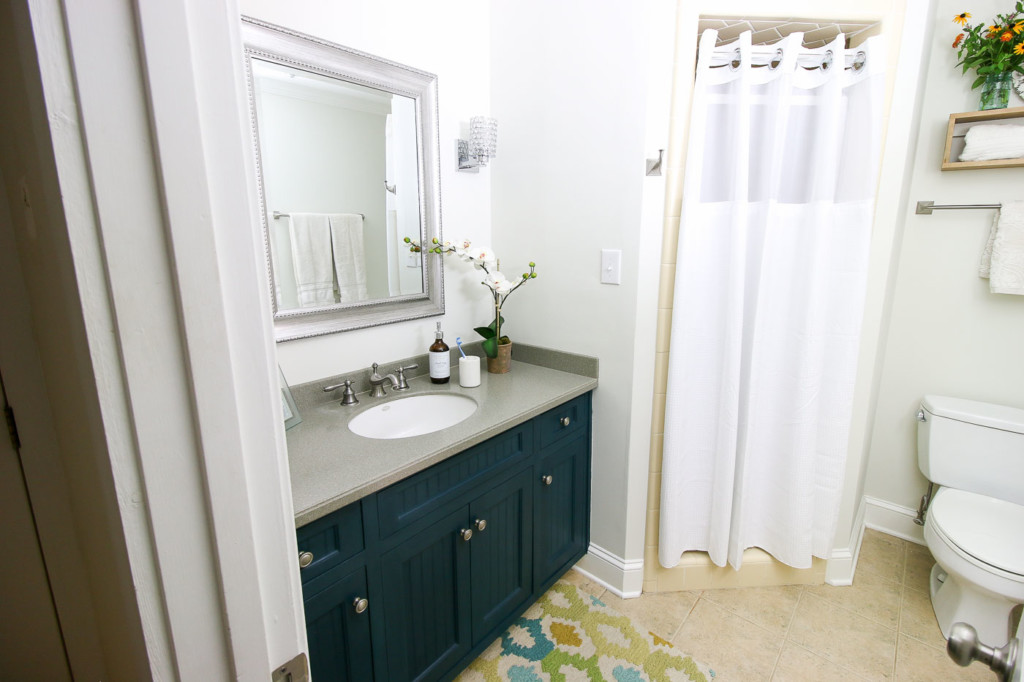
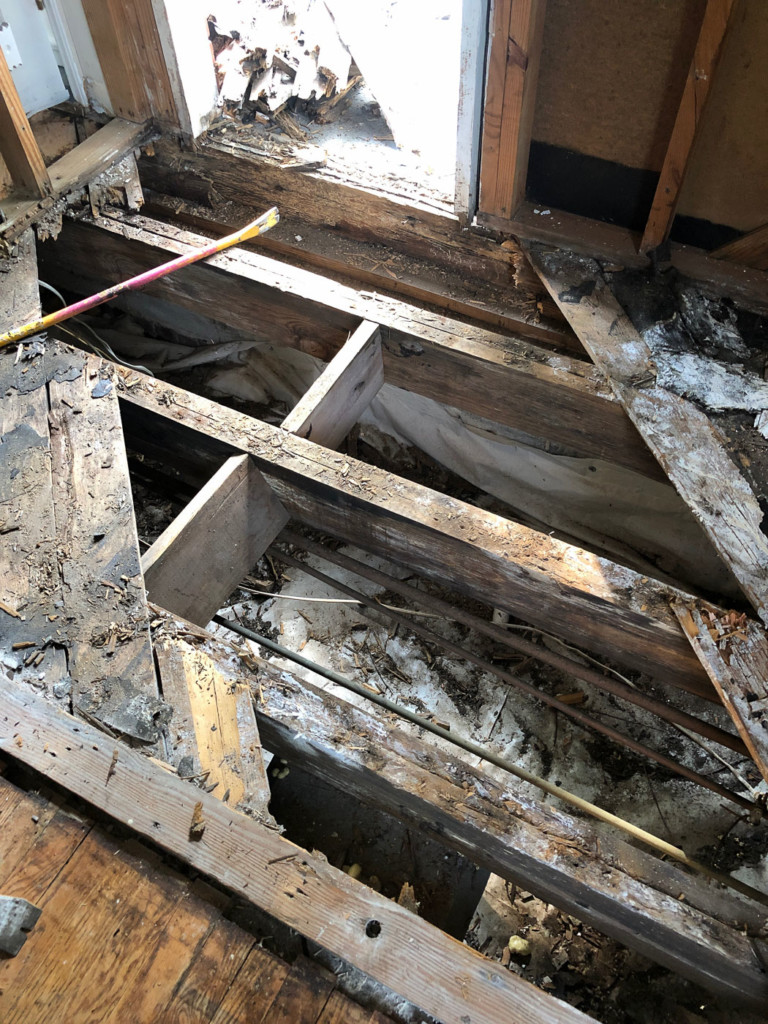
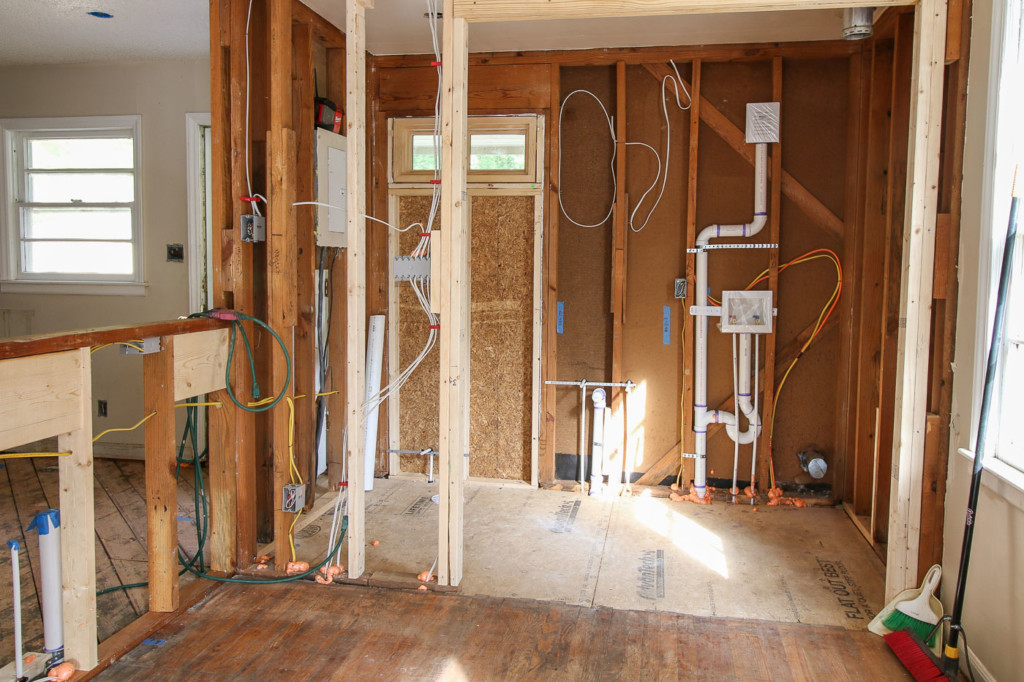
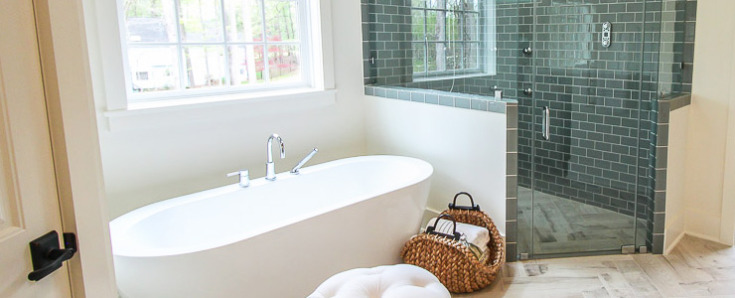
No Need to Gut This Bathroom
No need to gut a bathroom to make a big impact—small updates can completely refresh the space. With the right DIY projects, you can tackle future projects like new fixtures, storage solutions, or stylish tiling without starting from scratch.
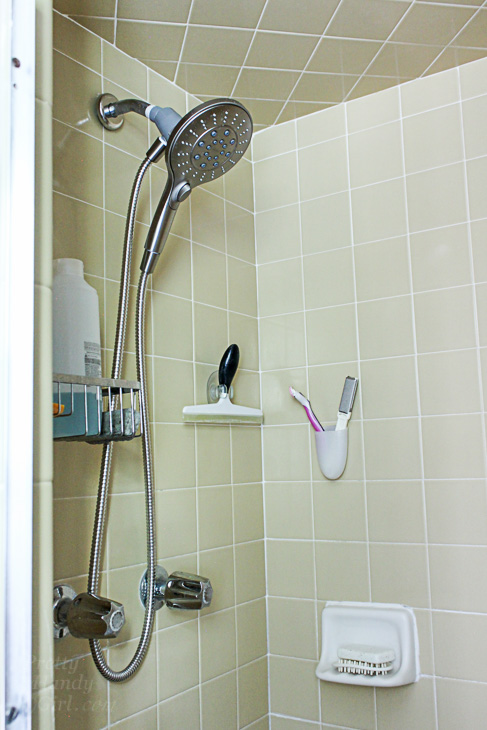
Perfect Showerhead for a Small Shower
The new Moen six function magnetic showerhead is the perfect shower head for a tiny shower, offering versatile spray settings and easy magnetic docking in a compact space.

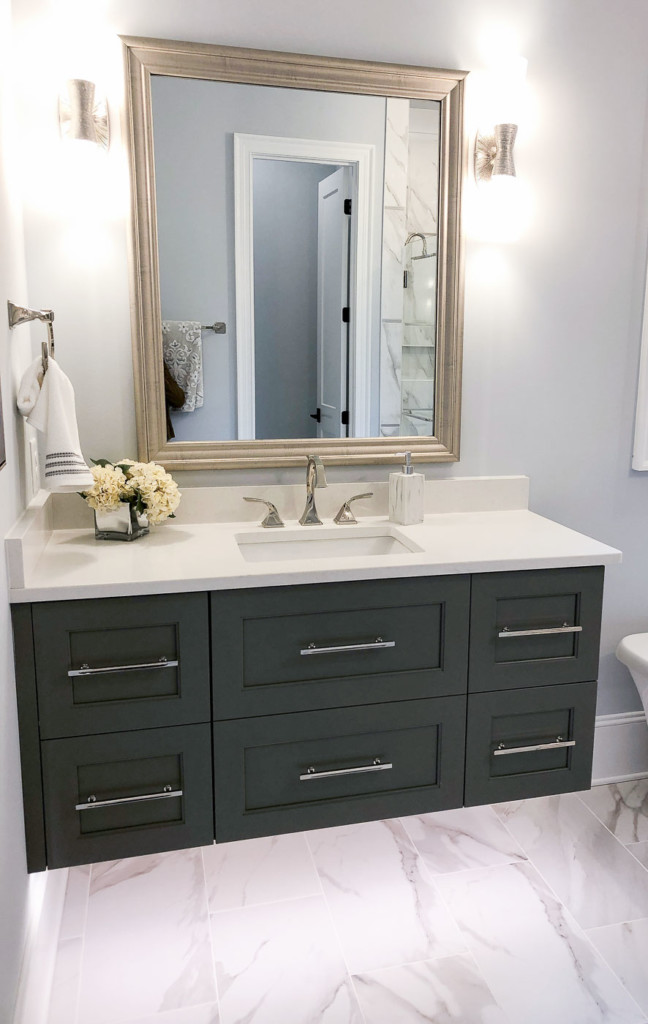
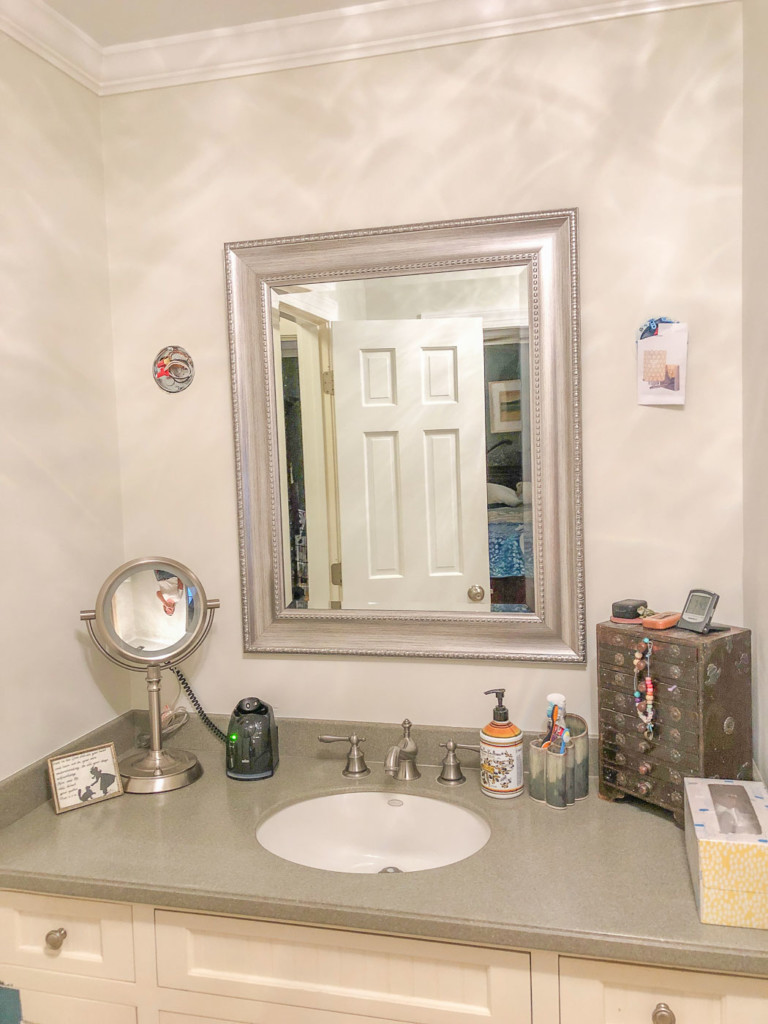
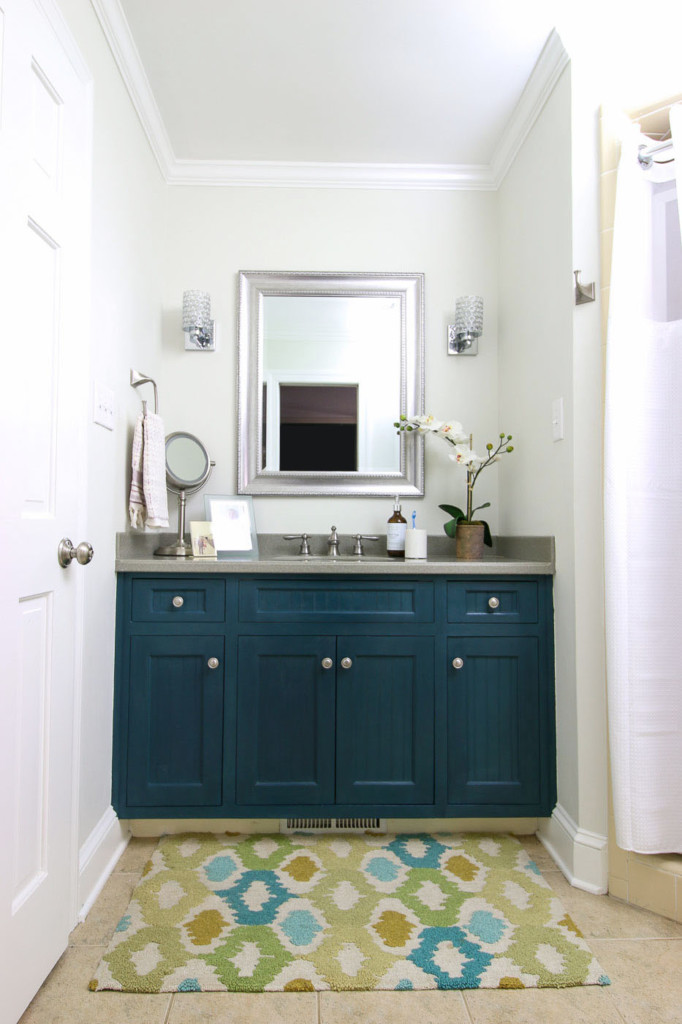
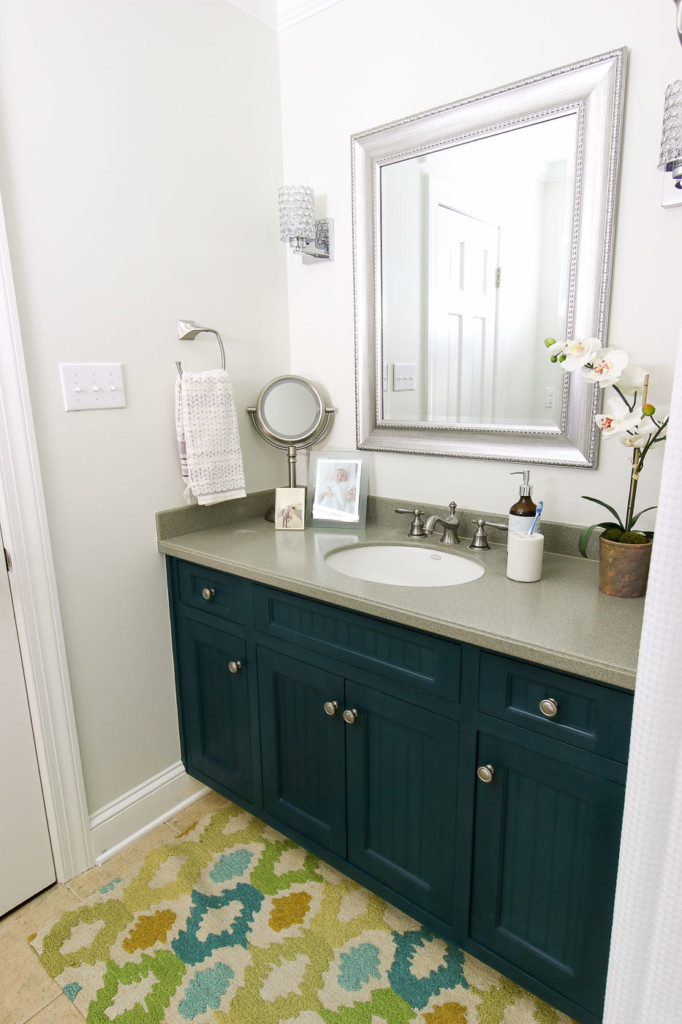
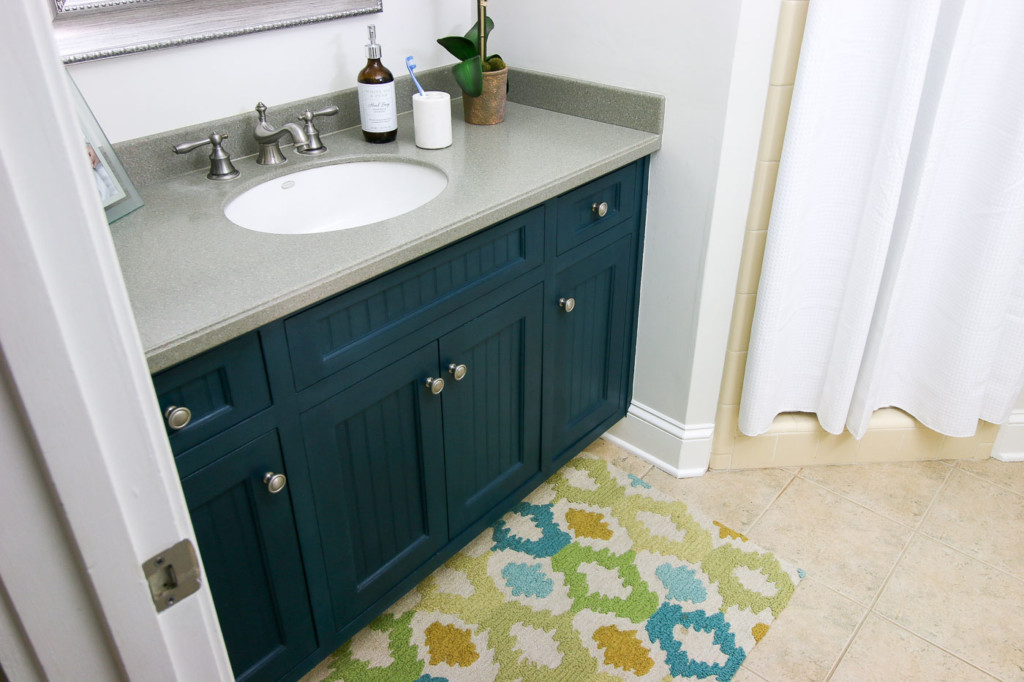
How to Save a Dated Bathroom Vanity
Learn how to save a dated bathroom vanity with this easy DIY project. A fresh coat of paint, new hardware, or creative upgrades can give your vanity a stylish, modern look without the cost of a full replacement.
Habitat for Humanity Bathroom Renovations in a Weekend
Habitat for Humanity bathroom renovations in a weekend show how much can be accomplished with teamwork and planning. These quick DIY projects transform bathrooms efficiently, making even small spaces functional and beautiful in just a few days.

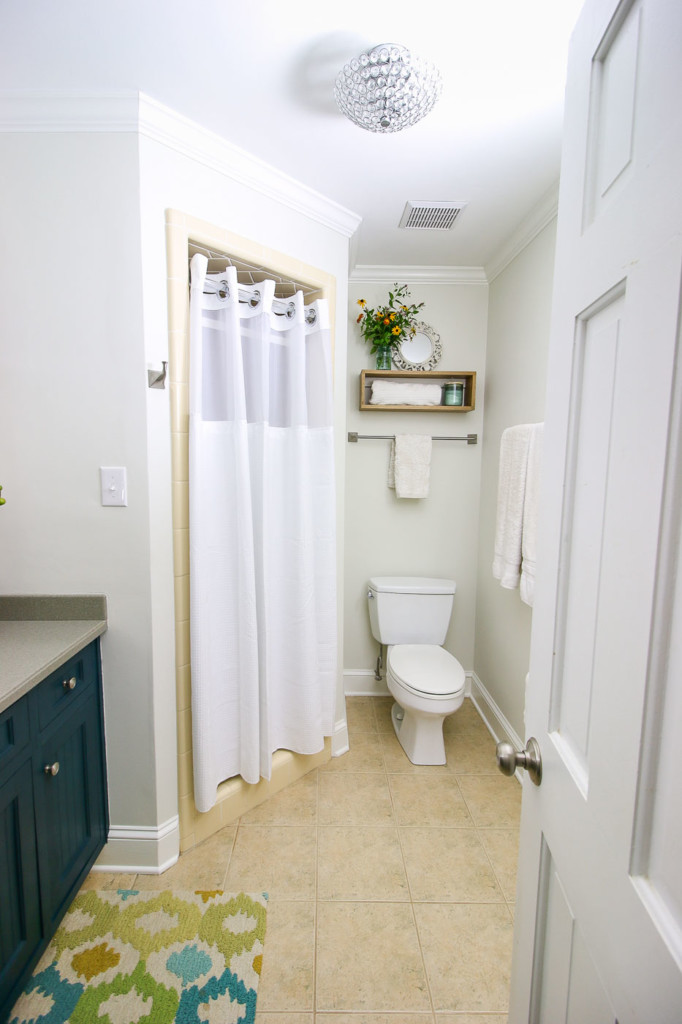
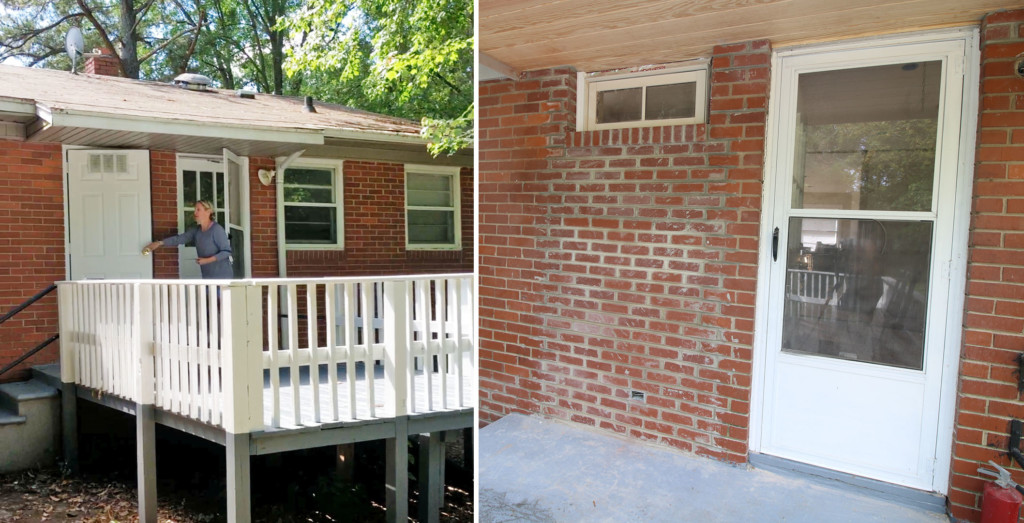
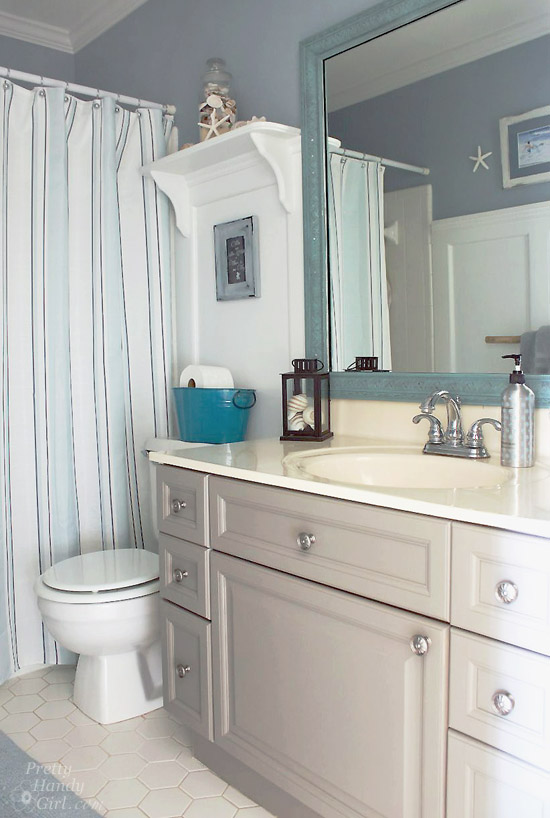
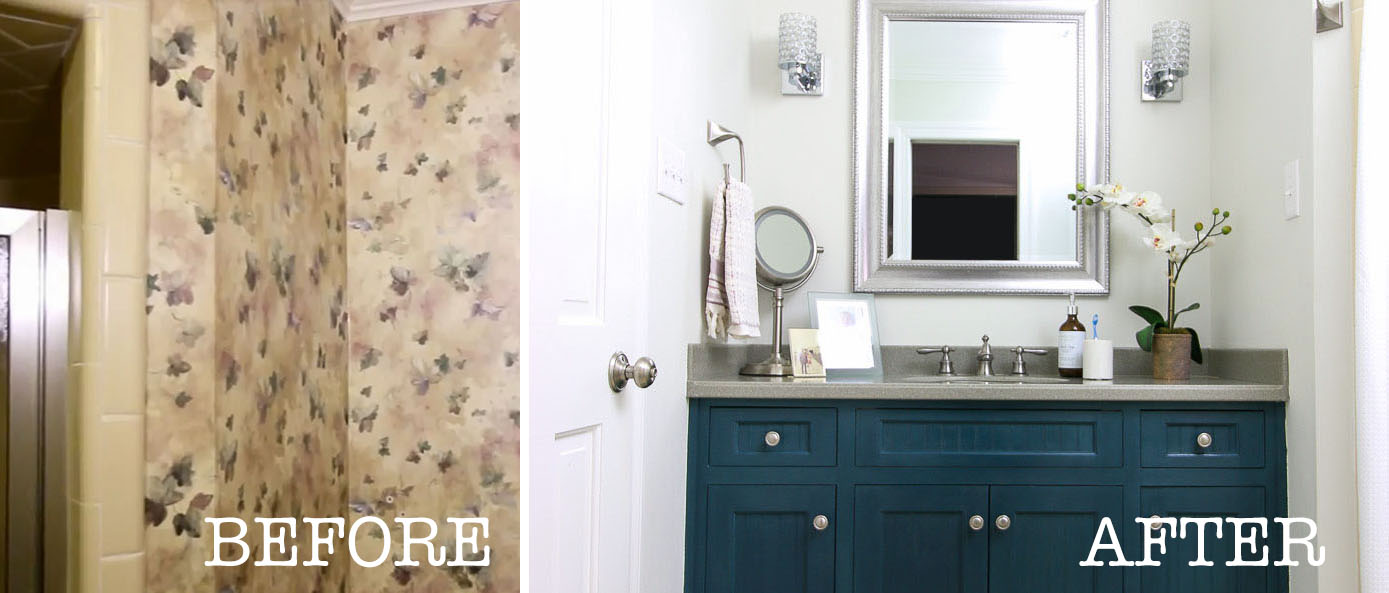
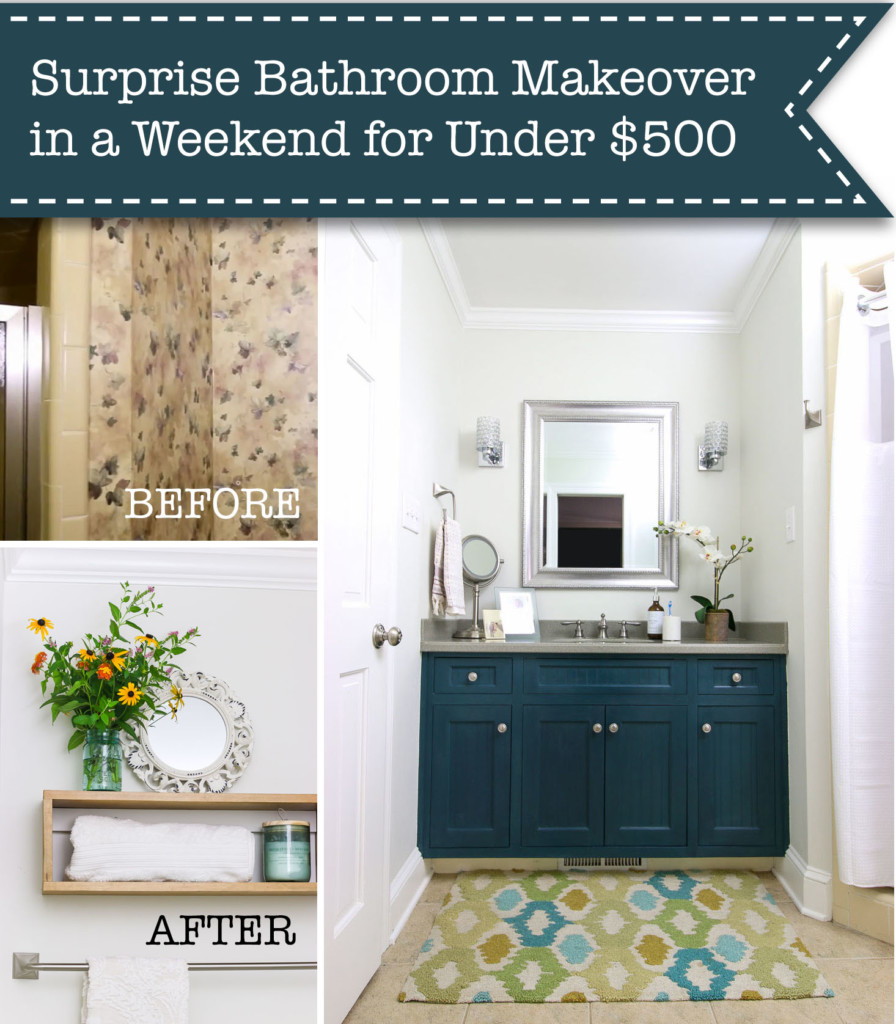
A Surprise Bathroom Makeover for Under $500
A surprise bathroom makeover for under $500 proves that a bathroom renovation doesn’t have to break the bank. With clever DIY projects and budget-friendly updates, you can transform your space without sacrificing style or function.

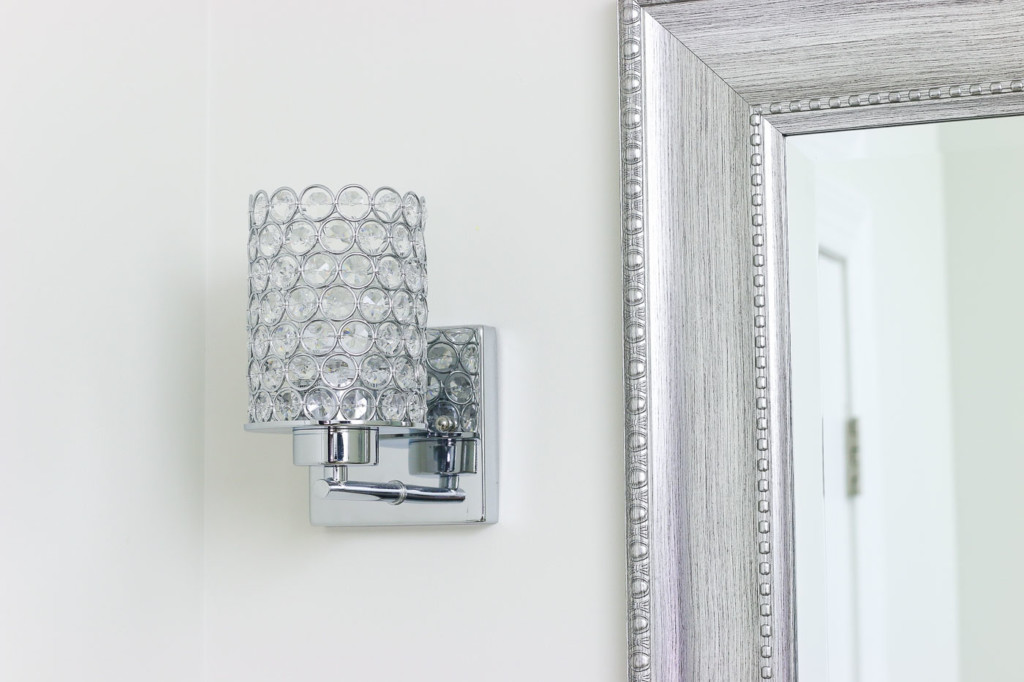
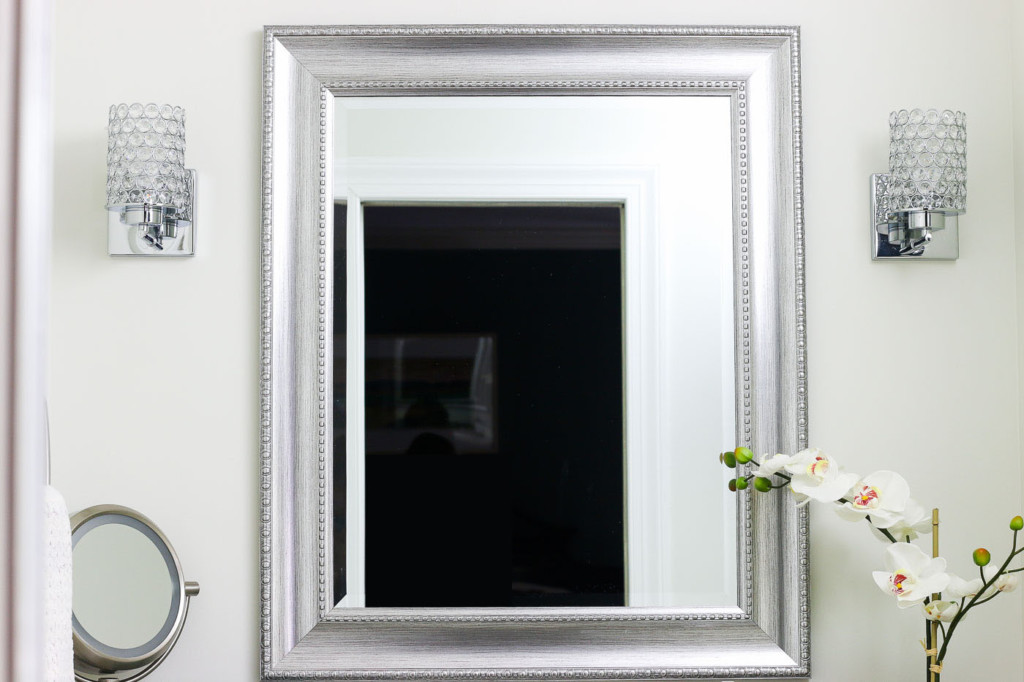
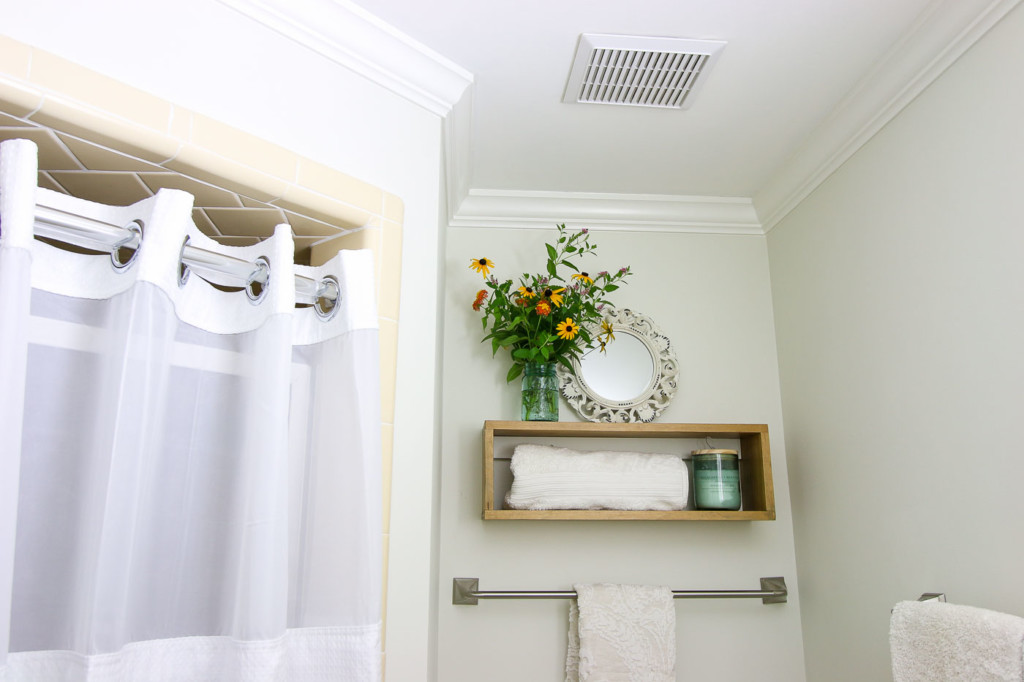
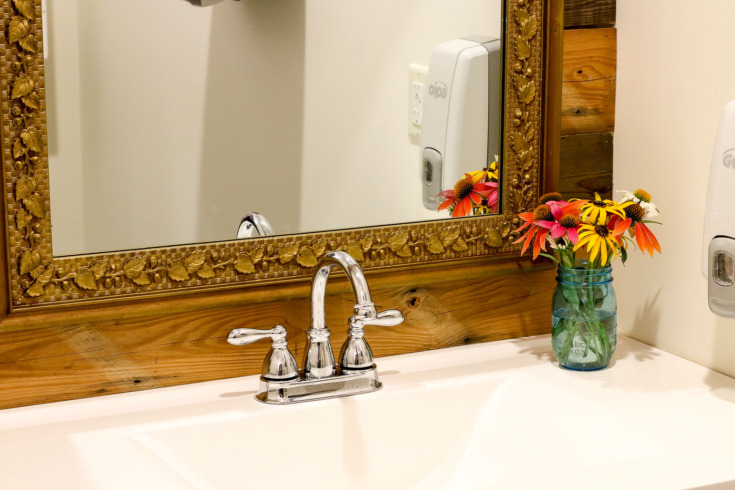
How to Frame a Dated Mirror
Learn how to frame a dated mirror with this easy DIY project to give your bathroom an instant style upgrade. A simple frame can transform an old mirror into a chic, custom-looking focal point.

How to Hang a Frameless Oval Mirror
Learn how to hang a frameless oval mirror with this simple DIY project. Proper placement and secure mounting make it a stylish and functional addition to any bathroom.
12 Inexpensive Ways to Decorate Your Bathroom
These 12 inexpensive ways to decorate your bathroom prove that small updates can have a significant impact. Whether you stick to a neutral color scheme for a calm, timeless look or add something a bit bolder to make a statement, these DIY projects and creative accents refresh any bathroom on a budget.
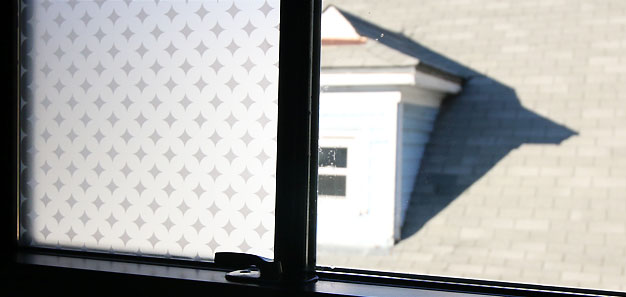
How to Install Privacy Film on Windows
Learn how to install privacy film on windows with this easy DIY project. It’s a simple way to add style, diffuse natural light, and keep your bathroom private without blocking the view or spending a fortune.
Boy's Bathroom Refresh
This boy’s bathroom refresh is full of simple DIY projects that update the space with style and function. From playful accents to practical storage solutions, these ideas make the bathroom more organized and fun without a full renovation.

1970's Guest Bathroom Makeover
This 1970’s guest bathroom makeover brings retro charm into the modern era with easy DIY updates. From fresh paint and stylish fixtures to clever storage solutions, the transformation creates a functional and inviting space.
Simple Bathroom Repairs
Simple bathroom repairs can save time, money, and prevent bigger issues down the line. From fixing leaky faucets to unclogging drains, these easy DIY fixes keep your bathroom running smoothly and looking great.

Installing a New Toilet Seat
Let me show you how simple it is to install a new toilet seat. This fix is inexpensive and only takes about 15 minutes.
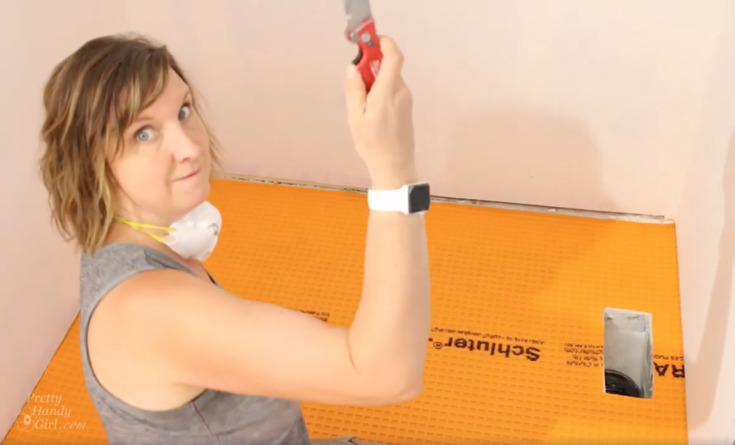
How to Waterproof Floors in Any Room
Learn how to waterproof floors in any room with this simple DIY project. Proper sealing and moisture protection keep your bathroom, or any space, safe, durable, and ready for years of use.

How Not to Replace an Escutcheon
Learn how not to replace an escutcheon with this cautionary guide, highlighting common mistakes to avoid. Following these tips will save you frustration and help your DIY bathroom updates look clean and professional.
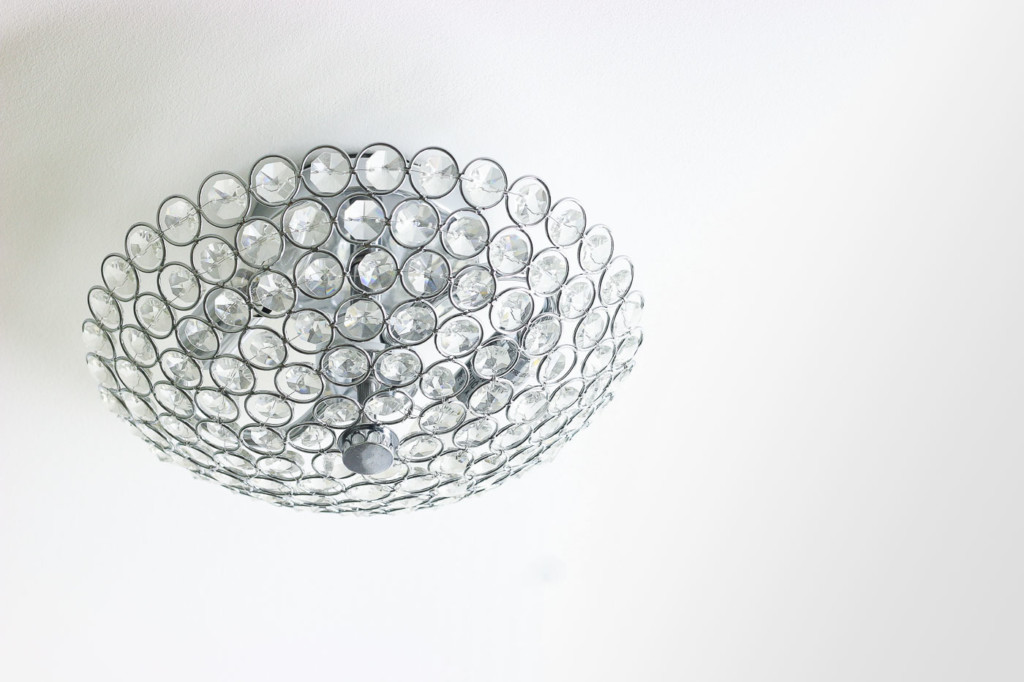
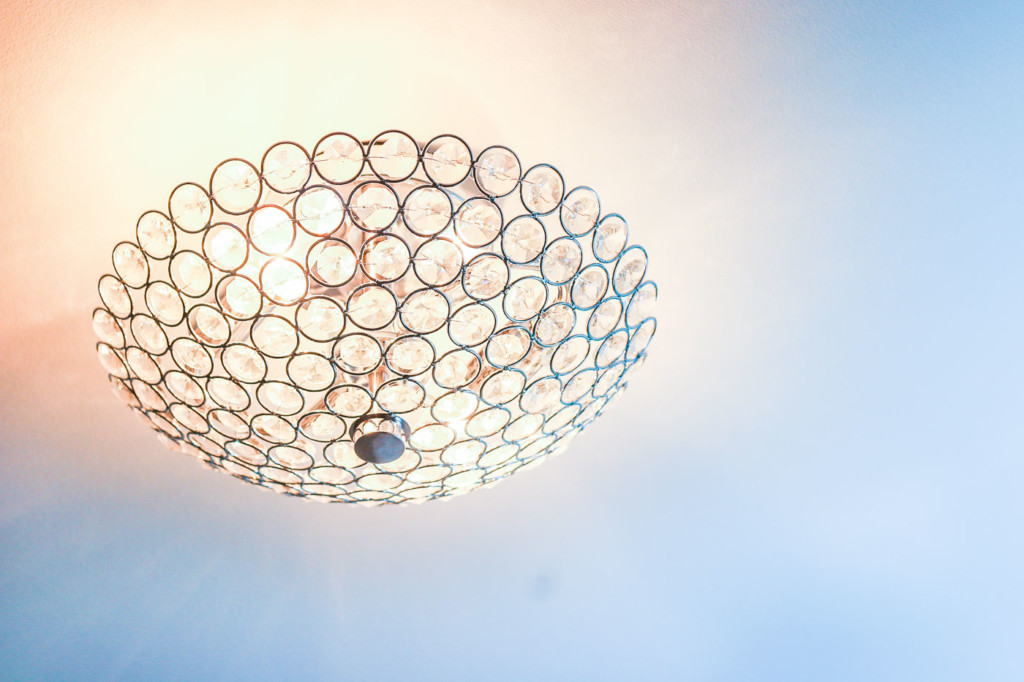
Changing Out a Light Fixture (Bye-Bye Hollywood Strip Light)
Learn how to change out a light fixture with this easy step by step tutorial. A simple DIY project to update any room in your home.
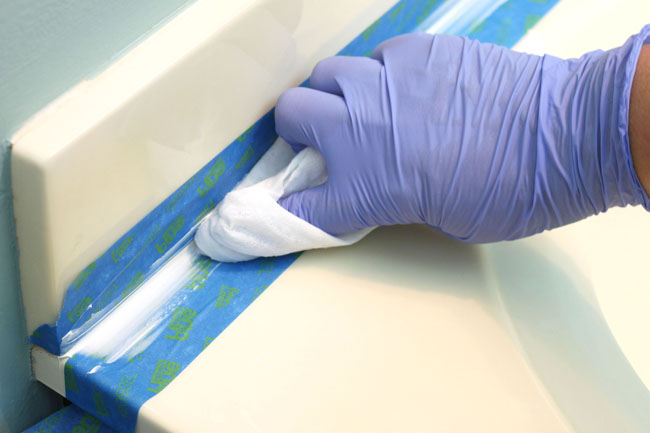
How to Caulk Like a Pro
Learn how to caulk like a pro with this easy DIY project. Smooth, precise caulking not only makes your bathroom look polished but also prevents leaks and protects surfaces for years to come.
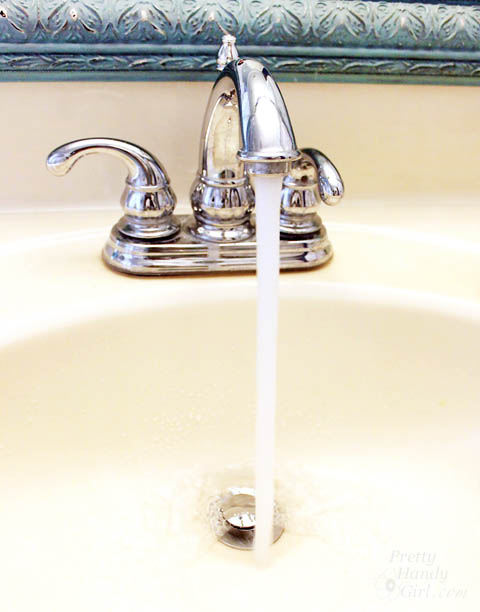
Replacing a Sink Drain
Learn how to replace a sink drain with this simple step by step DIY tutorial. Perfect for fixing leaks and updating your bathroom or kitchen sink.
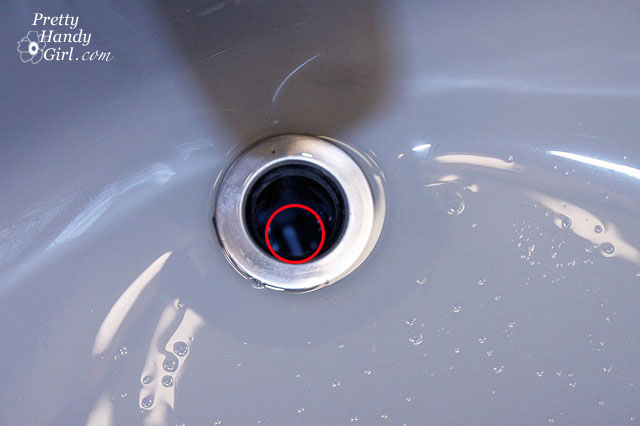
Repairing a Pop Up Sink Drain
Repairing a pop up sink drain is a simple DIY project that keeps your bathroom sink working smoothly. With a few basic tools and steps, you can fix clogs, leaks, or alignment issues without calling a plumber.
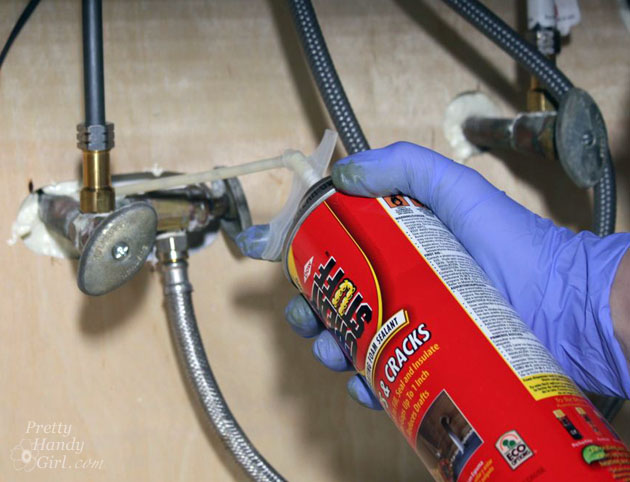
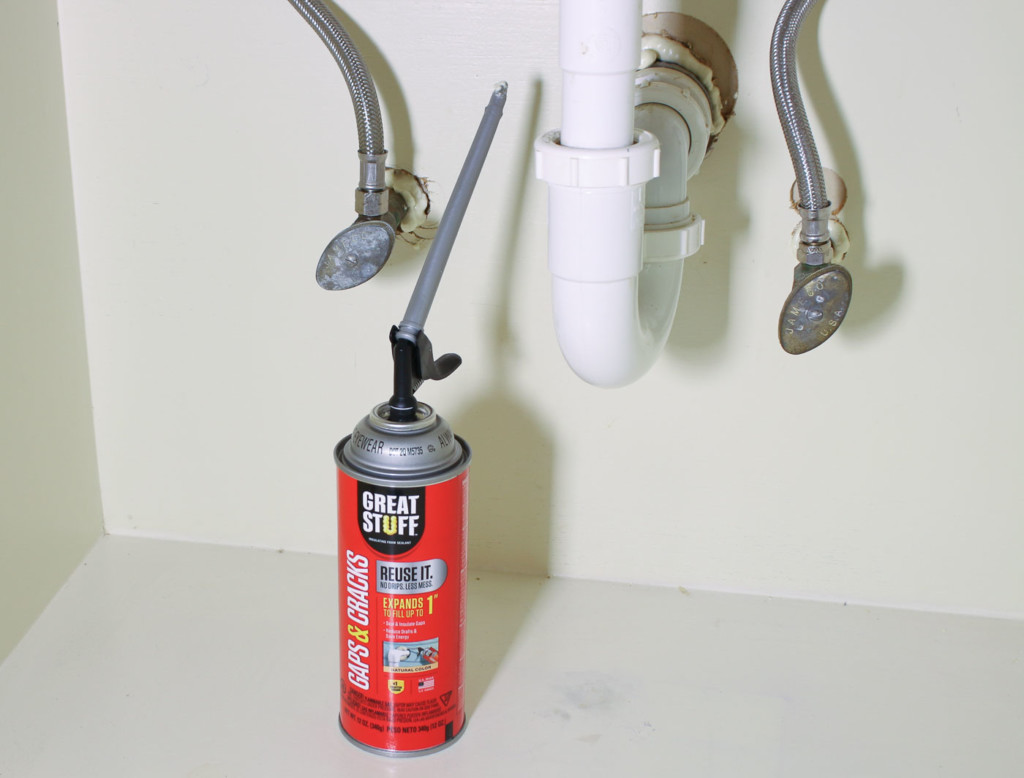
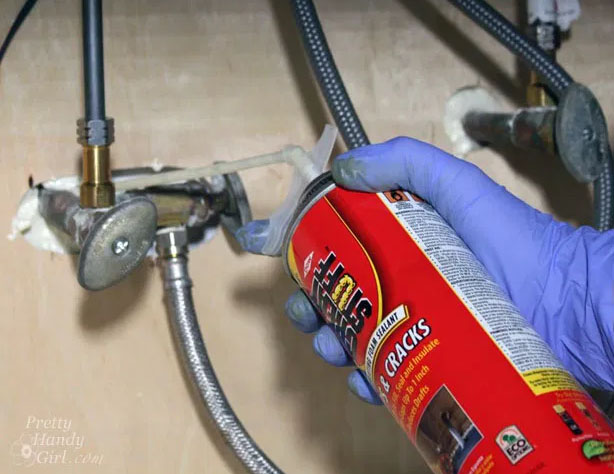
Seal Gaps Around Pipes
Sealing gaps around pipes is a simple DIY project that improves both your bathroom’s appearance and efficiency. Properly sealed pipes prevent drafts, moisture damage, and keep your space looking clean and finished.
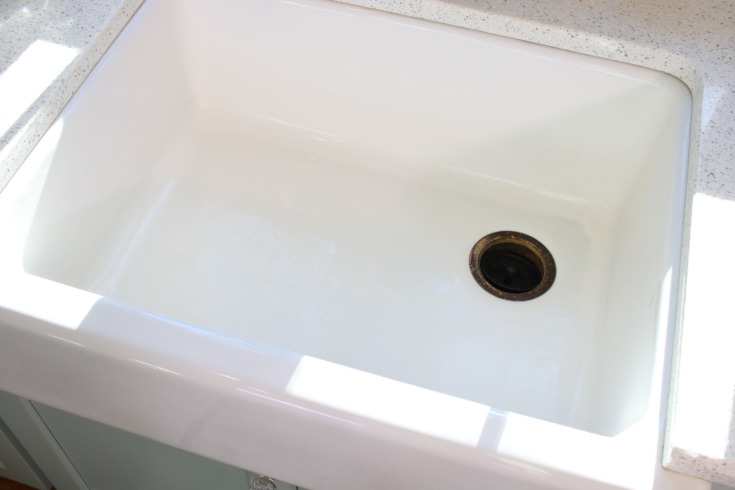
How to Remove Scratches from a Cast Iron Sink or Tub
Learn how to remove scratches from a cast iron sink or tub with this easy DIY project. Using simple tools and techniques, you can restore the smooth, glossy finish and keep your bathroom fixtures looking like new.

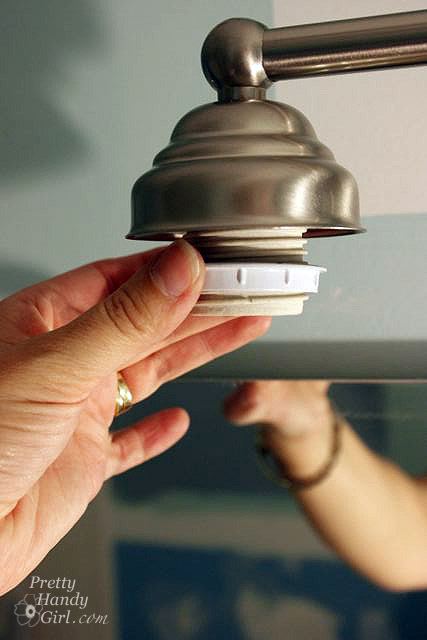
How to Repair a Leaky Shower or Tub Faucet
Learn how to repair a leaky shower or tub faucet with this easy step by step tutorial to stop drips and save water fast.
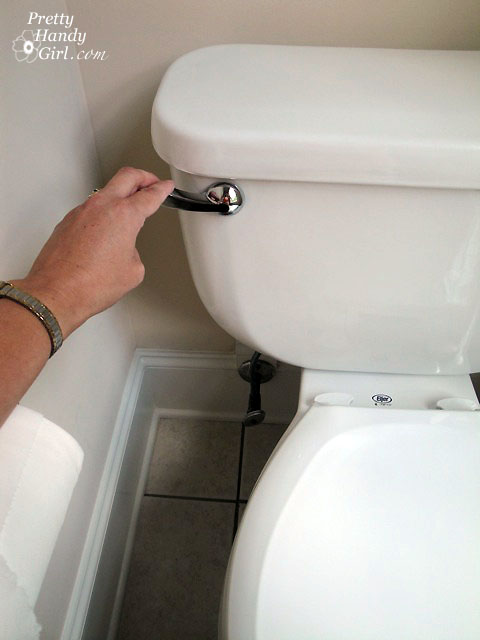
Toilet Repairs - Part 1 - Replace the Lever
Part 1 of a 3 part toilet repair series. Today we’re learning how to replace the toilet lever quickly and easily.
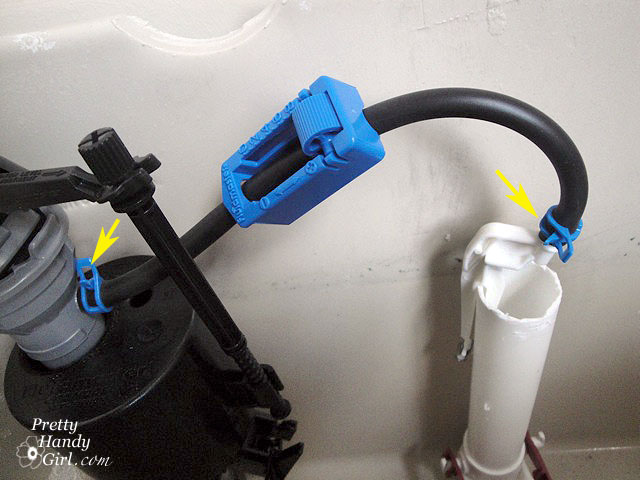
Toilet Repairs - Part 2 - Replacing the Fill Valve
Toilet Repairs Part 2 Replacing the Fill Valve with this easy step by step guide to fix running or noisy toilets fast.

Toilet Repairs - Part 3 - Replacing the Overflow Tube and Flapper
Toilet Repairs Part 3 Replacing the Overflow Tube and Flapper with this simple step by step tutorial to stop leaks and keep your toilet running properly.
Tiling Projects
Tiling projects can completely modernize a bathroom, adding style, texture, and durability. From backsplashes and shower surrounds to floors and accent walls, tile projects make a big impact and give any bathroom a polished, custom look.
How to Tile a Shower/Tub Surround and Never Replace Caulk Again
Learn how to tile a shower or tub surround like a pro with this full tutorial, and discover tips to prevent caulk from cracking or needing replacement. This DIY project makes your bathroom look polished and keeps it low-maintenance for years to come.

11 Must See Tips for Professional Looking Tile Floors
These 11 must see tips for professional looking tile floors make any DIY tiling project easier and more polished. From proper preparation and layout to grout techniques and finishing touches, these tips help create a flawless, long-lasting floor in your bathroom.
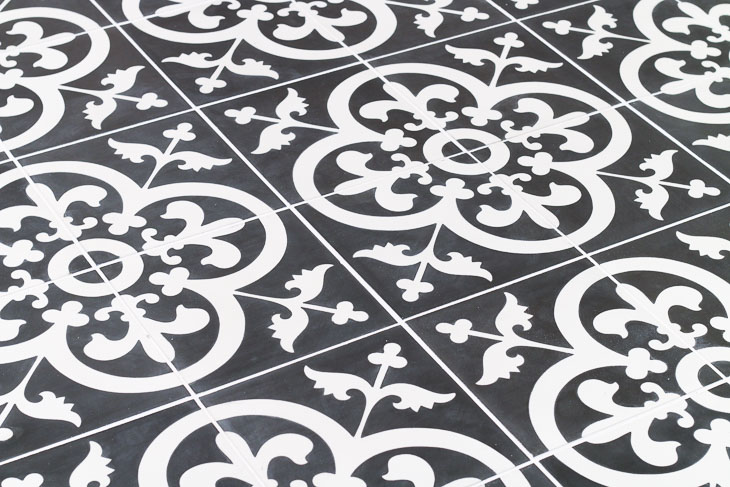
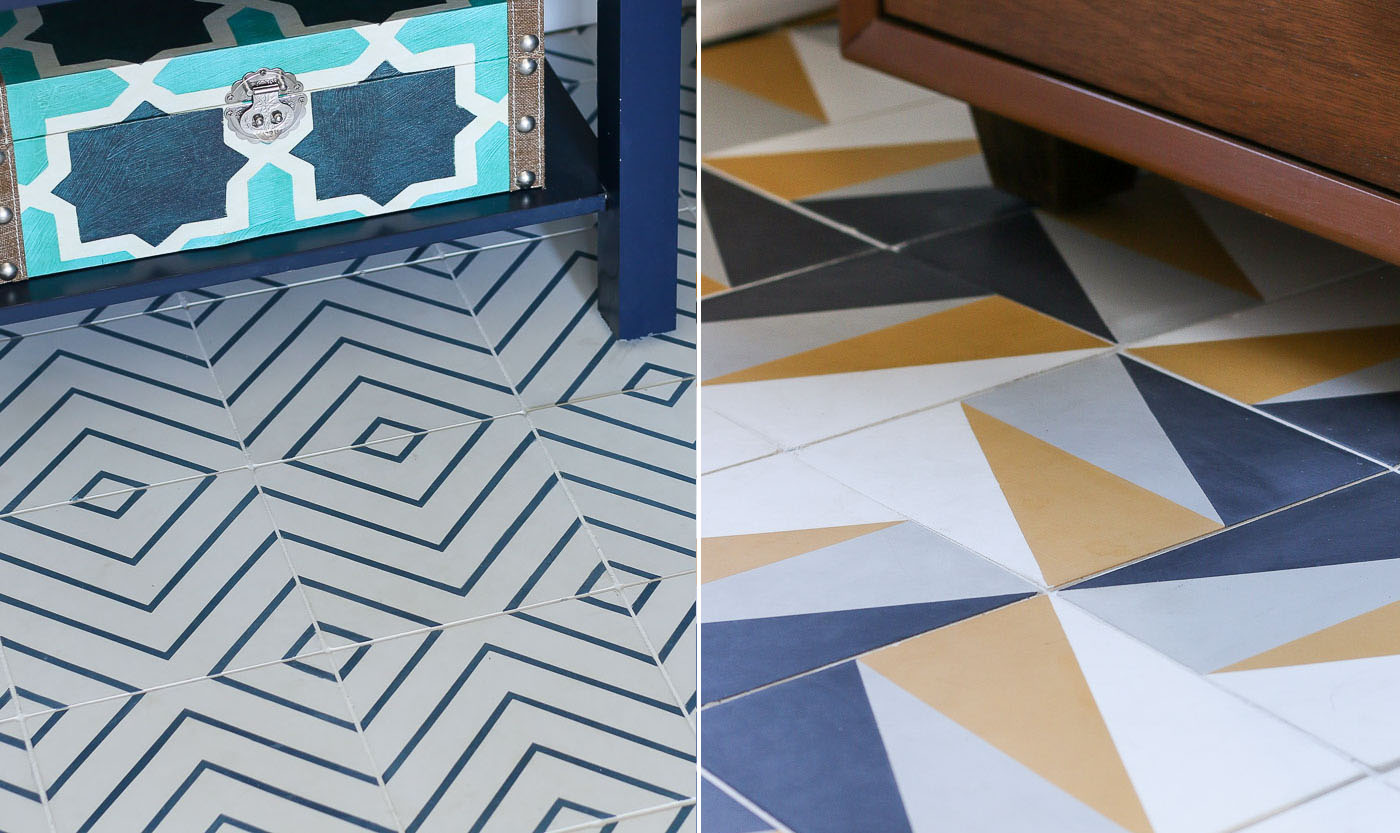
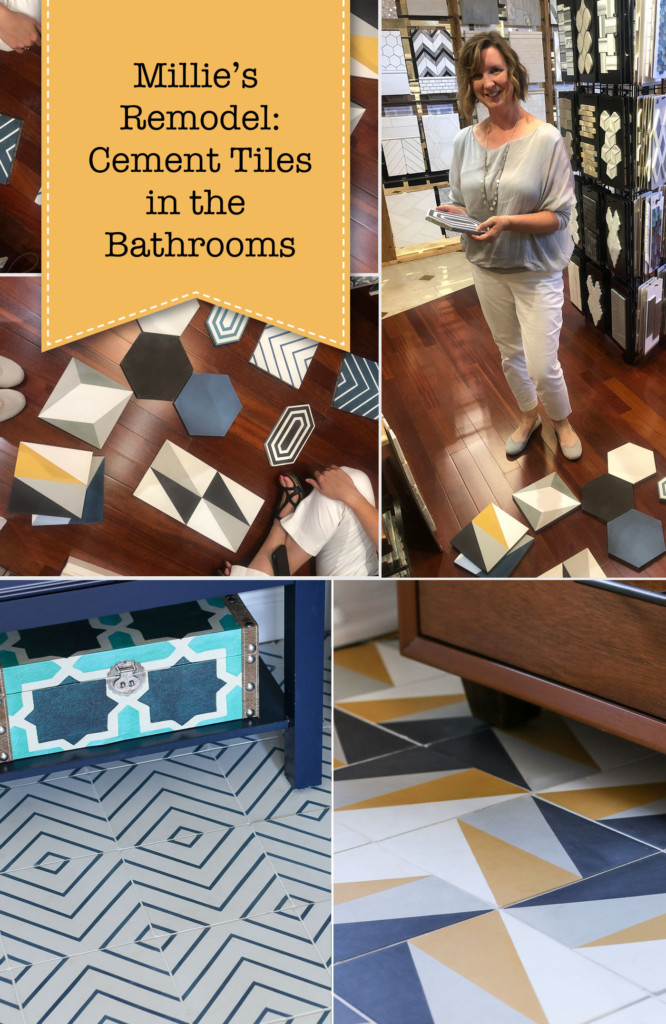
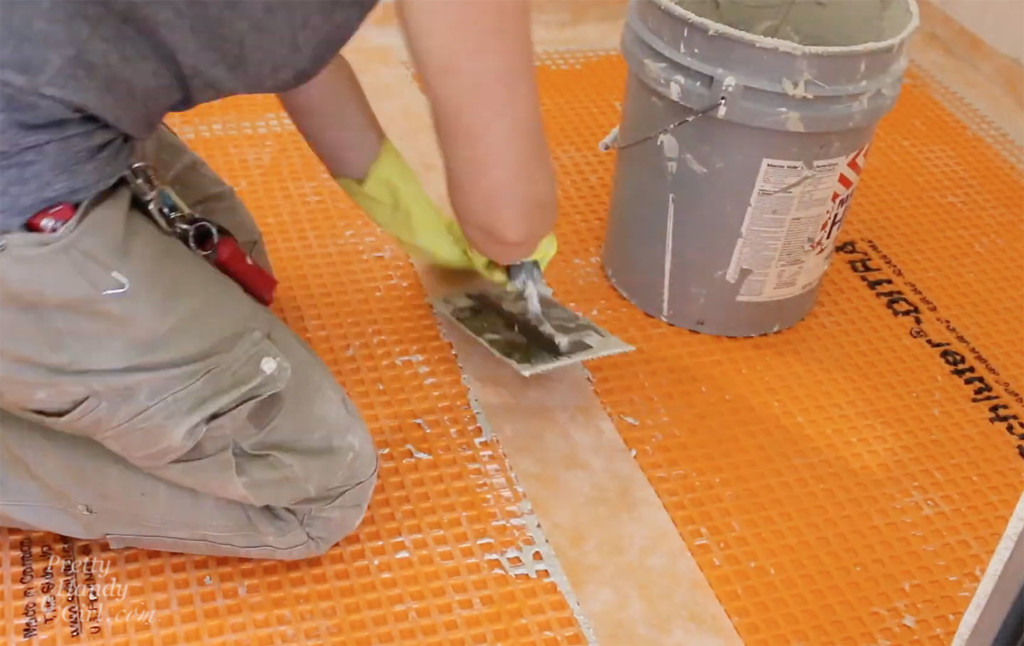
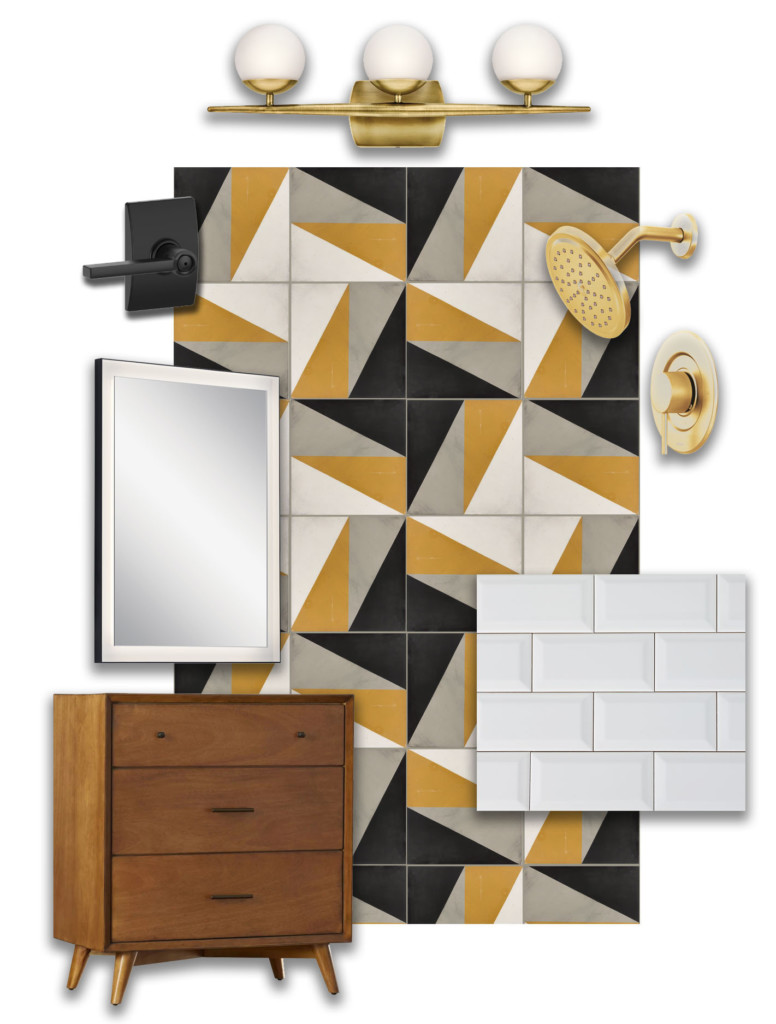
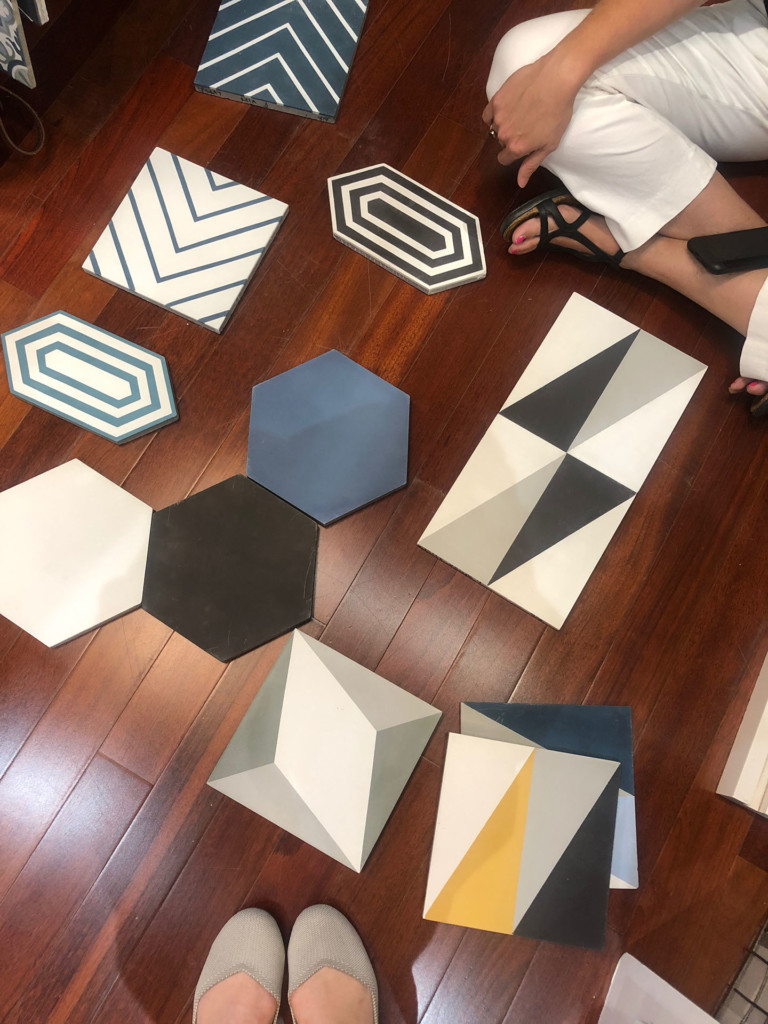
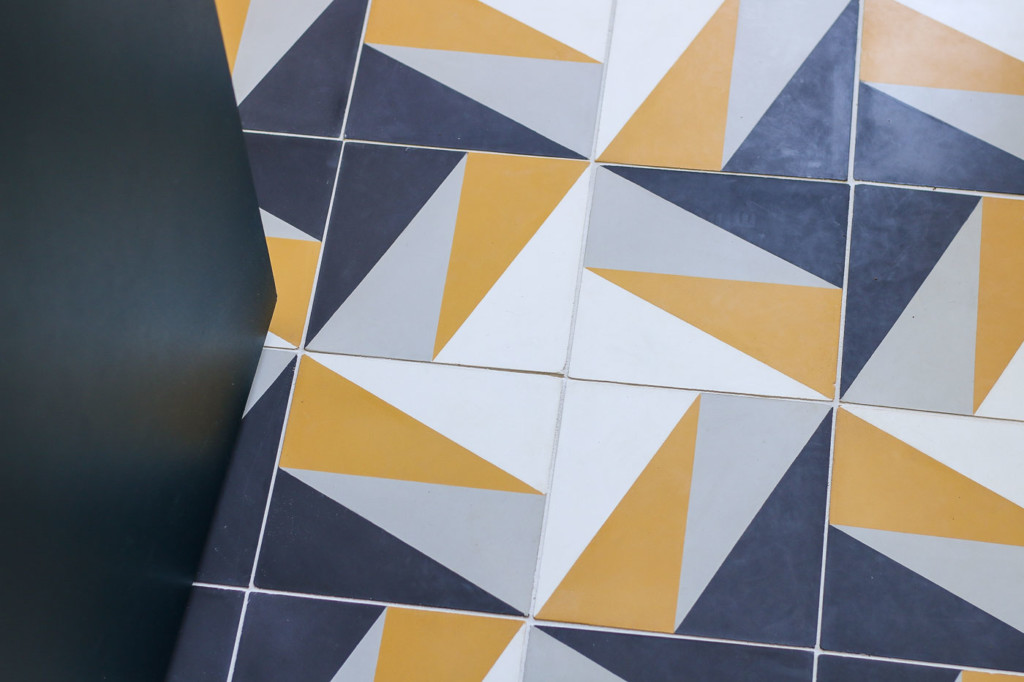
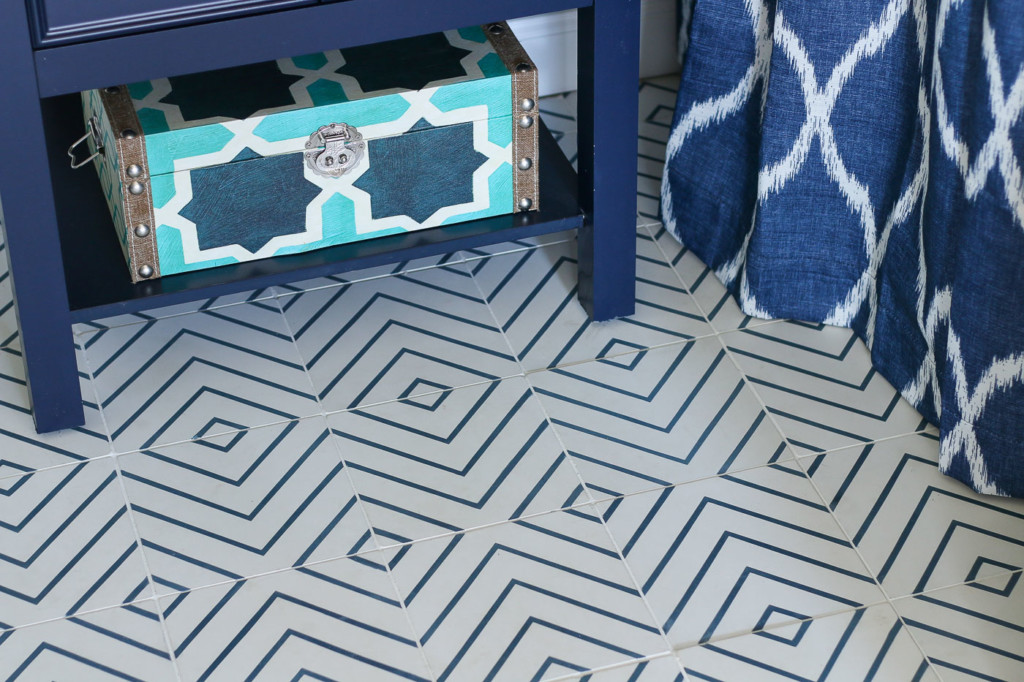
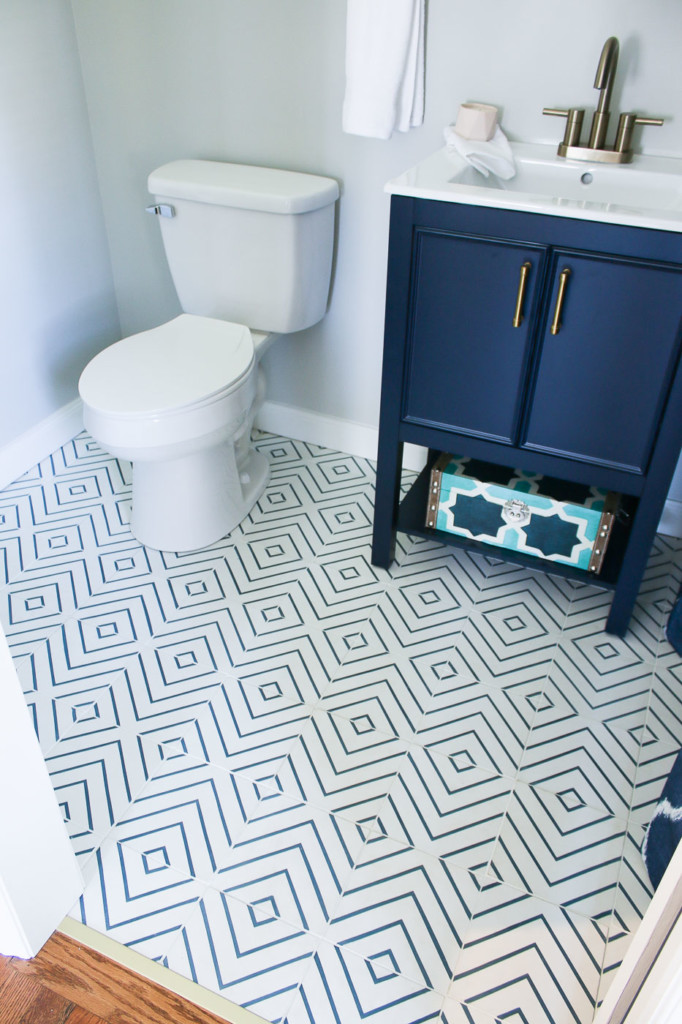
How to Install Cement Floor Tile With Professional Results
Learn how to install cement tiles with professional results using this step-by-step DIY project. With proper preparation, precise placement, and finishing techniques, you can achieve a stunning, durable floor that elevates any bathroom.
Cleaning Projects
These cleaning projects tackle tough bathroom issues like clogged drains and stubborn buildup. Using a natural drain opener and simple techniques for hard water stains, you can keep your bathroom fresh, functional, and sparkling without harsh chemicals.
Non-Toxic Drain Opener
Unclogging a tub or sink drain is a common home maintenance task. Before reaching for harsh chemical cleaners, try this easy and inexpensive non toxic drain opener instead.
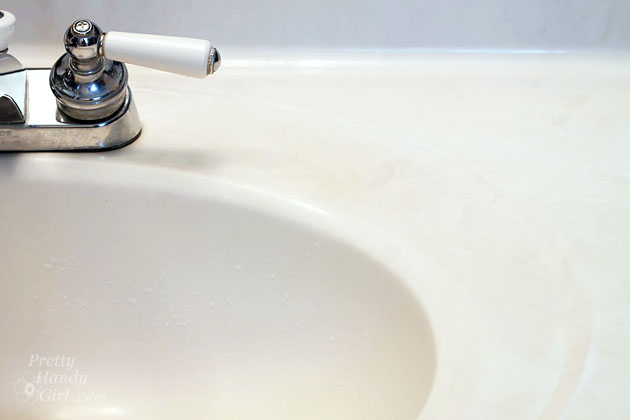
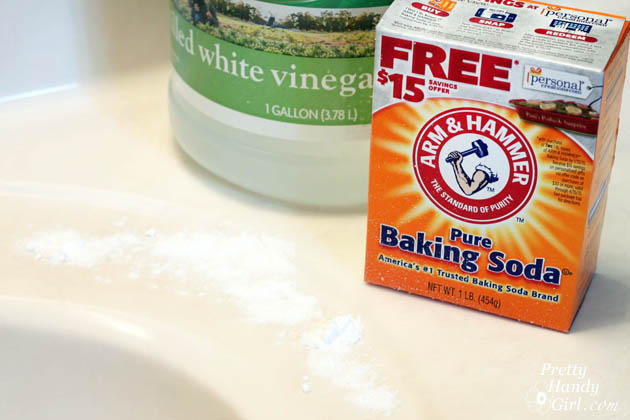
Scrub Away Hard Water Stains
Scrub away hard water stains with this simple DIY project to keep your bathroom sparkling clean. Using easy, budget-friendly methods, you can remove buildup and restore shine to sinks, tubs, and fixtures.
PIN FOR LATER
We hope you found these DIY bathroom projects helpful and inspiring for your next update. Whether you tackle one small change or a full makeover, a little effort can truly transform your space.

If you like this post, you may also like this post with easy home maintenance tasks for the interior:

Or this post with exterior home maintenance tasks:
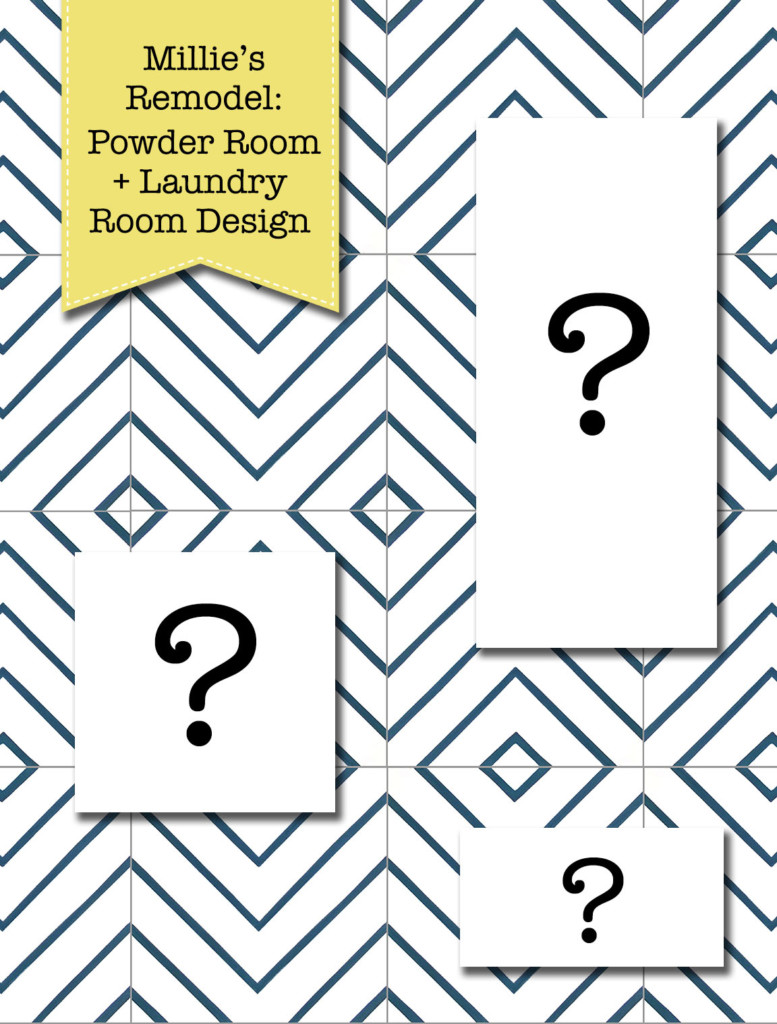
 A Surprise Bathroom Makeover Under $500