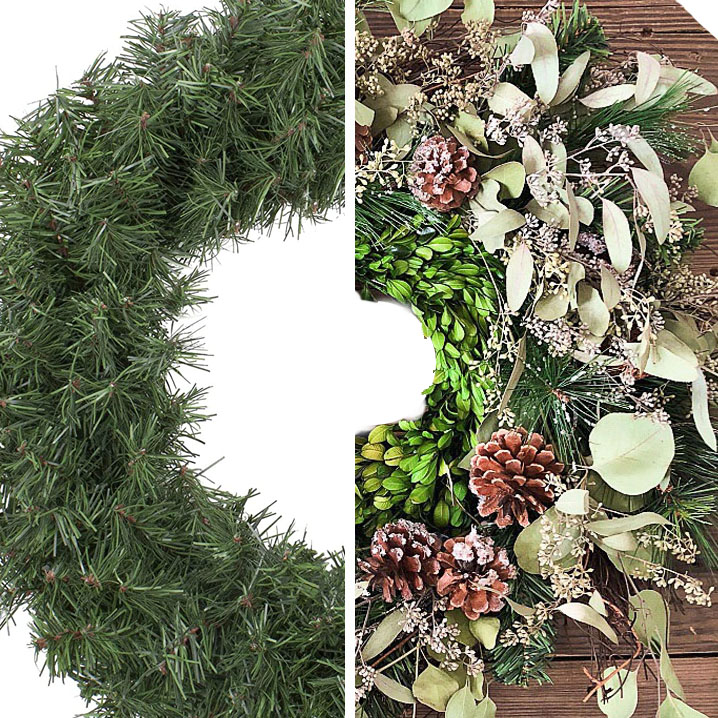
half cheap wreath, half expensive looking wreath

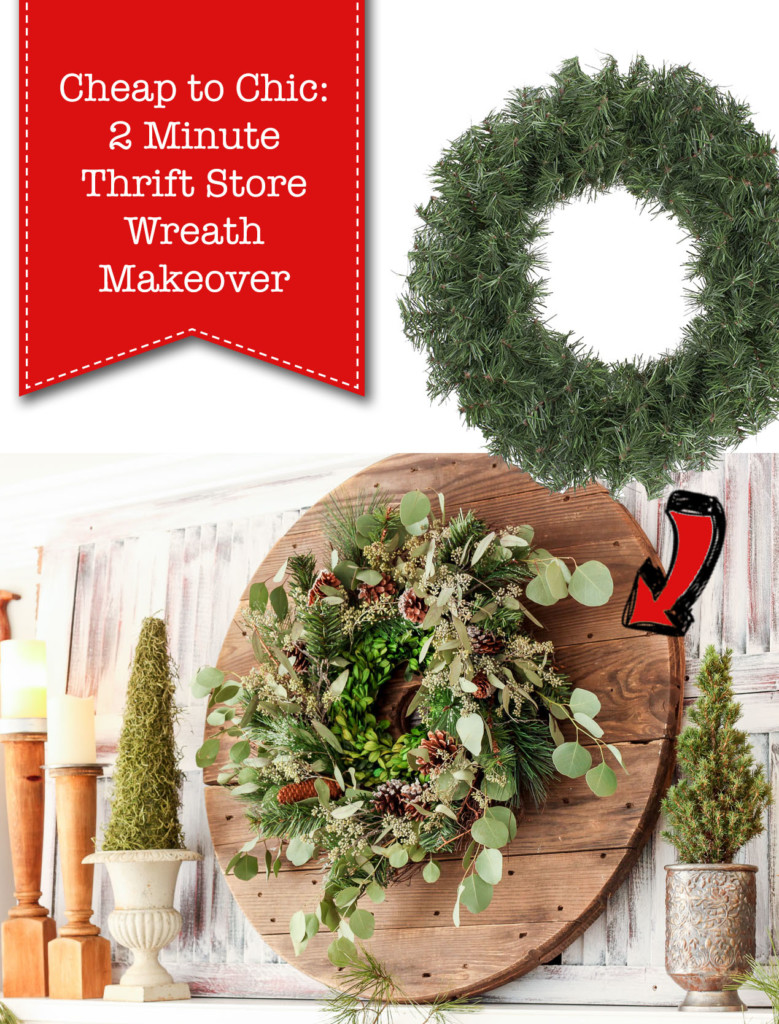
I’ve noticed many people are jumping right into decorating for Christmas. In a year where we’re only looking for some cheer, I can completely understand. Today I’ll show you how to dress up a basic cheap wreath to make it look like an expensive one. From Cheap to Chic: A Thrift Store Wreath Makeover.
Cheap to Chic: 2 Minute Thrift Store MakeoverCheap to Chic: Thrift Store Wreath Makeover

Never pay a lot for your holiday wreaths, because today I’ll show you how to get an expensive look without a lot of money. First, you’ll want to score a cheap wreath. I bought this wreath at a thrift store and it had some pretty ugly berries on it (which I’ve already pulled off).

Where to Score Cheap Wreaths:
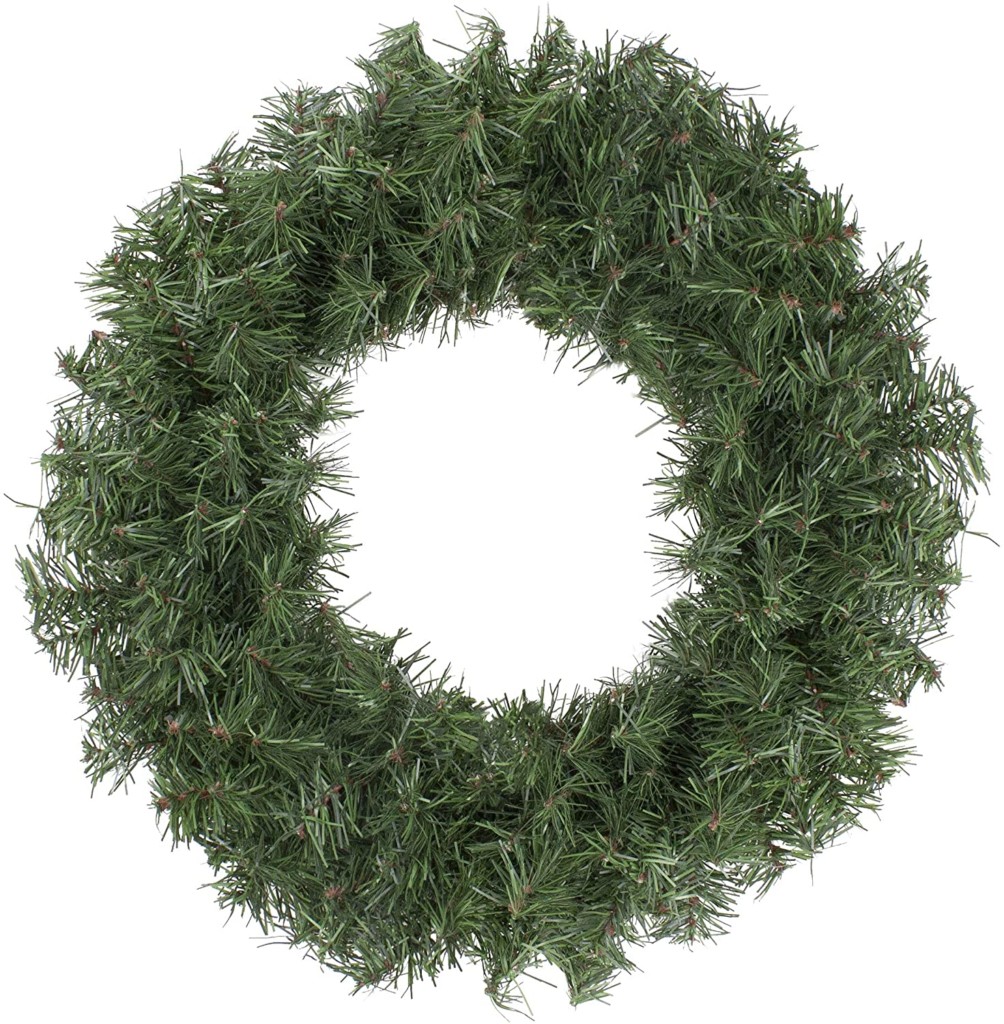
cheap fake pine wreath

  • Thrift or Consignment Store
  • Craig’s List or Facebook Marketplace
  • Clearance (look after the holidays)
  • Buy a Basic Wreath (this one is only $15)
  • Trash (you never know when you’ll find a wreath curbside!)

Materials:

(I’ve included affiliate links for your convenience. I earn a small percentage from a purchase using these links. There is no additional cost to you. You can read more about affiliate links here.)

Optional:

Instructions:

You’re going to love how quick and how beautiful this cheap to chic wreath makeover is!

If you bought a thrift store wreath, go ahead and remove any tacky decorations you don’t like. You can always save them for another craft or just pitch them.
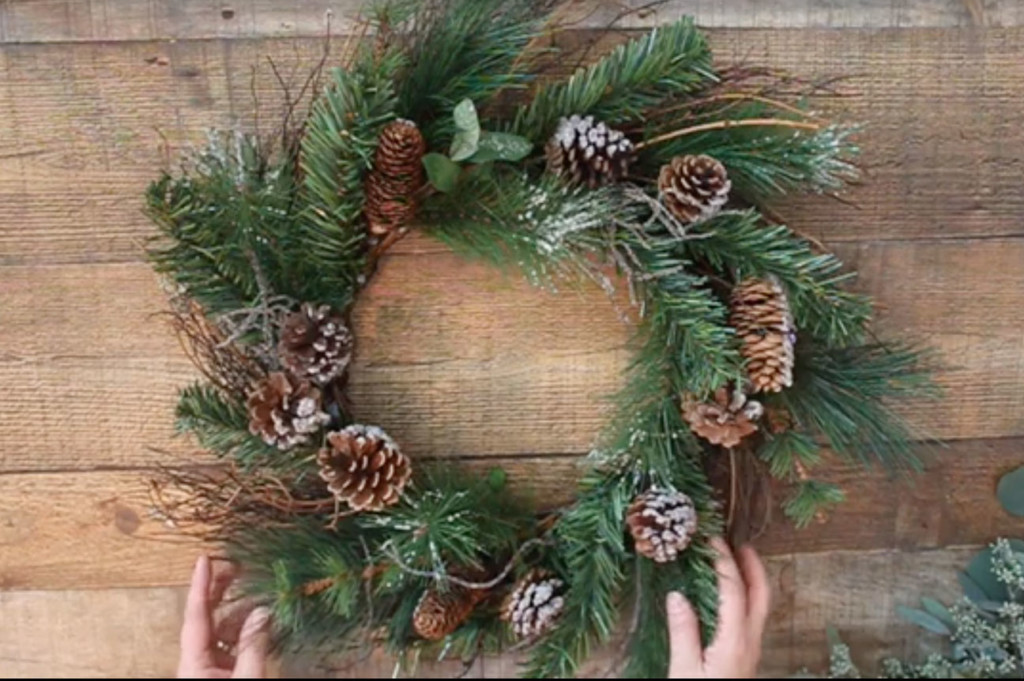
cheap pine wreath from thrift store

Pair with Another Wreath:

To get a lot of impact, pair your wreath with a smaller or larger wreath. I used a smaller boxwood wreath to fill in the center. The nice thing is it fit tightly inside my faux pine wreath. You may need to use floral wire to secure the wreaths together.
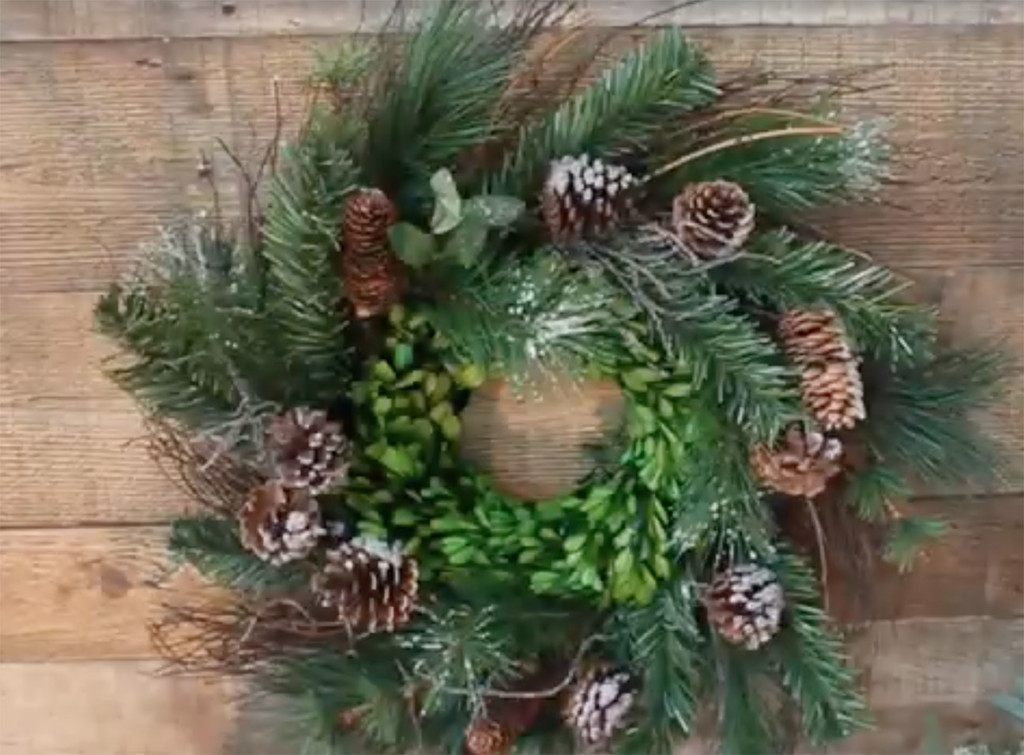
added boxwood wreath inside thrift store wreath

Add Real Greenery:

To hide the tacky fake wreath, add in real greenery. Head to the floral section of your grocery store and look for seeded eucalyptus. If they don’t have any, ask them to order some for you. This was the cheapest route (unless you have a friend or neighbor with a eucalyptus tree.)

Don’t want to leave home? Head outside and scour your yard. Look for a variety of greenery! Cut some pine, spruce, juniper, magnolia, rosemary, or holly branches.
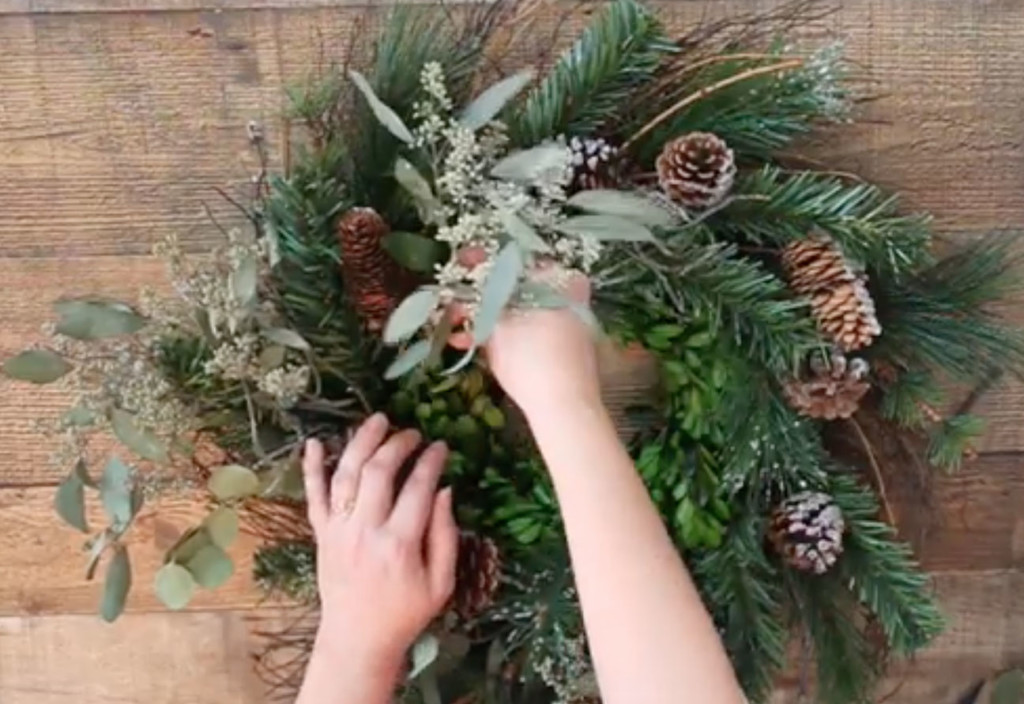
add eucalyptus leaves to wreath

Hanging Your Wreath:

You can add a ribbon to hang your wreath from or create a loop using the floral wire. Hang your beautiful chic wreath on the door, over your fireplace, or anywhere you want some holiday cheer!
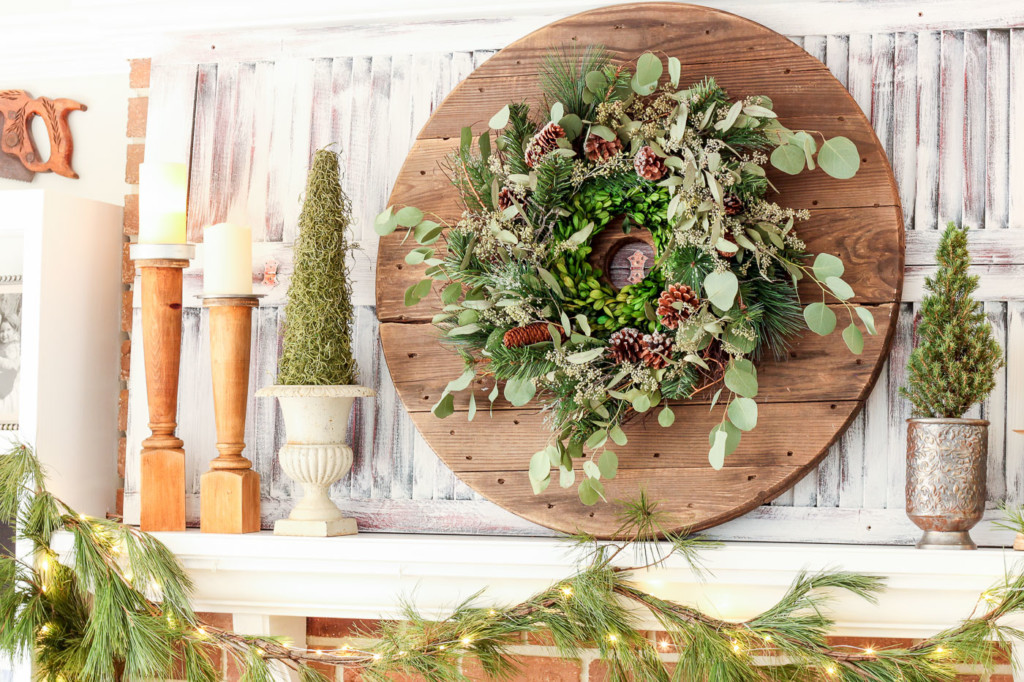
mantle decorated for Christmas with green wreath on cable reel

2 Minute Makeover for Your Cheap Wreath:

To show you how easy it is to transform your cheap thrift store wreath, watch my quick two-minute video.

Be sure you’re subscribed to my YouTube channel to get access to all my DIY tutorials.

I hope you enjoyed this easy cheap to chic wreath transformation and you’ll never give an ugly Christmas wreath a disgusted look again.
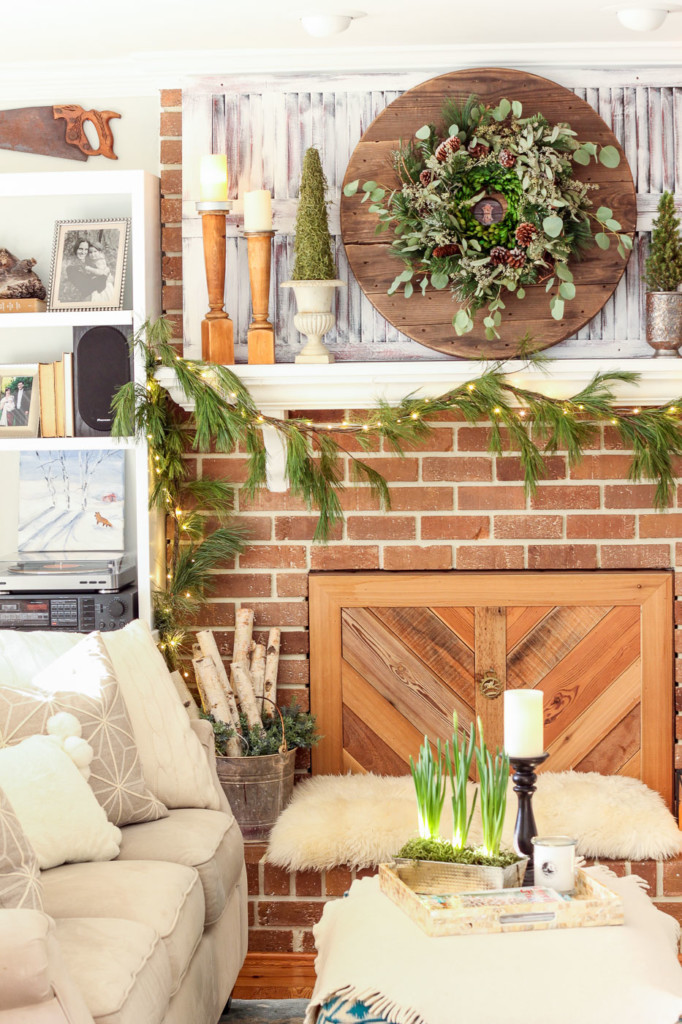
farmhouse style mantle fireplace

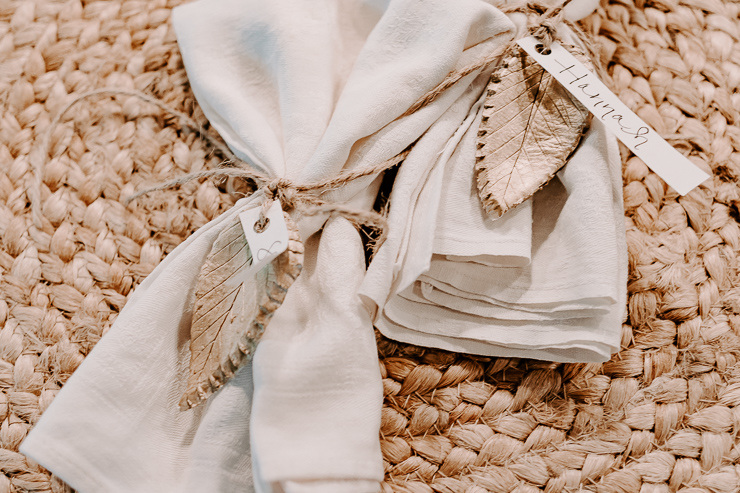
view of napkins tied with jute twine and a clay leaf place card

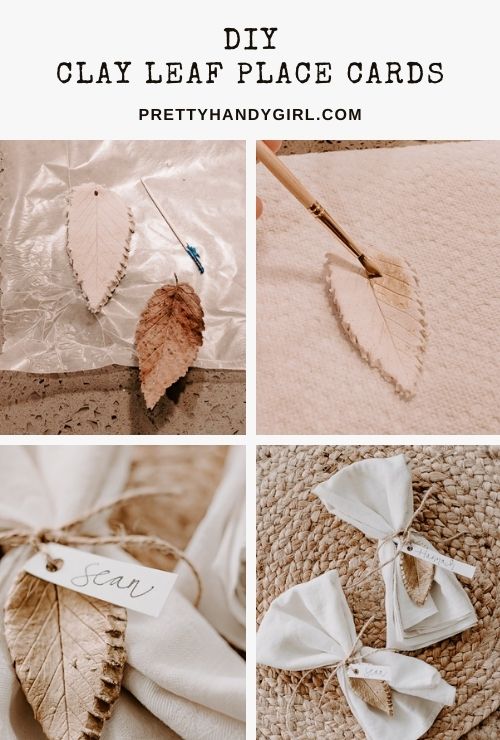
diy clay leaf place cards

DIY Leaf Place Cards for the Holidays

I hope your fall has been lovely so far.  The weather is just starting to turn here in NC.  I have to say, I love the weather here compared to Seattle.  We never experienced so much sun day after day!  Today, with Fall weather on my mind, I’m making you these DIY leaf place cards for the upcoming holidays.  These place cards are little clay leaves inspired by nature (hello, fall!) and painted in a beautiful gold color to elevate them for elegant dinners and parties.  

view of napkins tied with jute twine and a clay leaf place card

You’ll love my secret for getting those fancy leaf edges from your clay too – read on to find out how I do it.

These place cards can be used time and time again, just change out the name tag for each new guest.  

I hope you enjoy this craft!  

Materials:

  • Gold Paint
  • PaintBrush
  • Air Dry Clay
  • Flat Screwdriver
  • Rolling Pin
  • Toothpick
  • Leaves from Outside
  • Jute Twine
  • Wax Paper
  • Cardstock
  • Pen for Writing 

Instructions:

Step 1:  Roll our your Air Dry Clay

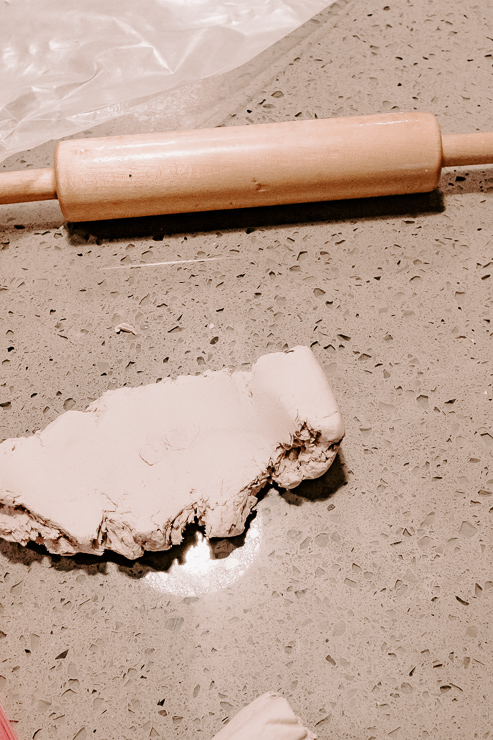
rolling out air dry clay

Grab a ball of air-dry clay and with slightly wet hands, roll it out using your rolling pin.  You want it to be about ¼ inch thick.  If you make it too thin, it will be too fragile and crack.  
Step 2:  Make a Leaf Imprint

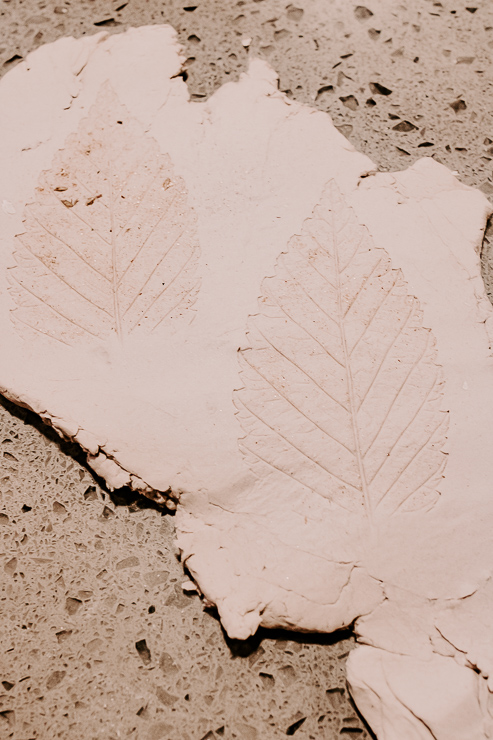
leaves imprinted in clay

Take your leaf, and lay it on top of your clay.  Using your rolling pin, roll carefully over the leaf several times, creating an imprint of the leaf onto the leaf.  

Step 3:  Cut your Leaf Out

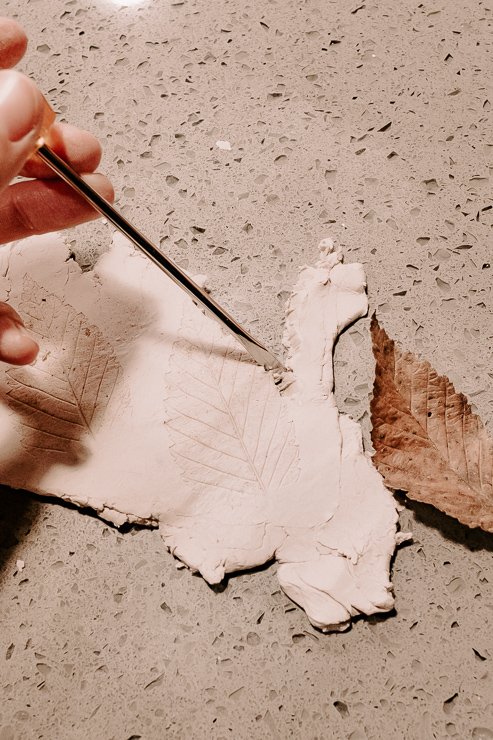
cutting out leaves from clay

Here’s where the magic happens!  You should see a beautiful leaf imprint in your clay.  Take a flat screwdriver and make little divots on the side of your clay leaf, where the leaf would naturally have edges.  

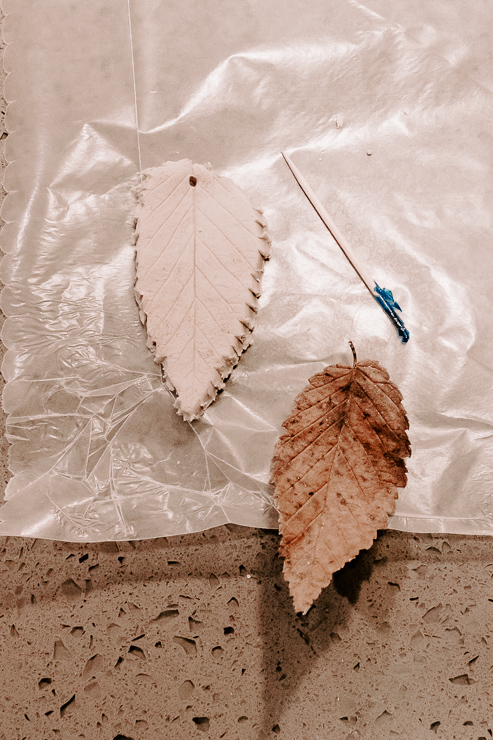
a leaf cut out of clay with a hole for hanging

Do this all the way around, and then carefully remove your leaf.  Using a toothpick, make a hole in the top of your leaf.  This will be for tying your jute twine later.  

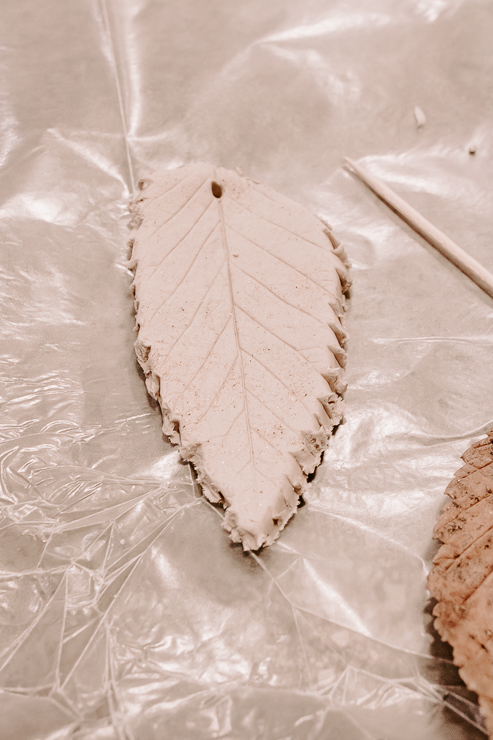
close up view of clay leaf

I take the leaf in my hands and slightly bend it to give it a more natural leaf shape, but you are welcome to keep it flat too.  Place your leaf on wax paper and allow it to air dry naturally for a couple of days.  

Step 4:  Paint your Clay Leaves

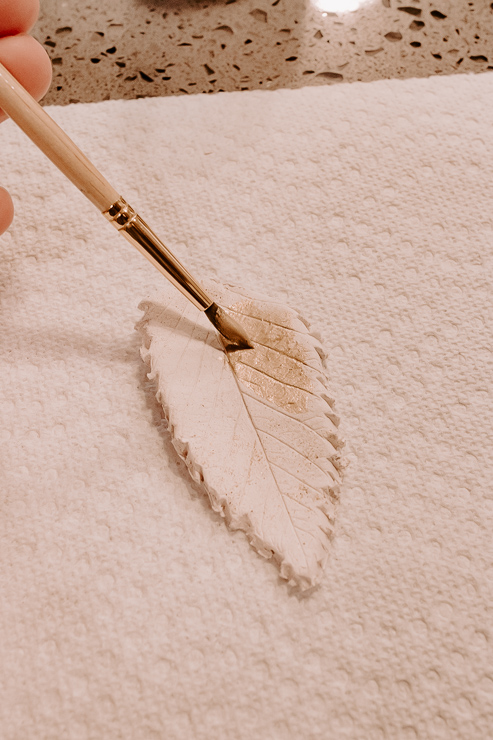
painting clay leaves gold

After your leaves dry, take a paintbrush and gold paint and lightly brush a few coats on the top and sides of your clay leaf.  Set them aside to dry.  

Step 5:  Tie on a Nametag

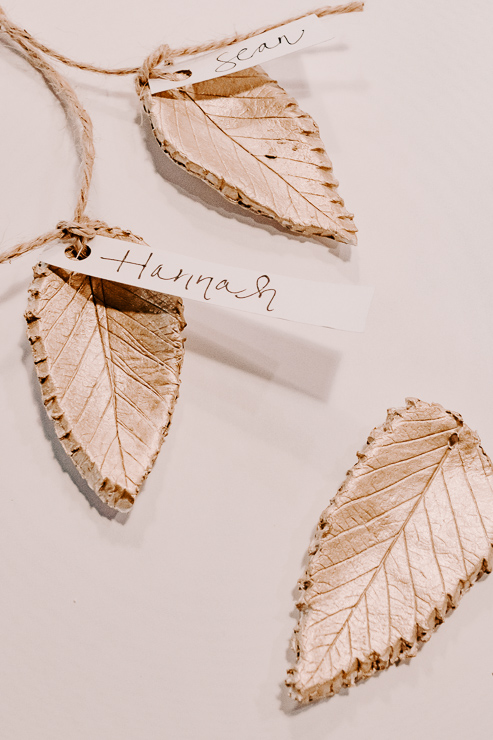
view of gold painted clay leaves

Our leaves are looking beautiful!  Now, all we need to do is cut a small tag of cardstock and write the guest’s name on it.  Use a hole punch to cut a hole in the cardstock.  Tie this to your leaf by threading your jute twine through the hole we created in the leaf in Step 3.  

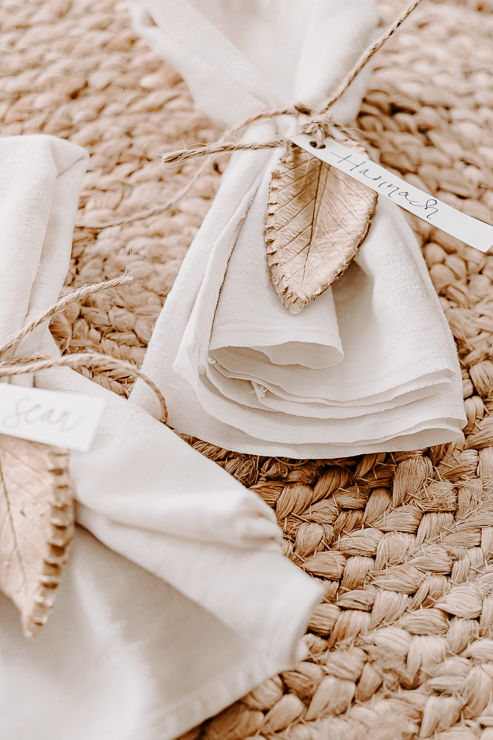
napkins tied with jute twine and clay leaves with names

Simply beautiful!  

I like to tie my cloth napkins with jute twine, and then tie the clay leaf name tag to it.  

napkins tied with gold clay leaves and name tags

How pretty and unique are these!?  I’m sure you will get some comments from your guests.  And they will feel so special sitting at this elegant dinner with you.  

As I said earlier, you can reuse these DIY leaf place cards.  Once you get the hang of making one leaf, the rest don’t take long.  You can also try this project with different shaped leaves, such as maple leaves.  

napkins tied with jute twine and clay leaves with names

My daughter and I foraged for some leaves together.  She happened to find the pretty ones I ended up using.  Thanks, Hannah! 

Grab the kids and make this a family project.  It’s a great craft to do around the holidays.  

karen signature

~ See More of Karen’s Tutorials ~


karen from decor hintHello!  I’m Karen, the creator of the Home Decor and DIY Blog: Decor Hint. I’m a Native of the East Coast, but I currently live in beautiful Seattle with my hubby, our two wonderful children, and our spunky wheaten terrier.

You can usually find me with some sort of craft in one hand and a coffee in the other. And I’m always rearranging furniture or moving lamps from room to room. I have a passion (read: obsession) for decorating, DIY, and gardening. In short, I love making my house into a home.

Like many, I’m inspired by what I see in home decor magazines, but I’m not so inspired by the price tags.  Consequently, I love finding and creating beautiful budget-friendly home decor items. In a head to head competition, I bet you’d never know the difference between the designer items and my DIY creations!  Many of my DIY projects focus on sewing, crafting, upcycling and organizing. Some of my favorite projects have been making pretty wreaths, sewing my own tassel hand towels, and crafting these trendy wood bead garlands. I can’t wait to inspire you and spark your creativity through my DIY projects.

You can always connect with me on Pinterest, Twitter or Instagram.

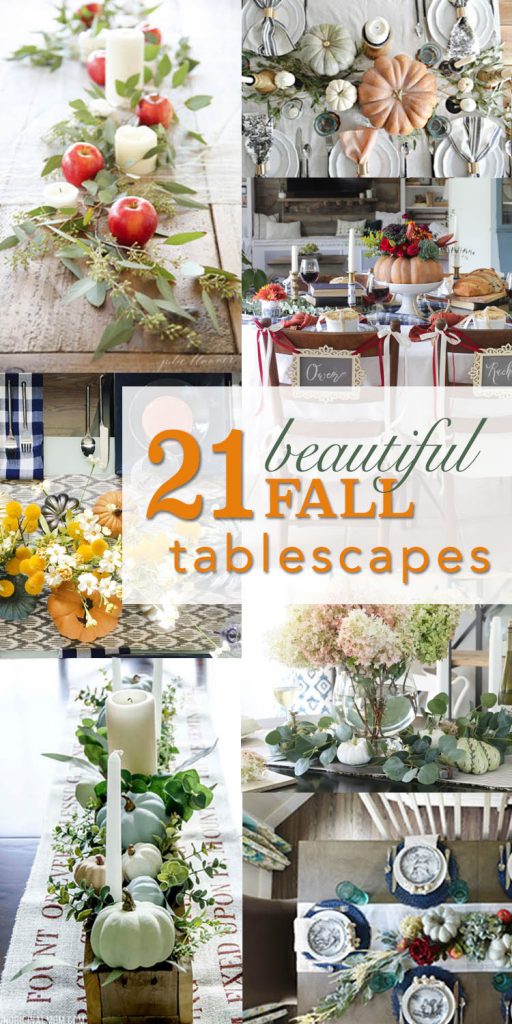
If you liked this tutorial, you’ll love these fall tablescape ideas:

21 Beautiful Fall Tablescapes - Decorating Your Table for Fall

In the interest of saving Halloween, here are several ideas for contactless trick or treating!

11 Contactless Halloween Trick or Treat Ideas

11 Contactless Halloween Trick or Treat Ideas

Halloween is a mere two weeks away. Let’s get real, 2020 has been hard enough on the kids. Cancelling Halloween would be the biggest disappointment for our little ones. With that in mind, I’ve been scouring the web and my brain for some excellent contactless Halloween Trick or Treat Ideas. Here they are in no particular order.

Ship Your Candy:

This Ohio Dad Saves Halloween with a Shipping Tube and Spray Paint!


Spooky Candy Chute:

Wicked Makers breaks out the spooky decor and a plumbing pipe for this Skeletal Candy Chute.


A Twist on a Scavenger Hunt: The Candy Graveyard

With a few props and pre-packaged candy, you too can create this fun Halloween Candy Graveyard.

Halloween candy Graveyard


Table Halloween…Definitely Not!

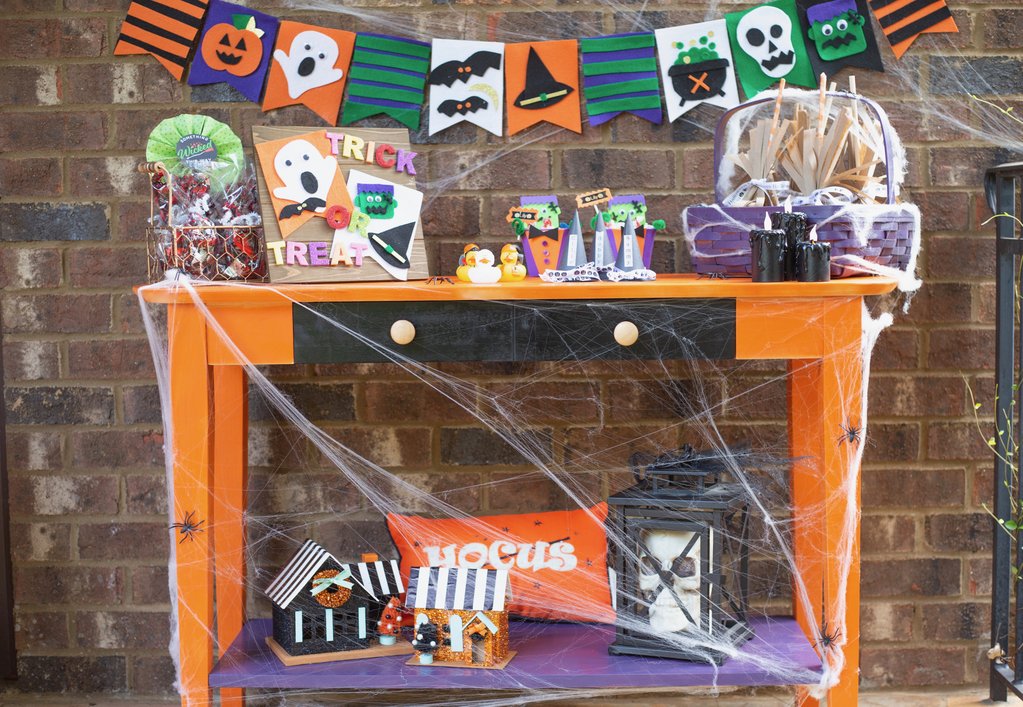
Many of our neighbors are planning on leaving pre-packed treat bags on a table by their door. Craft Box Girls, upcycled this sofa table with a little spray paint to create a Halloween Decorated Treat Table.

DIY Halloween Trick or Treat Table


Easy Driveway Trick or Treat Table

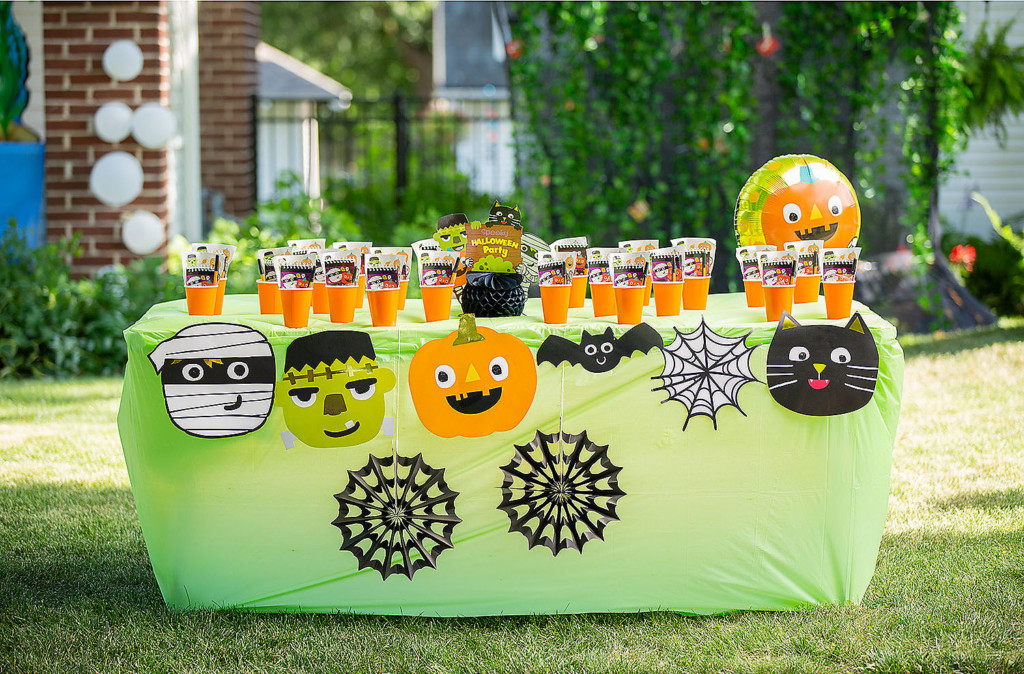
If DIY isn’t your thing, you can take the easy path and gather a few supplies to create this driveway trick or treat table in no time.

Easy trick or treat driveway table


The Giving Tree

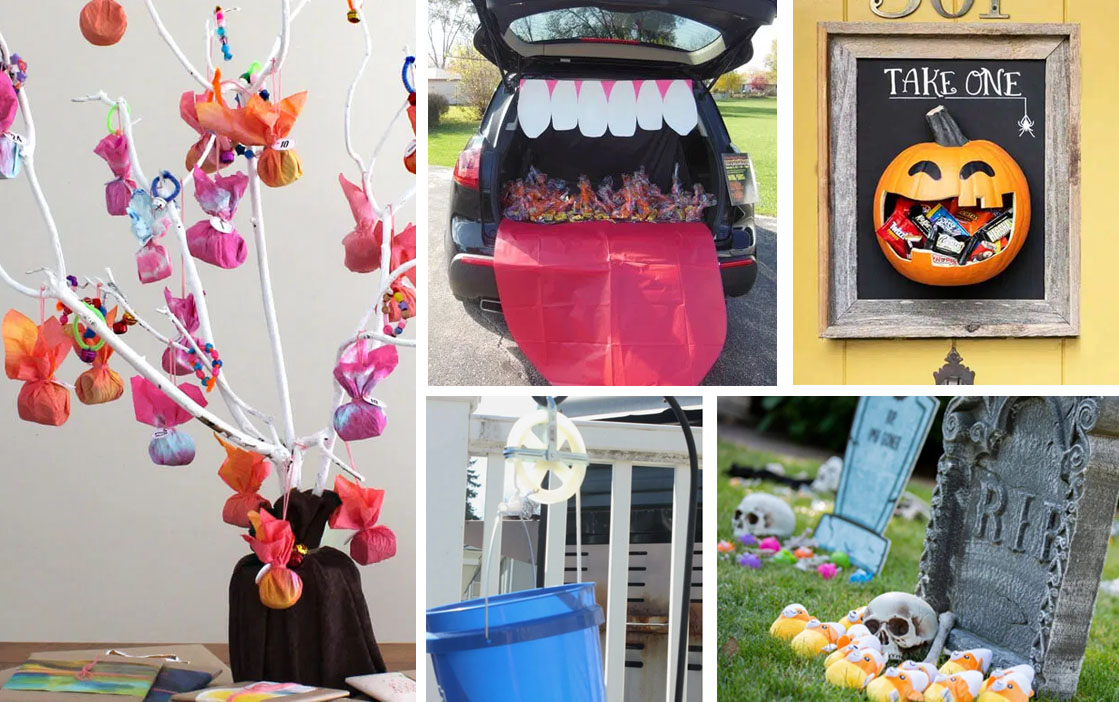
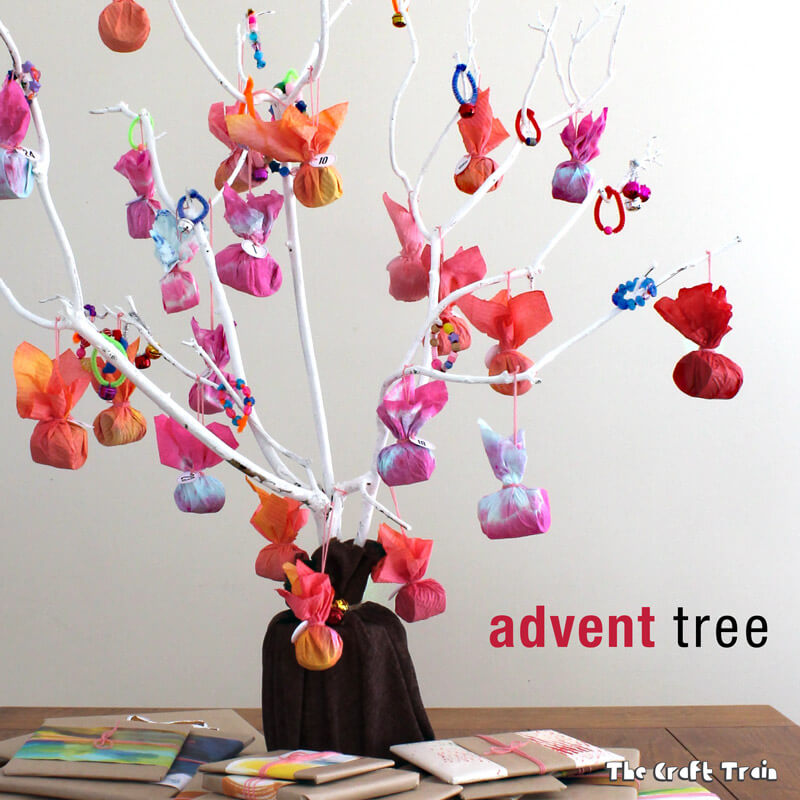
If you have a tree in your yard with low branches, you can attach treat bags to the branches. Or cut a branch and add a few treat bags like The Craft Train did.

DIY Treat Tree


Hang Up Halloween

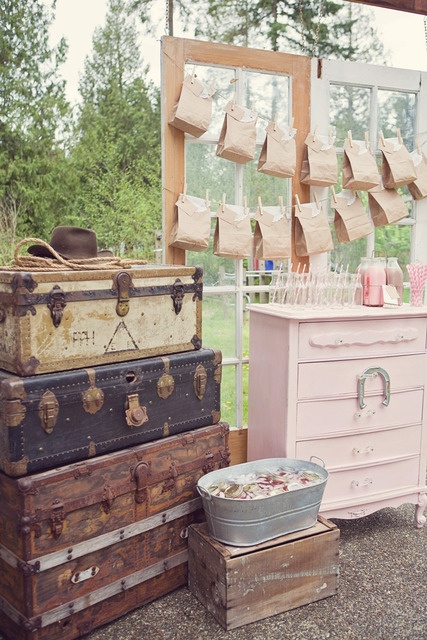
Let’s not hang up the idea of trick or treating altogether. Take a note from Little Sooti’s birthday favor idea and hang those treat bags out for the children to grab and go. You can attach them to the door, or on a clothesline between your porch posts. Get creative!

hanging treat bags on a line


Door Decor

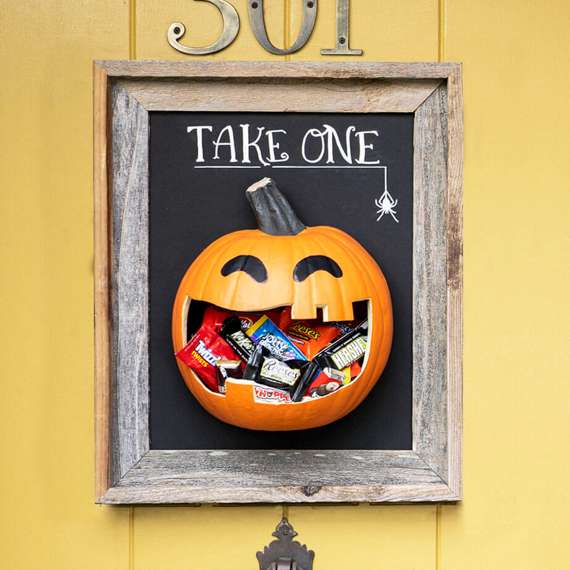
Hershey comes to the rescue with this fun DIY Door Decor idea for a contactless treat dispenser.

Contactless Door Treat Dispenser


Scavenger Hunt

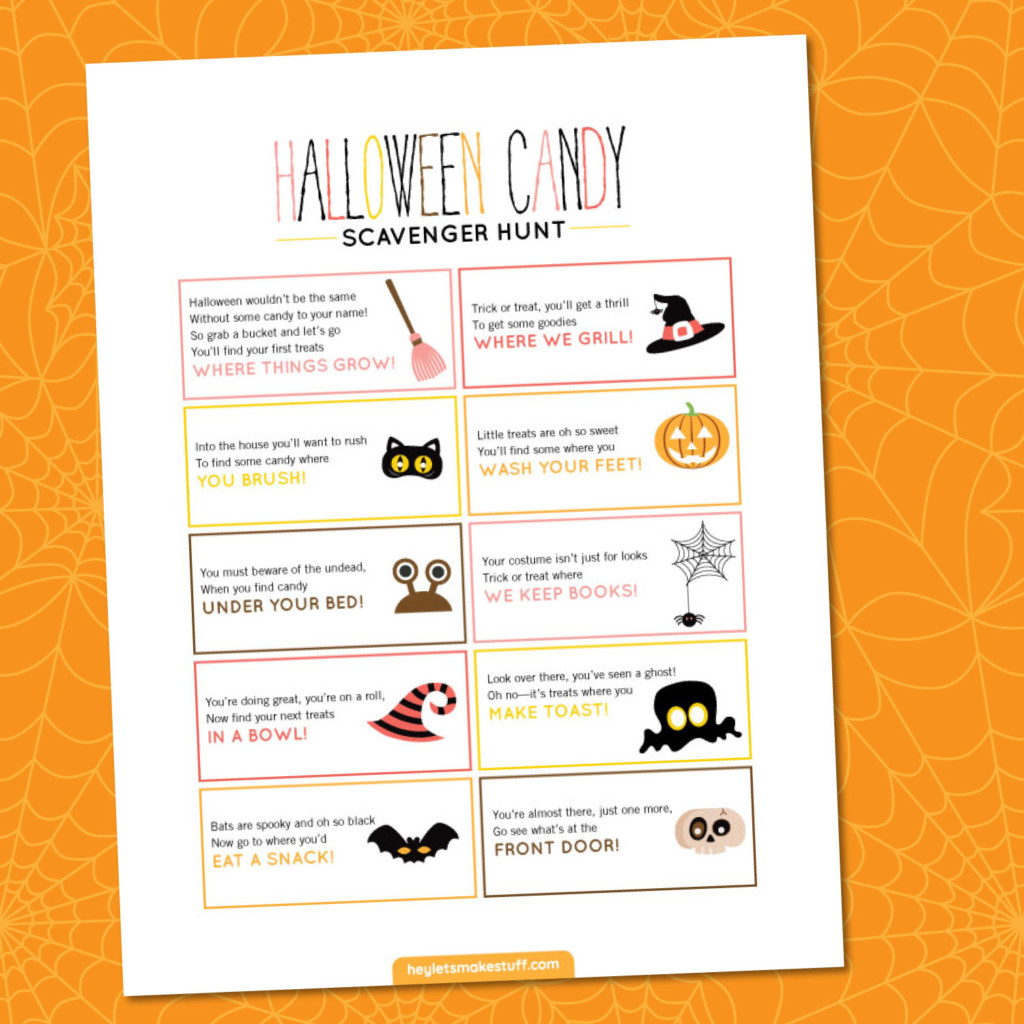
If you don’t feel comfortable letting your kids trick or treat this year, I’ve got an idea for you! A Trick or Treat Scavenger Hunt from Hey, Let’s Make Stuff. Or you can adapt this idea to your front yard for trick or treaters. Simply give one clue to each kid to find their treats.

TRick or treat scavenger hunt


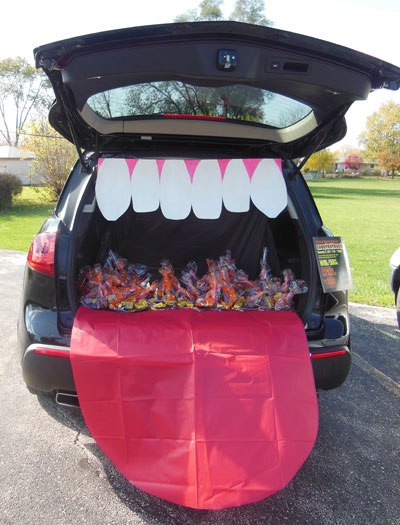
Is There Junk in Your Trunk

Trunk or Treat parties have been around for decades, but this year you can park it in your own driveway and open the trunk to your trick or treaters.

Trunk or treat for contactless trick or treating


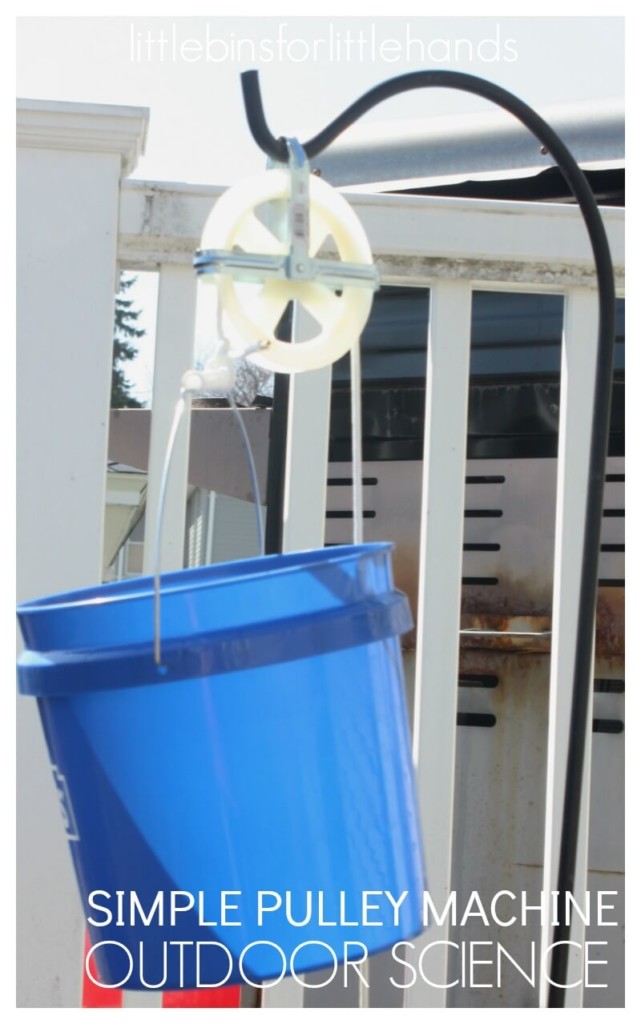
Buckets of Fun:

If you have a two-story window over the front door, you could create a simple bucket and pulley system to deliver treats to the children. Keep the rope in your hands to keep it contactless for the kids. You might also consider wiping the bucket between trick-or-treaters. Don’t have a pulley? No problem, you can simply run a clothesline from the window to a stationary post (light post or fence post) and then loop the bucket handle over the line. Send it down to the trick or treaters (just be sure to attach a second line to the bucket handle so you can pull it back up).
Bucket on a Pulley for contactless trick or treating

How about you? Do you have any idea for a safer contactless Halloween? I’d love to hear them. In the meantime, pin this image and share this post with your friends so the kids can enjoy Halloween even during a pandemic.

11 Contactless Halloween Trick or Treat Ideas

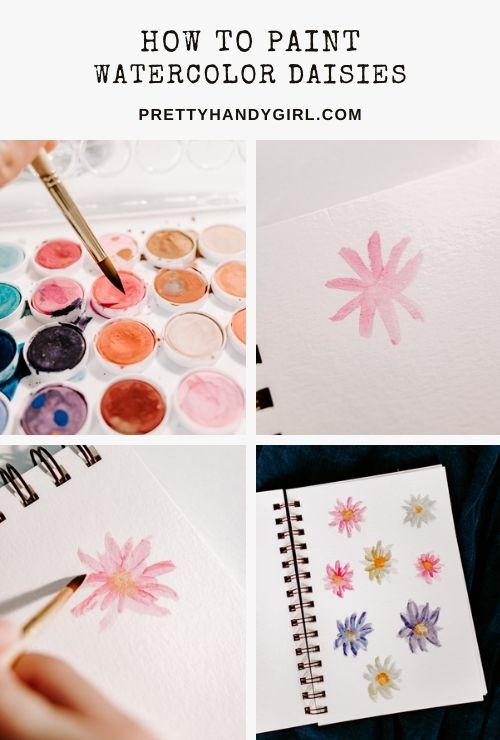
how to paint watercolor daisies

Learn how to paint these watercolor daisies with this easy tutorial!

tutorial for painting watercolor daisy flowers

Easy to Paint Watercolor Daisies

Hello, Pretty Handy Girl Readers! Guess what? I found my box of watercolors. If you remember, last month I moved from Seattle to NC and things were a bit crazy there (still are, actually.) I’m back with another watercolor tutorial and this one is easy. Well, actually, they’ve all been pretty easy so far, right?

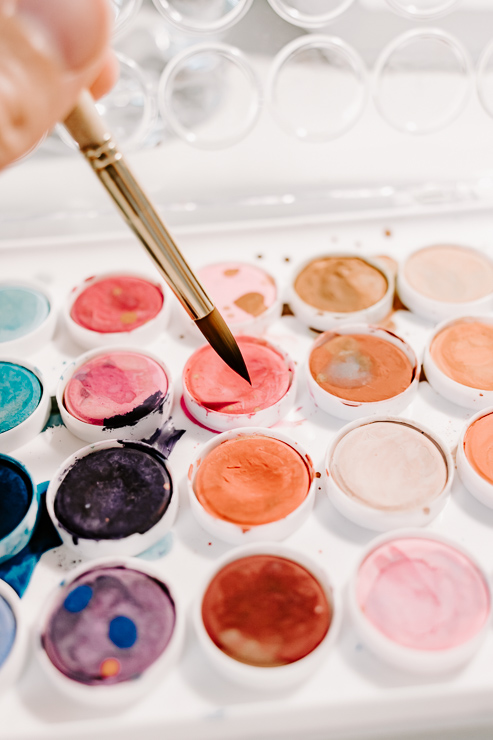
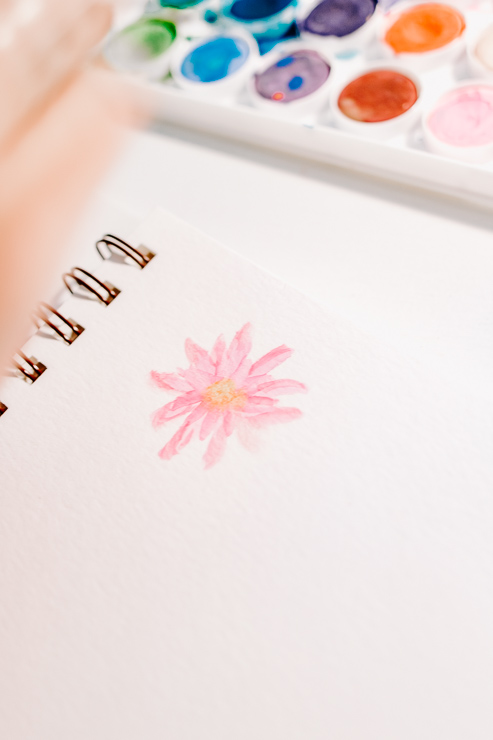
watercolors with a paintbrush

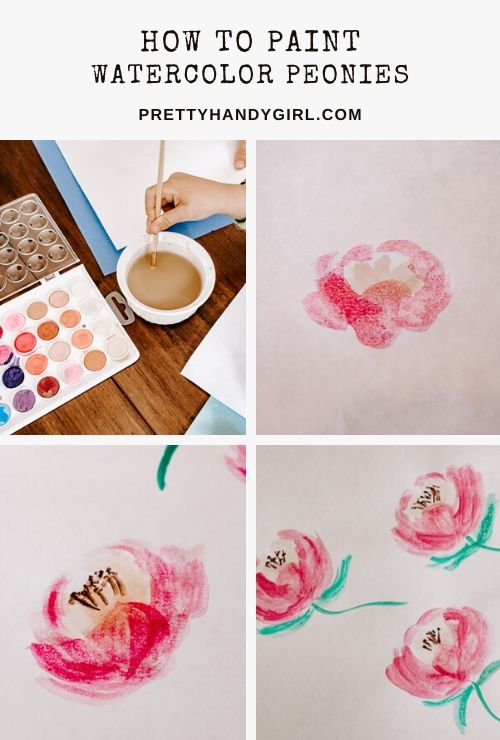
As a reminder, we’ve learned how to paint pink peonies:

How to Paint Watercolor Peony Flowers

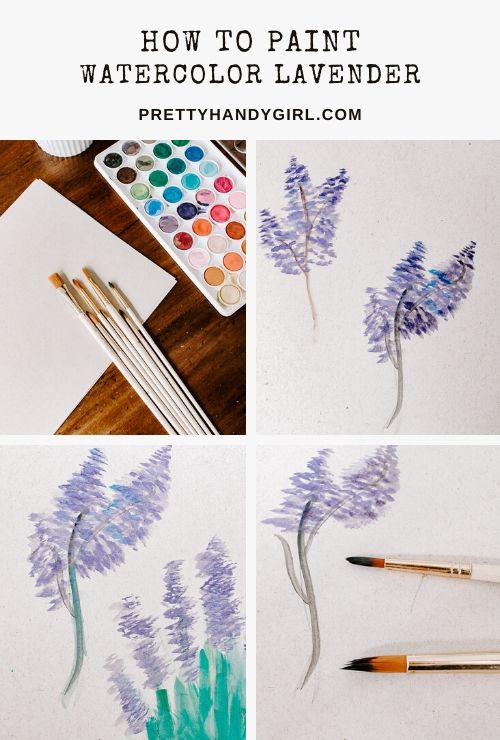
Then I taught you how to paint lavender in watercolor:

How to Paint Watercolor Lavender

Now let’s learn how to paint these daisies. Call them coreopsis. They are the cutest little flowers and so easy to create.

Let’s get started!

How to Paint Watercolor Daisies

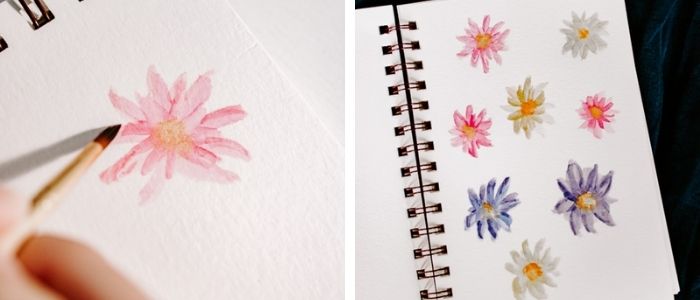
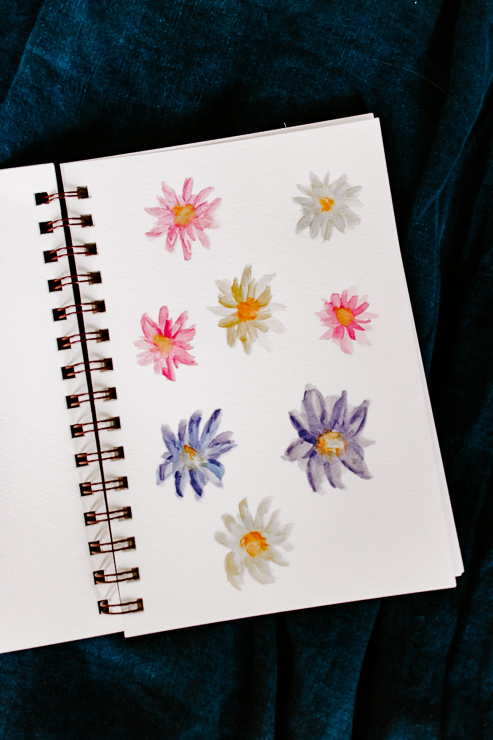
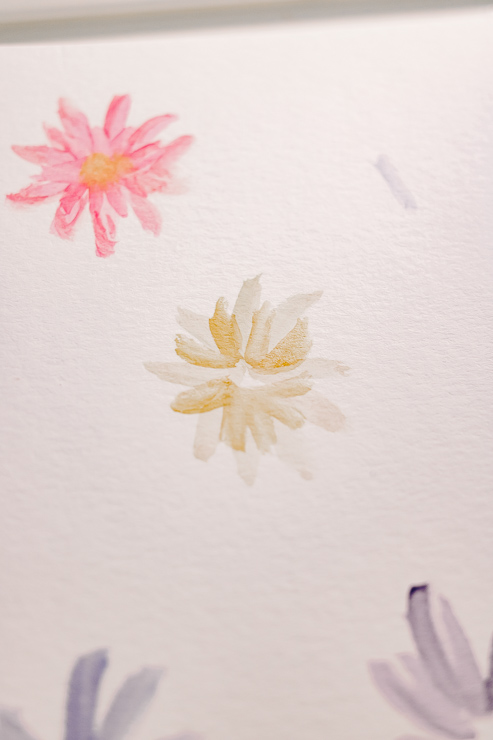
a page of yellow, purple and pink watercolor flowers

Materials:

(I’ve included affiliate links for your convenience. I earn a small percentage from a purchase using these links. There is no additional cost to you. You can read more about affiliate links here.)

Instructions:

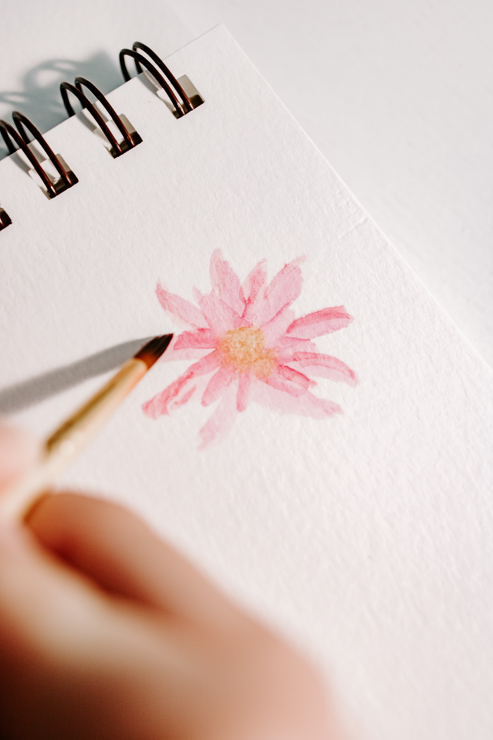
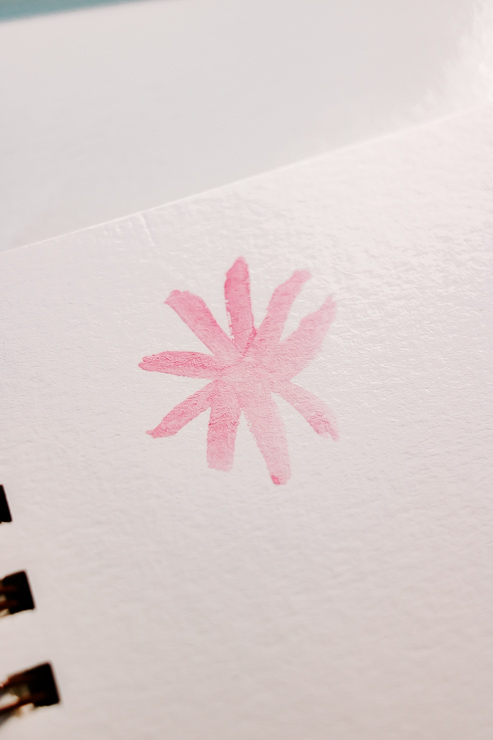
Step 1: Create a basic star flower shape

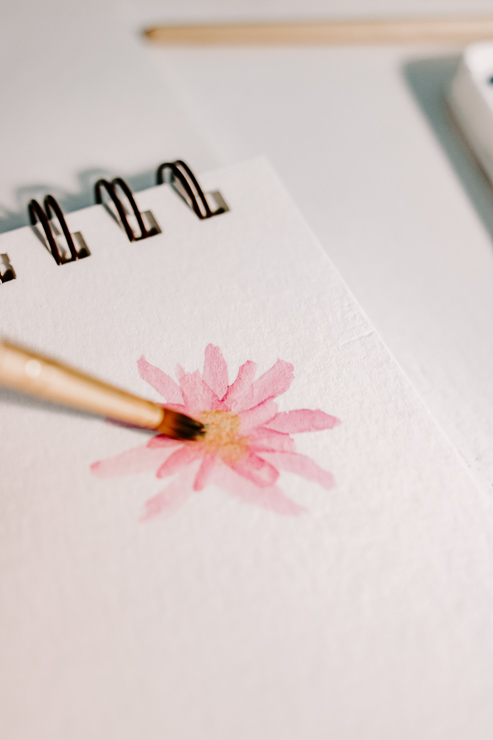
a pink watercolor flower being painted

Using a medium-sized brush, dip your brush in the water and then the color, and paint a few runny lines in a star shape. This is going to serve as the base for our flower. Don’t worry if the petals don’t look perfect right now. We are going to define them a little more at the end. Remember, watercolor is supposed to be kind of runny and imperfect.

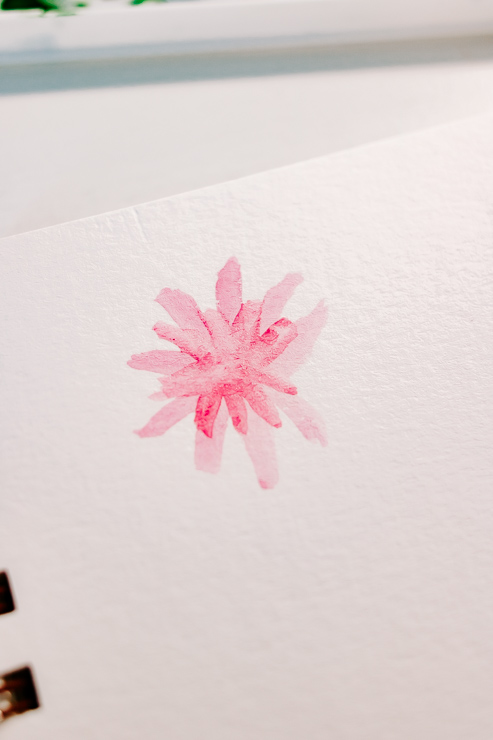
Step 2: Create more petals deeper in color

a pink flower being painted with watercolors

Working with the same brush we used in Step 1, grab some of the same watercolor paint. We want a richer, deeper color here so don’t use as much water. Paint a smaller star shape on top of the star shape you painted in Step 1. Try to go in between the petals previous petals. We are creating dimension and depth of the flower.

Step 3: Create the center of the flower

painting a pink watercolor daisy

Now we need to define that center part of the flower. Take a smaller brush and add a bit of yellow/orange color to it. Dot it in the center of your flower, using kind of a stippling motion. You can do this several times to create a deeper, darker center. Don’t fret, it should look somewhat messy and imperfect.

Step 4: Define your petals

painting a watercolor petal on a daisy flower

Finally, let’s take some of the petal color and define our petals a little more. You will want to use a smaller round brush for this. Dip a bit of water on the end of your brush, then dip it in the petal color. Define the ends of a few petals by outlining them. I don’t think you need to outline all of them. Use your artist’s eye here and determine what looks good.

pink watercolor daisy with yellow center

That’s it!

Put on some music and just let your brushes carry you away for a little bit. Forget about the world for a moment. We could all use a little escape.

yellow and pink watercolor daisy flowers

Thoughts on Paper:

Watercolor paper really does make a difference in how your final art looks, but you can still just use regular paper until you find the time and budget to buy some. In other words, don’t let not having the right materials hold you back. Watercolor painting is very relaxing and therapeutic.

If you make a page of these little flowers, you have yourself a little piece of frameable art for your walls. I hope you are enjoying these tutorials. Let me know if you are enjoying these watercolor tutorials in the comments below.

Stay safe out there, my friends! I’ll see you next month!

karen signature

~ See More of Karen’s Tutorials ~


karen from decor hintHello!  I’m Karen, the creator of the Home Decor and DIY Blog: Decor Hint. I’m a Native of the East Coast, but I currently live in beautiful Seattle with my hubby, our two wonderful children, and our spunky wheaten terrier.

You can usually find me with some sort of craft in one hand and a coffee in the other. And I’m always rearranging furniture or moving lamps from room to room. I have a passion (read: obsession) for decorating, DIY, and gardening. In short, I love making my house into a home.

Like many, I’m inspired by what I see in home decor magazines, but I’m not so inspired by the price tags.  Consequently, I love finding and creating beautiful budget-friendly home decor items. In a head to head competition, I bet you’d never know the difference between the designer items and my DIY creations!  Many of my DIY projects focus on sewing, crafting, upcycling and organizing. Some of my favorite projects have been making pretty wreaths, sewing my own tassel hand towels, and crafting these trendy wood bead garlands. I can’t wait to inspire you and spark your creativity through my DIY projects.

You can always connect with me on Pinterest, Twitter or Instagram.

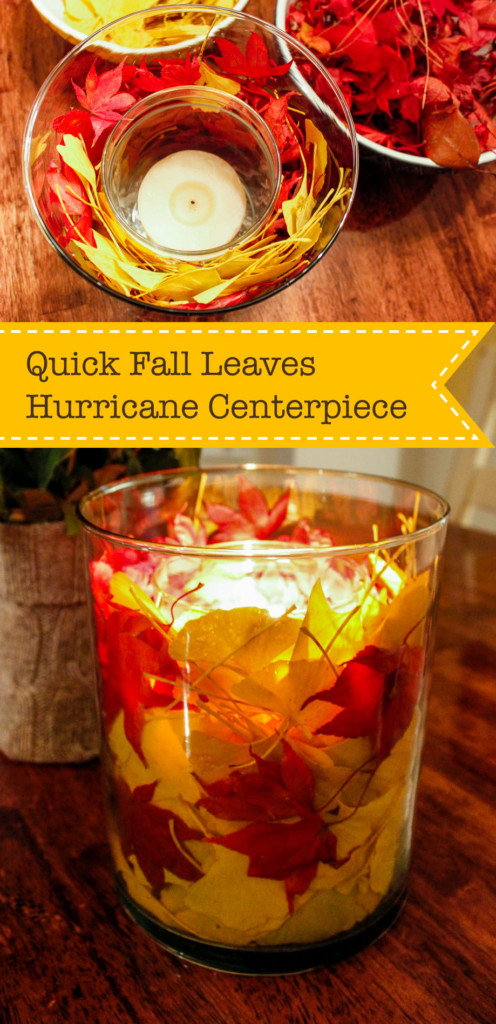
Want to make a quick and easy fall centerpiece? Maybe you want to get the kids involved and go on a nature hike to collect pretty leaves.

Quick Fall Leaves Centerpiece

Quick Fall Leaves Centerpiece

I’m looking forward to cooler weather and the beautiful color of fallen autumn leaves. How about you? Today I have a super quick and easy fall leaves centerpiece you can whip up to decorate your home for autumn. Seriously, this will take five minutes (plus a nice walk outside to gather leaves.)

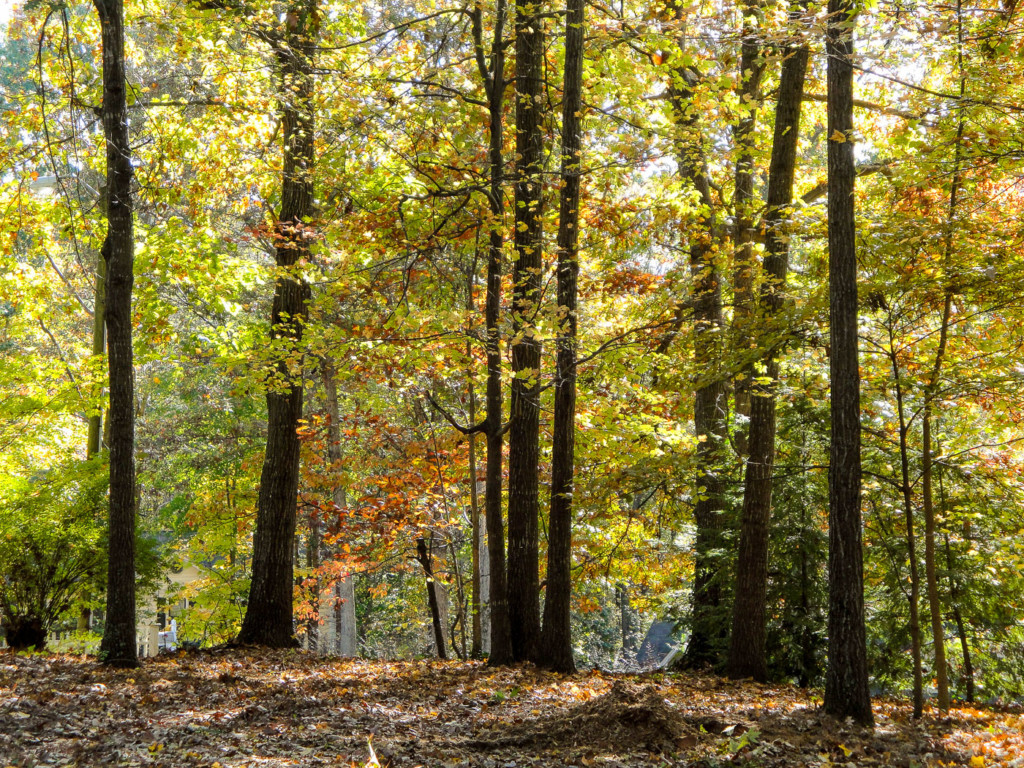
Granted, our leaves haven’t turned yet, but you know I’m anxiously awaiting them!

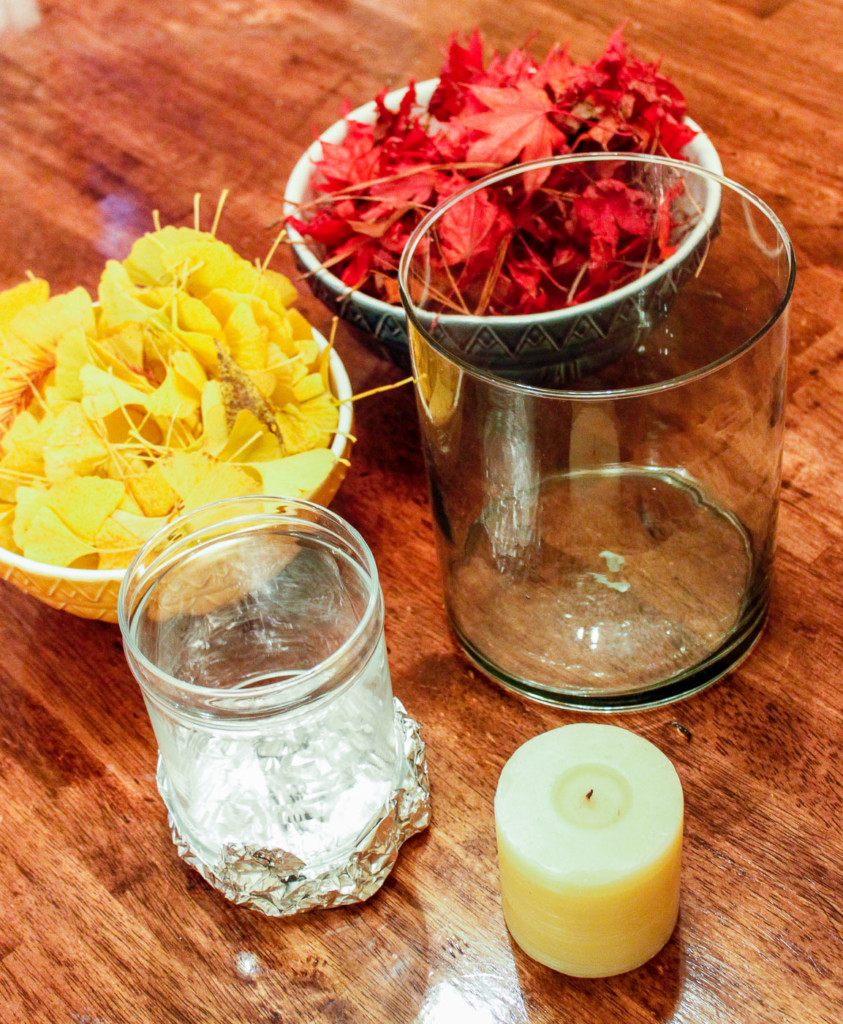
Materials:

(I’ve included affiliate links for your convenience. I earn a small percentage from a purchase using these links. There is no additional cost to you. You can read more about affiliate links here.)

Optional: You can use a drinking glass or candy jar and use foil to raise it higher.

Instructions:

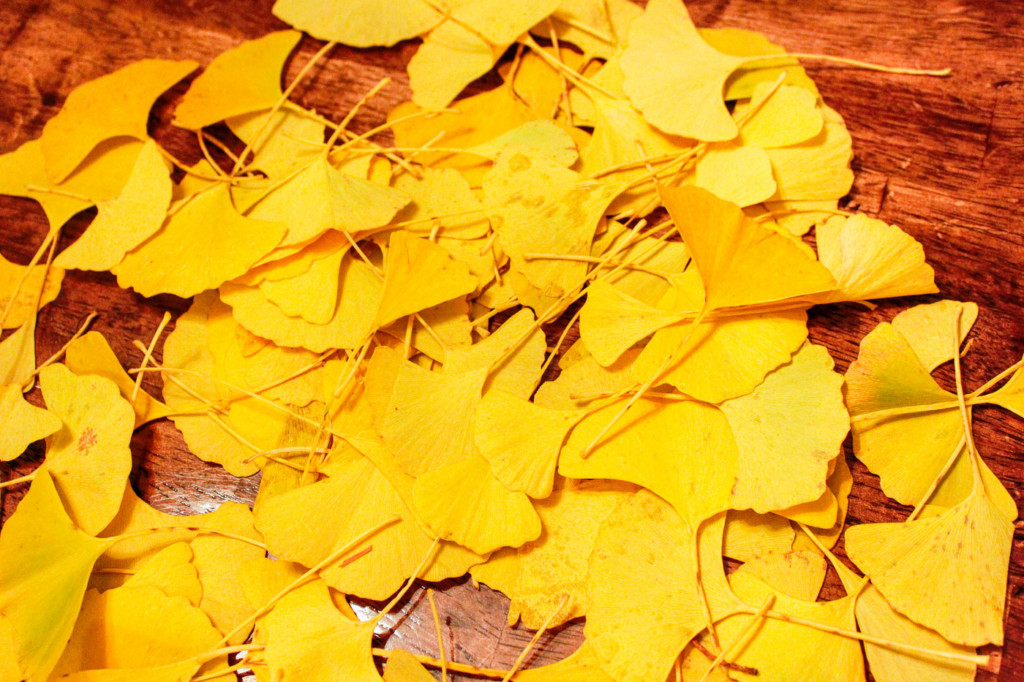
Go out for a hike and collect colorful fall leaves. I was lucky to find these buttery-yellow gingko leaves.

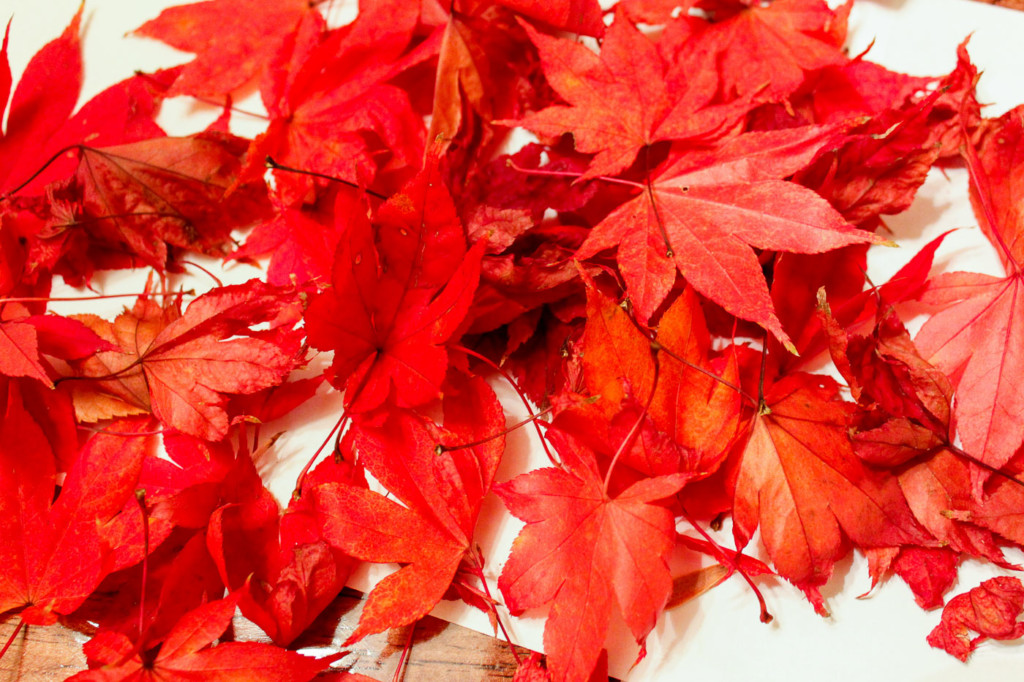
And around the corner, a beautiful pile of Japanese maple leaves were ready for me to scoop up.

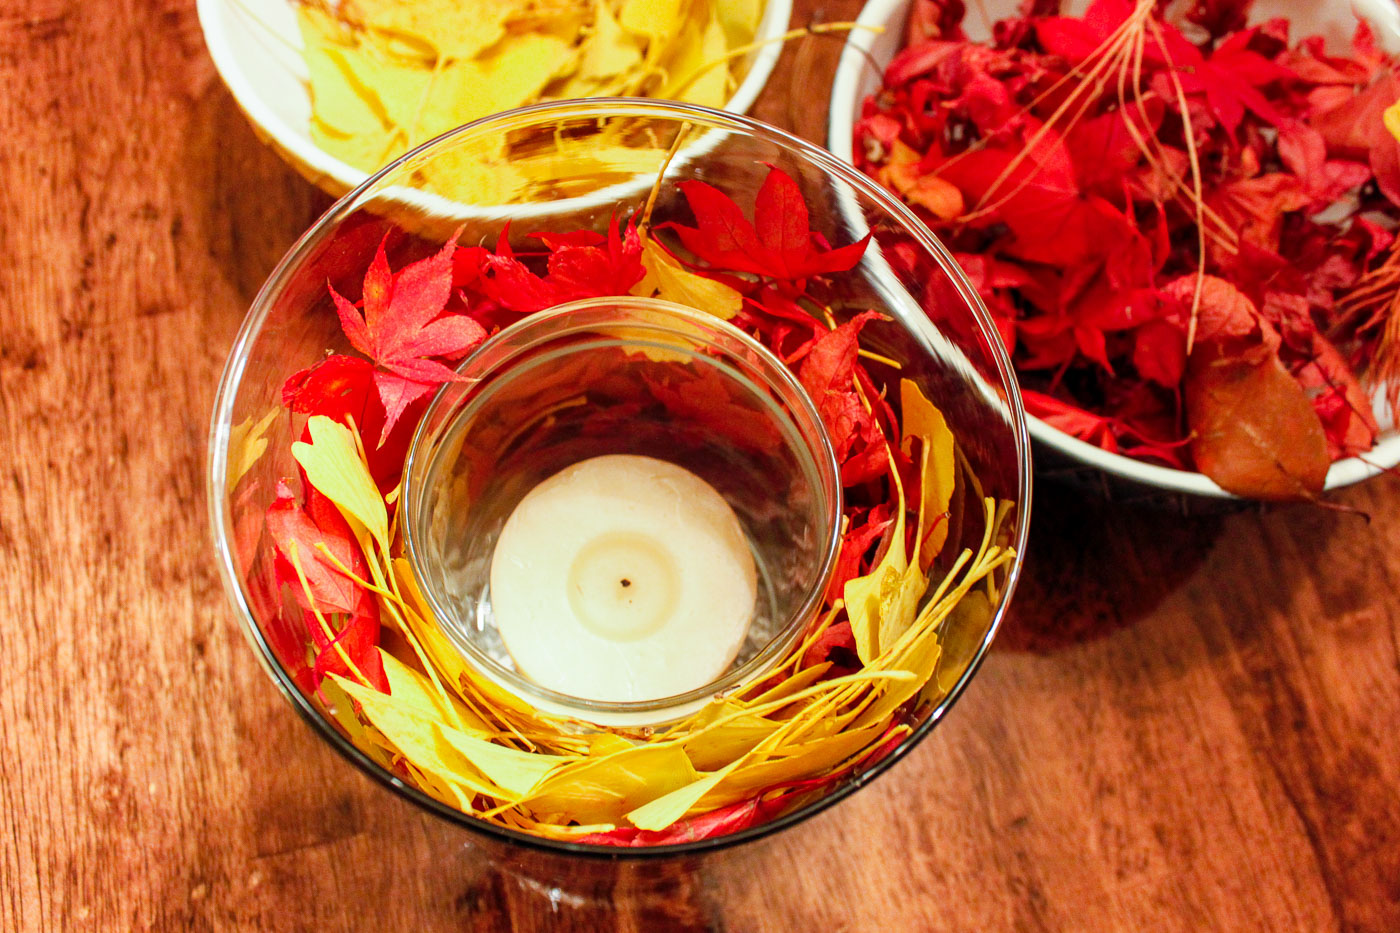
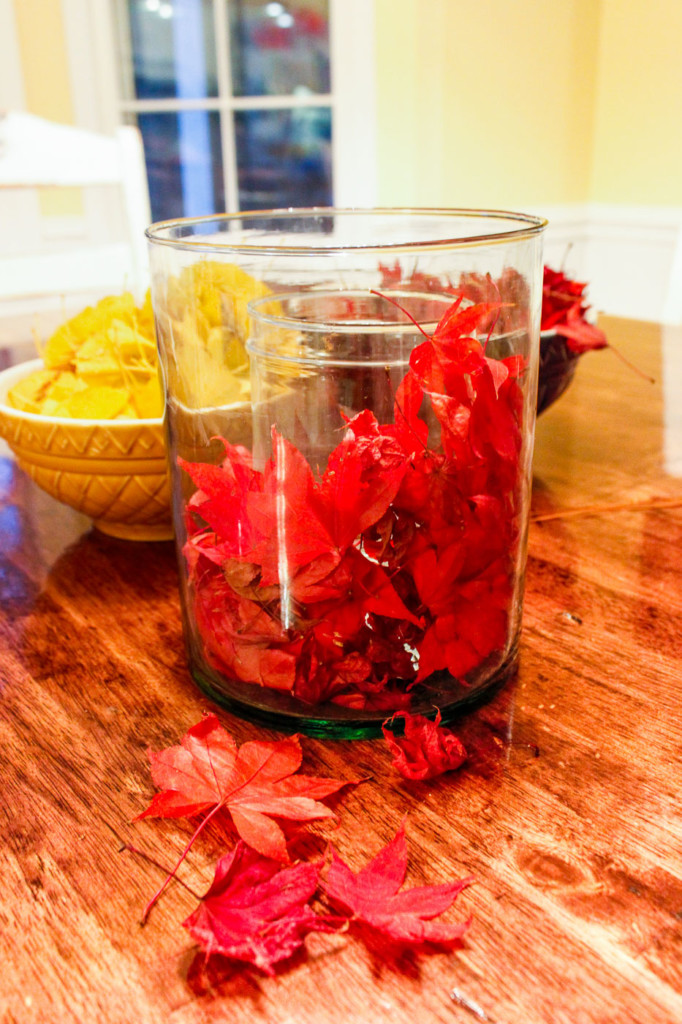
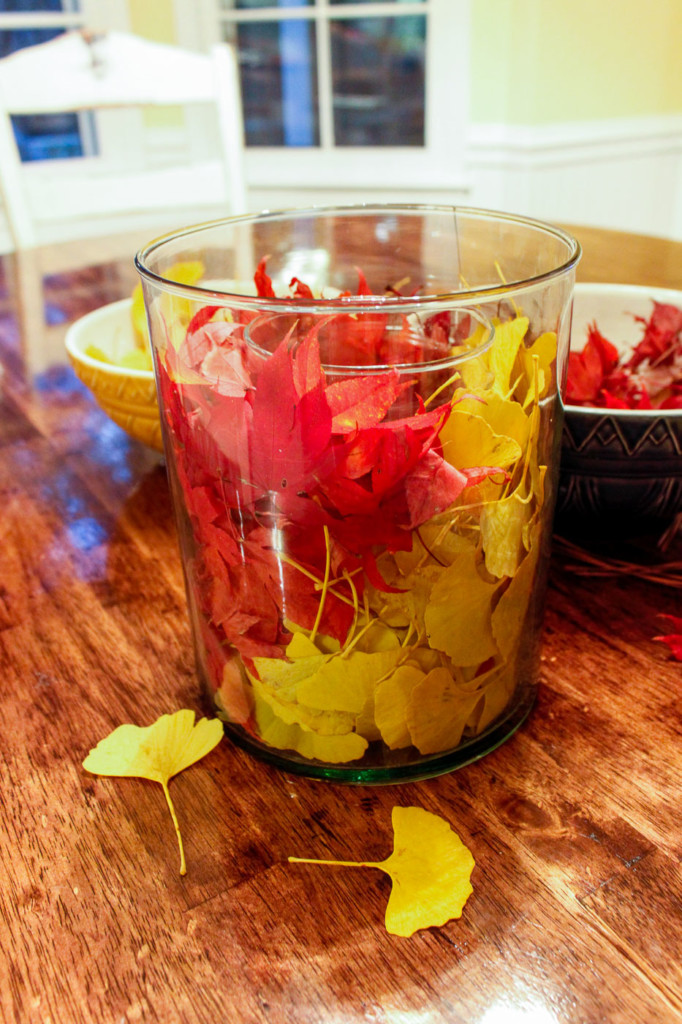
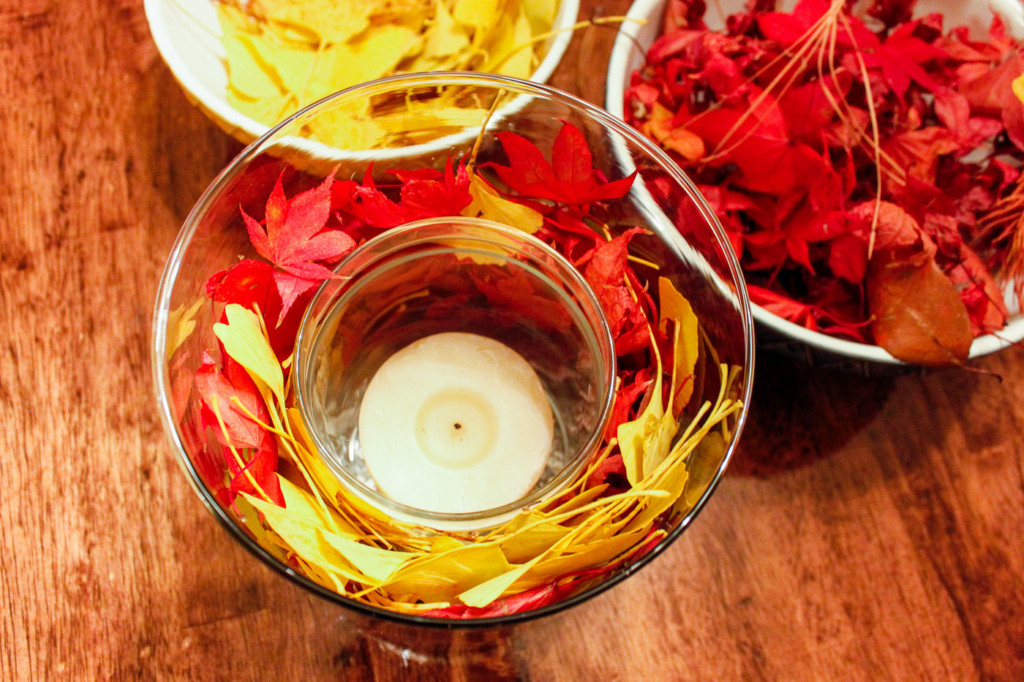
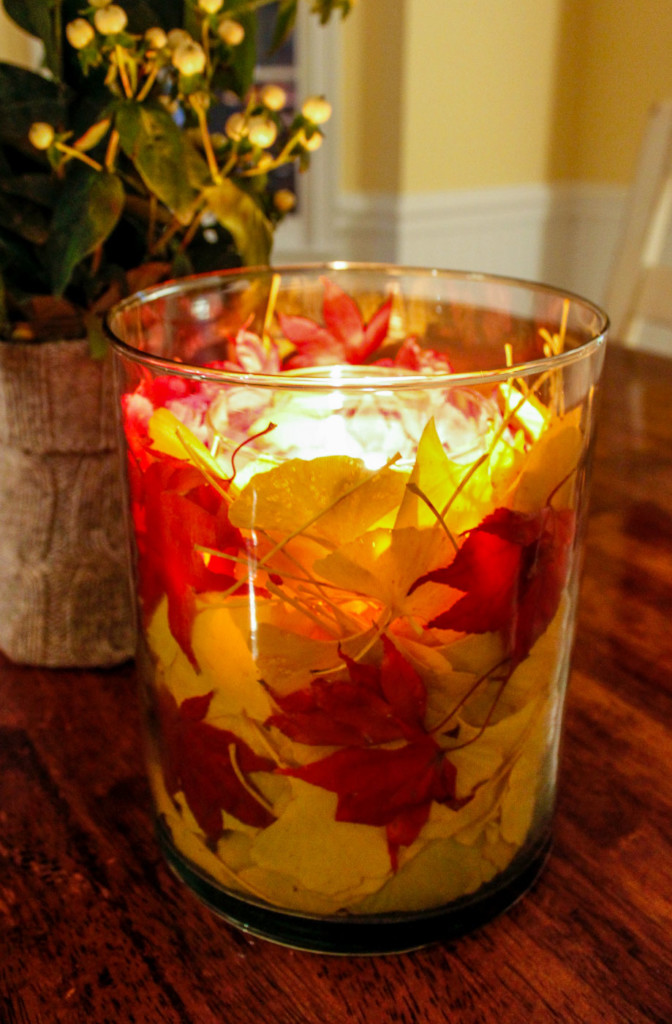
Center the smaller vase inside the larger one. Begin filling the space between the two vases with leaves.

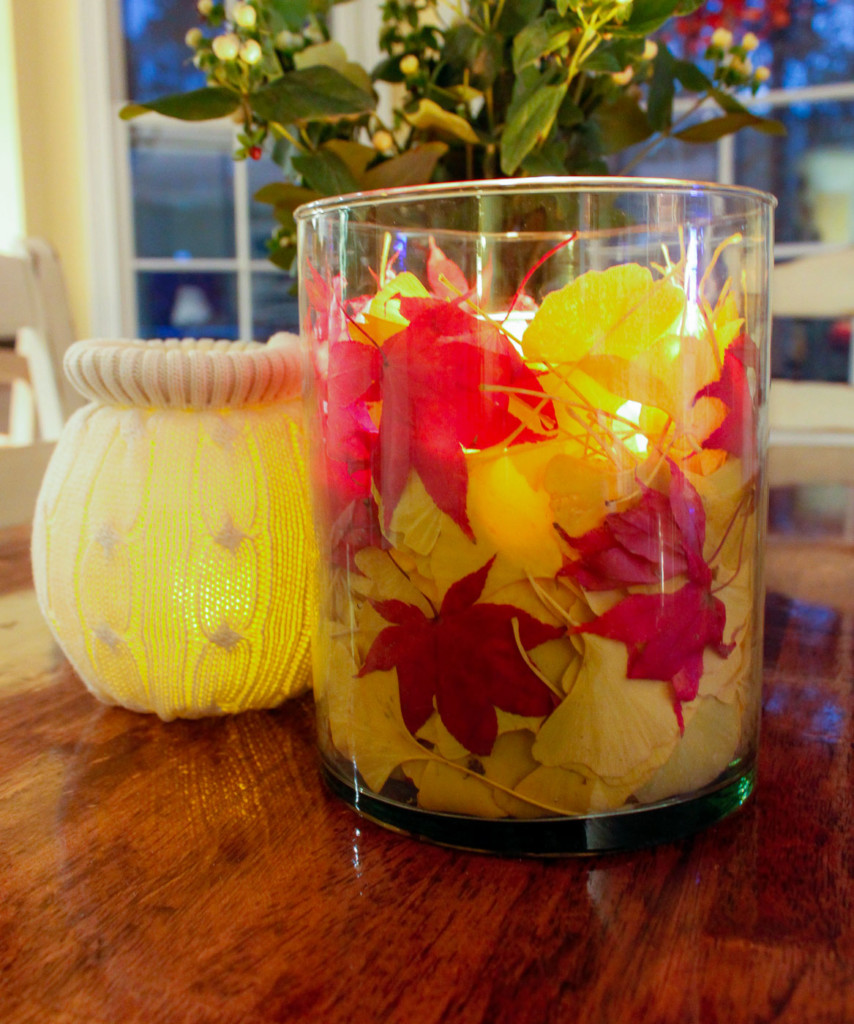
Continue adding leaves until the interior glass vase is hidden.

Insert battery-powered candle into center vase. (If using a real candle, do not leave it unattended, and make sure your leaves are not super dry.

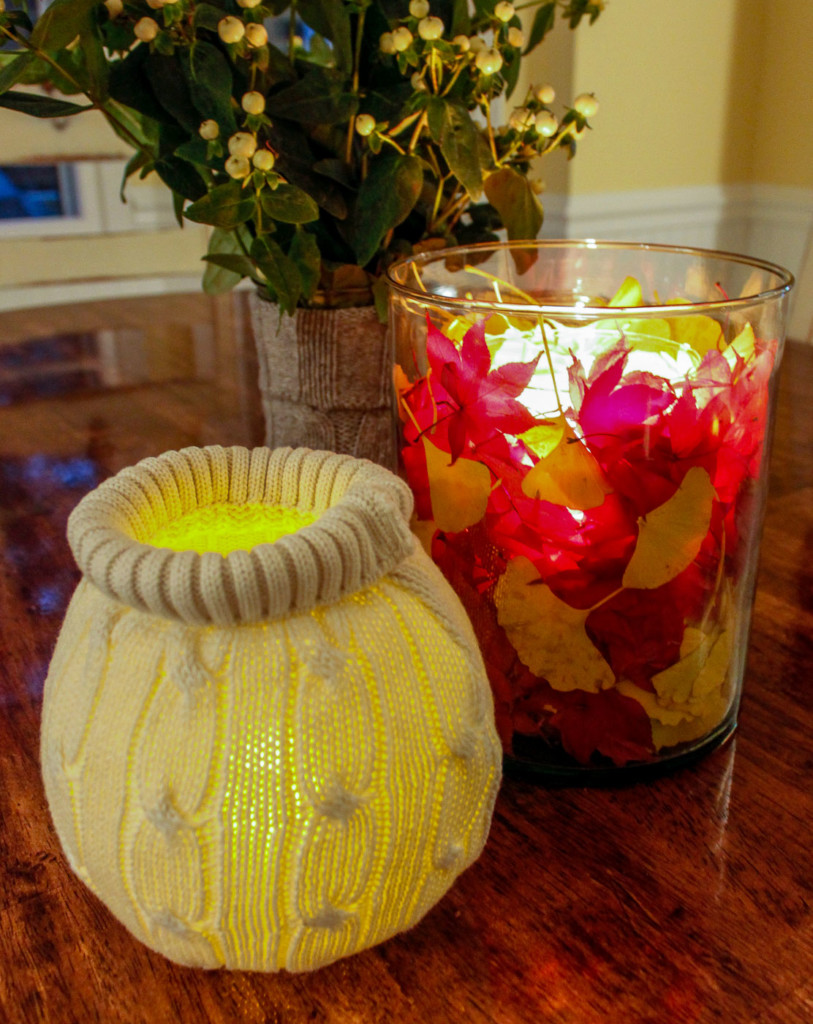
Turn on the candle and enjoy the glow.

You can make another quick and easy fall vase by cutting the sleeve off an old sweater and wrap it around another vase or votive holder. Insert another battery-powered pillar candle and set it out with your Quick Fall Leaves Centerpiece!

Set out your beautiful fall centerpieces and get ready for the cozy time inside on cold nights.

Anyone else looking forward to cool weather, hot chocolate, and curling up under the blankets to watch movies?