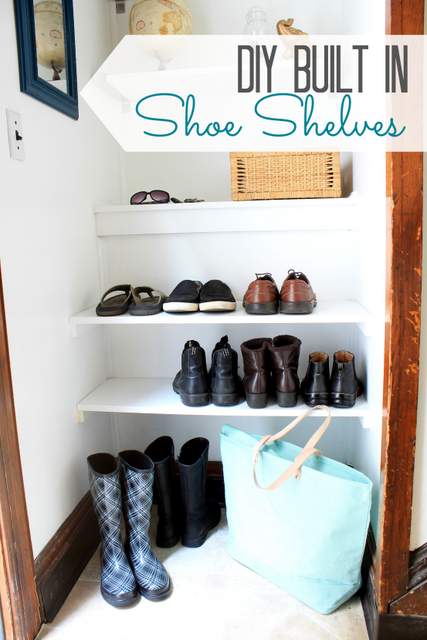
DIY Built In Shoe Shelves
Hello, it’s Jessica from Decor Adventures and I’m back this month to show you an easy project to bring some organization to your home. Now that fall is approaching, you might be thinking about getting your closets, foyers and mudrooms in shape for the changing weather. One project that can make your space nice and tidy is adding built in shoe shelves. Today I’m going to show you how to easily build shelves to keep those sneakers, sandals and boots neat and tidy. Plus, it will save you some space too.
Materials:
- Miter saw
- Pencil
- Ruler
- Level
- 1″ x 2″ wood, for supports
- 12″ deep MDF or pine boards
- Cordless drill with drill bits
- 2.5″ Wood screws
- Primer
- Paint
Optional:
- Wall anchors
- Paintable caulk
Instructions:
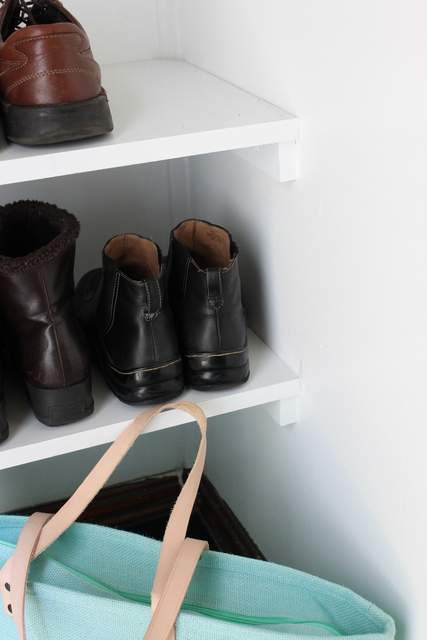
In our side entry to our house we have a small landing at the stairs leading up to the kitchen. It’s a perfect place for shoes, coats and accessories. Unfortunately, our method of lining up our shoes wasn’t working. I thought built in shelves would be a great solution. The shelves ended up saving us space and giving us more room.
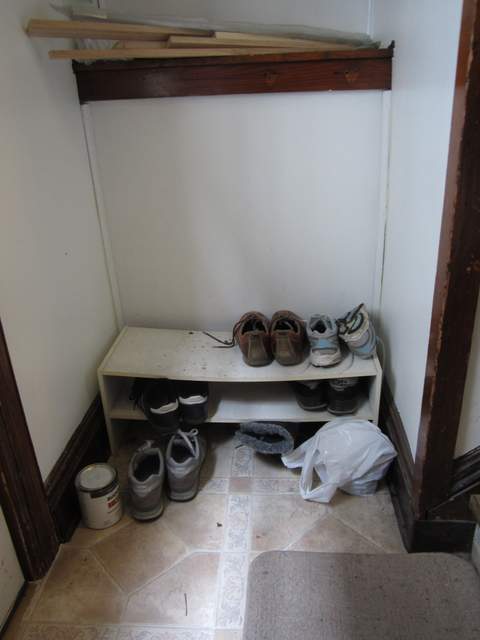
Sometimes those awkward spaces can be a blessing in disguise.
Instructions:
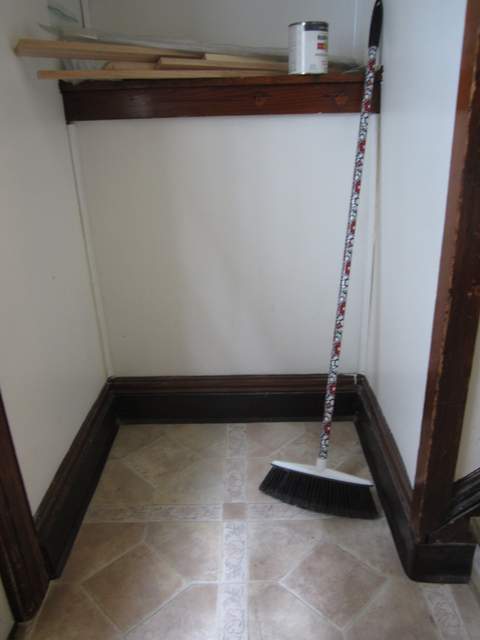
1. First, prep the area by removing anything you were storing and sweeping it out. If you want to add a fresh coat of paint to the walls, now is a great time to do that.
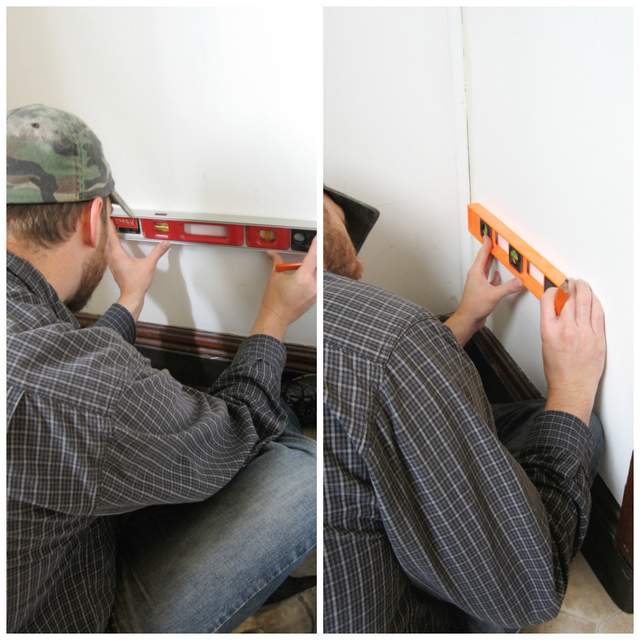
2. Measure how wide and deep you want the shelves to be. (Most shoes fit on 12″ deep shelves, unless you are Big Foot.) Mark the walls at the height of each shelf. (We made the lowest shelf tall enough to fit boots underneath on the floor and the highest shelf about half that height for items like sneakers and shorter shoes.)
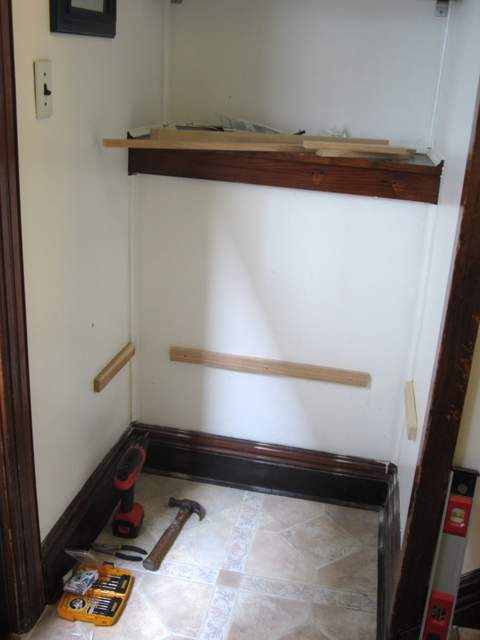
Use a level to mark on the wall where the supports will go.
3. Cut supports from the 1×2 wood to fit both the left, right and back sides of your shelf.
Hold the supports up against the wall and mark on the support where the wall studs are. Drill pilot holes into the supports at the marks.
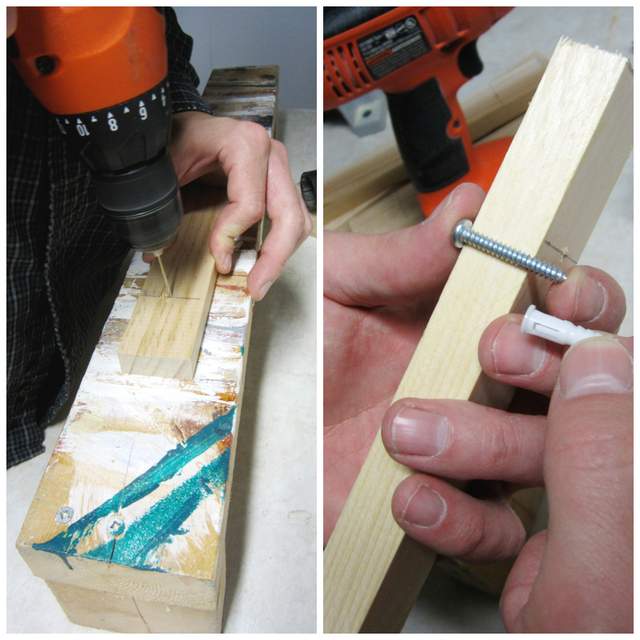
4. Attach the supports to the wall by driving your screw through the pilot hole in the wood support and into the wall stud. Continue until all the supports are attached to the wall. (If there aren’t studs in a convenient location in the wall, you can use wall anchors.)
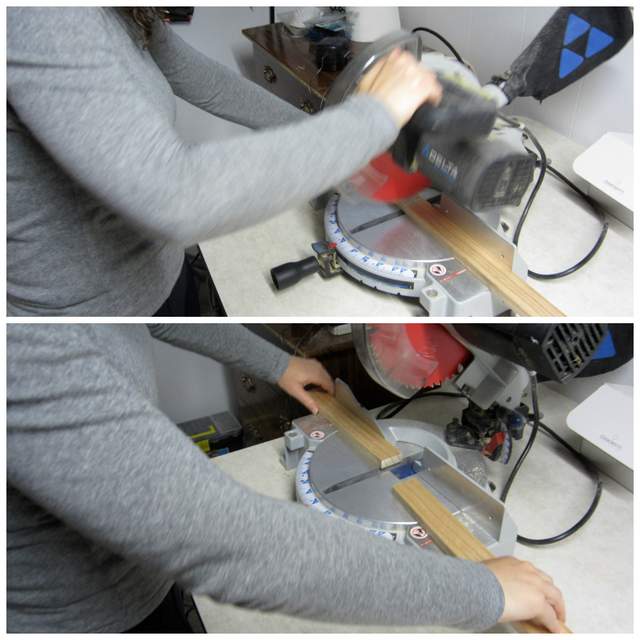
5. Cut the MDF to the width of your space. Don’t have a miter or table saw? Did you know that your local Lowe’s can cut your lumber for you?
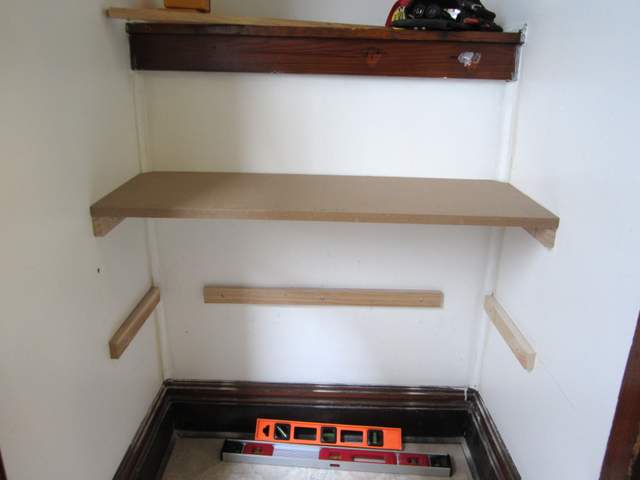
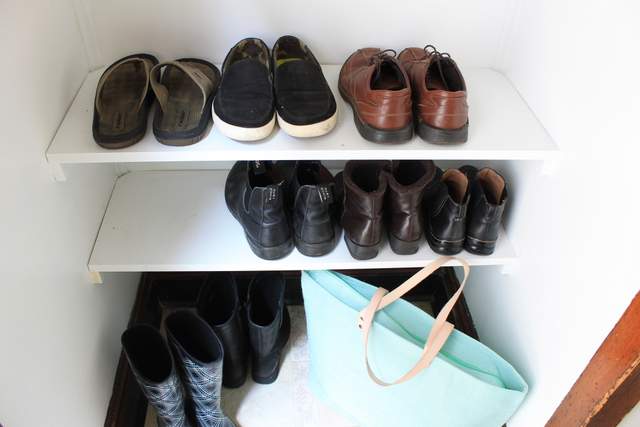
6. Place the shelves on the supports. You can let gravity hold them in place or nail or screw them to the supports.
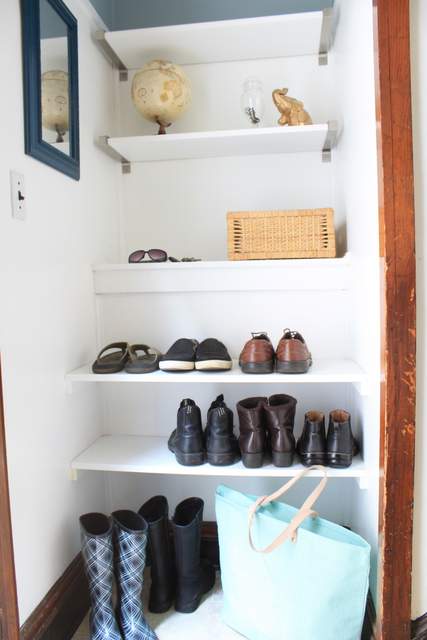
7. Prime and paint the shelves. If you are a perfectionist, caulk any gaps in between the wall and shelves. Make sure to let the paint cure per the directions so it is nice and durable. We used oil paint in the same color as the walls to give it a built in look. Oil paint resists scratches and dings better than latex paint.
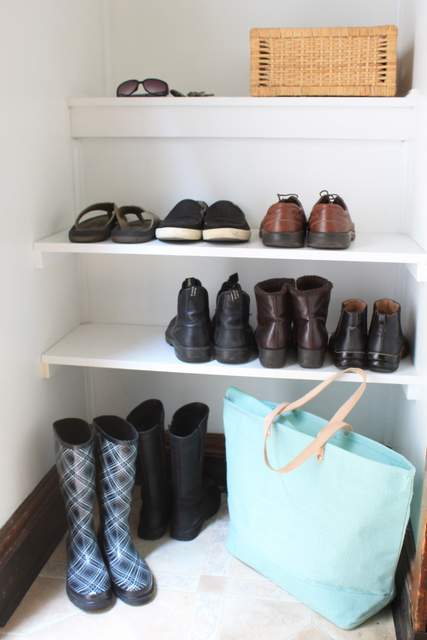
This is a perfect use of space for shoes and other items you’ll use on your way in and out of the house!
Now that you know how to create built in shelves, all you need is a few pieces of wood and you can build shelves to organize just about anything!
Hope to see you at Decor Adventures soon. Recently on my blog I showed you how to reupholster a chair and install sheet vinyl flooring. Plus, I will be showing all the decorating and DIY projects in my home office makeover starting next week. Happy September!


Great storage area for shoes & many other things. Very nice tutorial, thanks for sharing this!
Glad it was inspiring Colleen!
It makes the little spot look a little bigger. I like it. I need to do a little something like this in one of the closets.
Hi Leslie,
Yes, the shelves gave things a very organized look. Hope you get to make some!