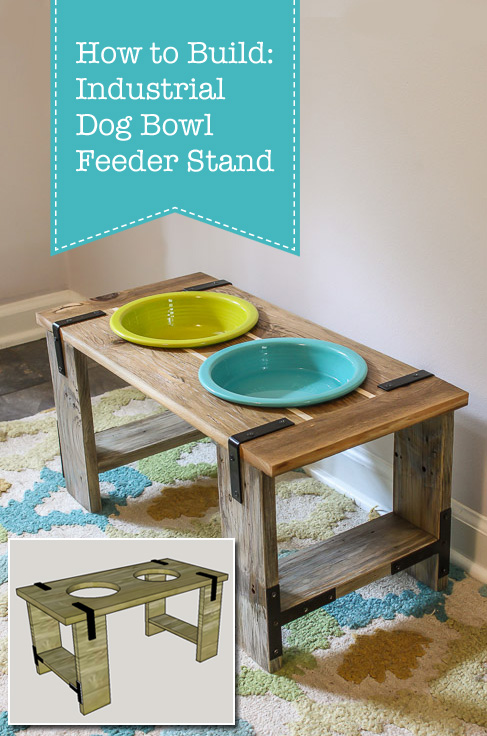
Hi all you pet lovers! I’m checking in with a cool project for the dog and cat parents out there. When I brought home Lena the Lucky Dog, it was quickly obvious that she was much larger than Handy Dog was. Not only did she not fit on his old dog bed, but his dog feeder was too small for Lena, too. She was having a hard time opening her mouth inside the smaller bowls to eat. I searched online for some beautiful industrial style raised dog bowl feeders. But, I was coming up short. The only one I found cost way more than I wanted to spend. And frankly, it wasn’t quite the style I was craving. What’s a handy girl to do? Make my own! And luckily for you, I’ve included the full DIY tutorial (sponsored by National Hardware) so you can build your own Industrial Dog Bowl Feeder Stand. You’re welcome ;-).
(This post contains some affiliate links. You can read more about affiliate links in my disclosure statement.)
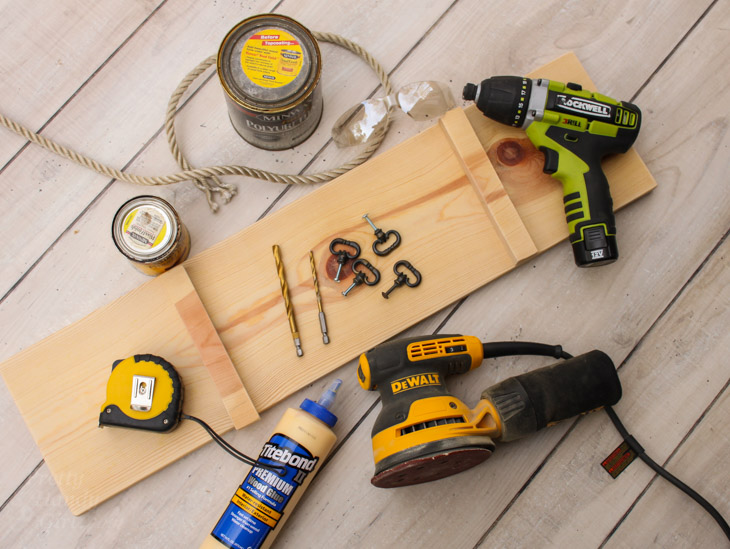
Material List:
- Jig Saw
- Pencil
- Drawing compass
- Ruler
- Clamp
- Drill
- Kreg Jig
- 1 ¼ pocket hole screws
- 1/16″ drill bit
- 1/2″ drill bit
- Philips head bit
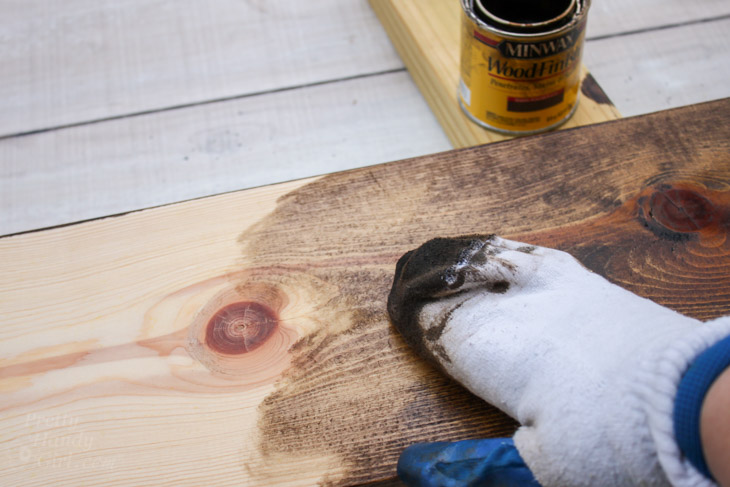
- Wood stain of choice
- 1″ x 12″ x 2′ lumber (or 1″ x 9″ x 18″ for small or medium stand)
- 1″ x 4″ x 6′ lumber (or 1″ x 3″ x 6′ for small or medium stand)
- 4 – 3″ x 3/4″ Black Corner Supports by National Hardware
- 4 – 4″ x 4″ National Hardware Black T Plates
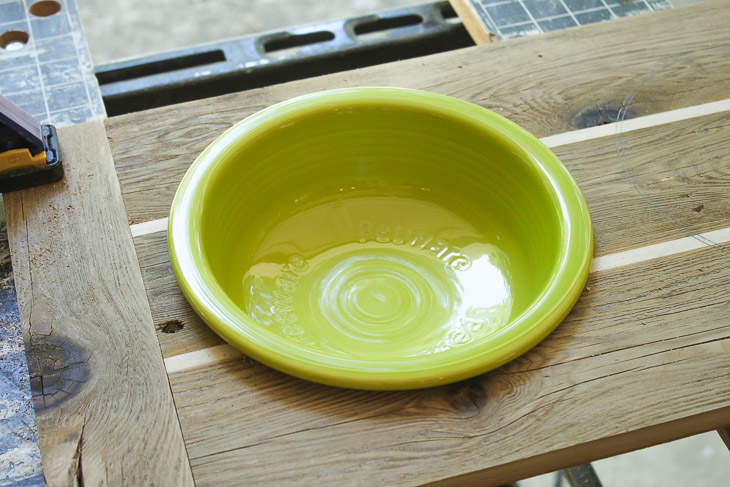
- 2 Dog bowls (link for the cute Fiesta Petware bowls I used here.)
Cut List:
Large Dog Feeder Size –
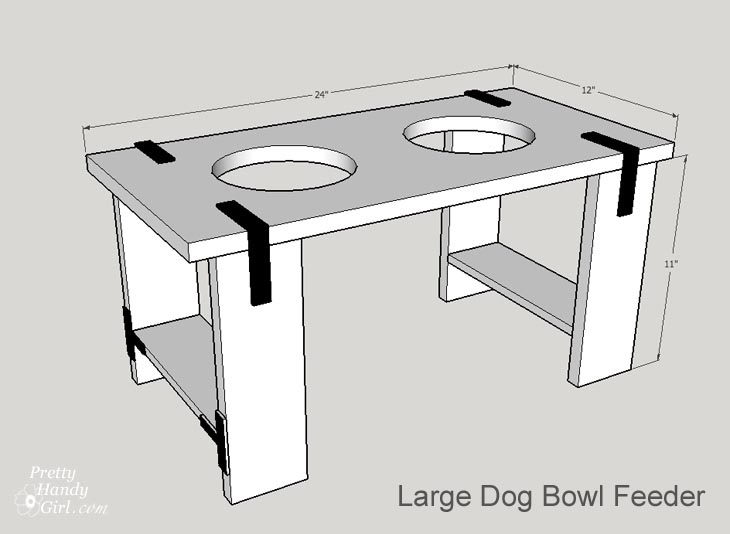
- 1 – 1″ x 12″ x 25″ wood of choice for top (actual board size is 3/4″ x 11 ½” x 24″)
- 4 – 1″ x 4″ x 11″ for legs (actual board sizes are 3/4″ x 3 ½” x 11″)
- 2 – 1″ x 4″ x 10″ for the leg supports (actual board sizes are 3/4″ x 3 ½” x 10″)
Medium Dog Feeder Size –
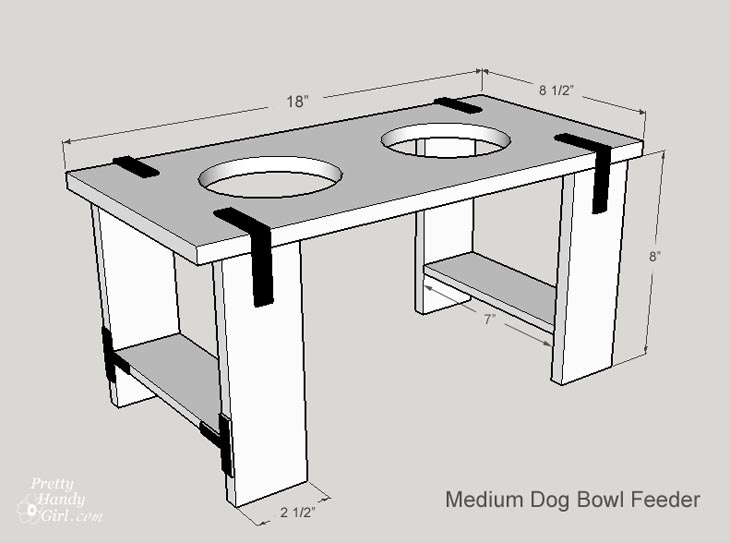
- 1 – 1″ x 9″ x 18″ wood of choice for top (actual board size is 3/4″ x 8½” x 18″)
- 4 – 1″ x 3″ x 11″ for legs (actual board sizes are 3/4″ x 2½” x 8″)
- 2 – 1″ x 3″ x 7″ for the leg supports (actual board sizes are 3/4″ x2½” x 7″)
To build a Small Dog Feeder Size (use the same dimensions as the medium dog feeder, but shorten the legs to 5 inches tall. And set the leg supports 1 ½” from the floor.)
Instructions:
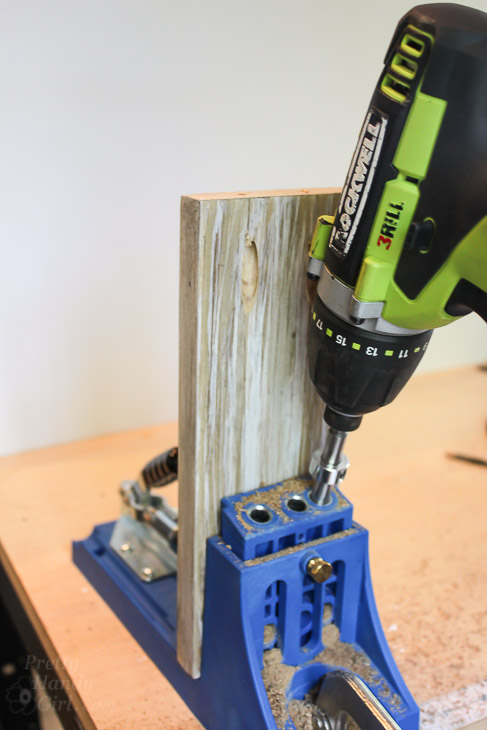
Drill two pocket holes on each end of the underside of the leg support pieces (1″ x 4″ x 10″ for the large feeder and 1″ x 3″ x 7″ for the medium feeder.) If you need assistance, you’ll find this tutorial for How to Use a Kreg Jig useful.
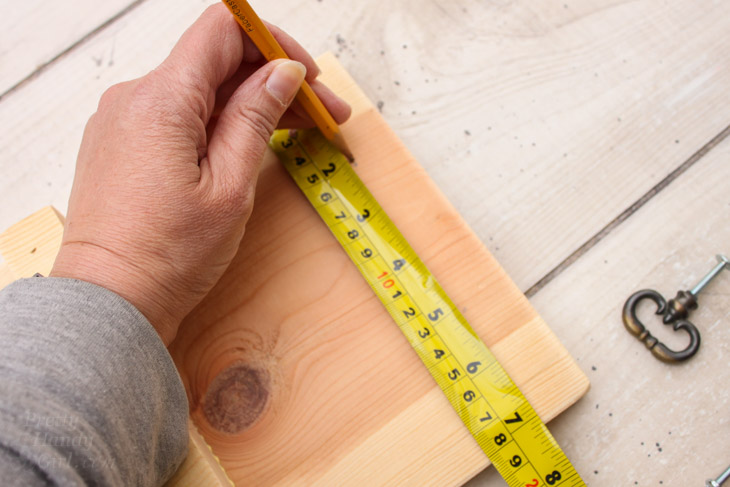
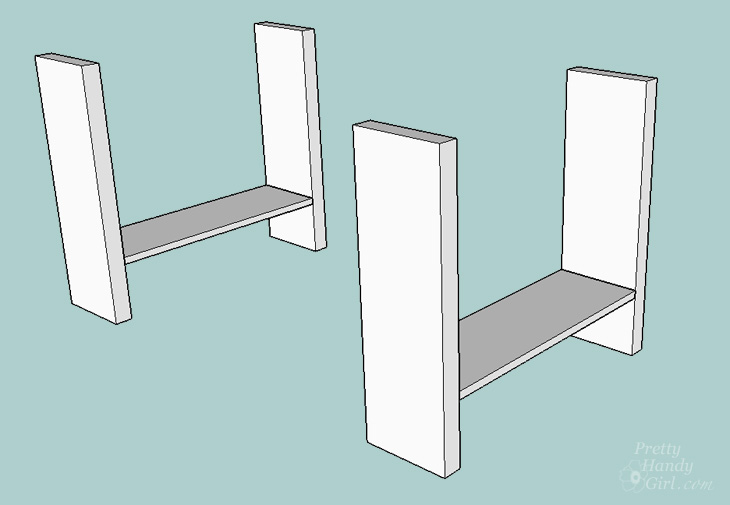
Measure 2½” from the base of each leg (use 1½” if you are building the small feeder) and make a pencil mark. Line up the leg support with the pencil marks and clamp to hold it in place.

Secure the leg support to the legs using 1 ¼” pocket hole screws.
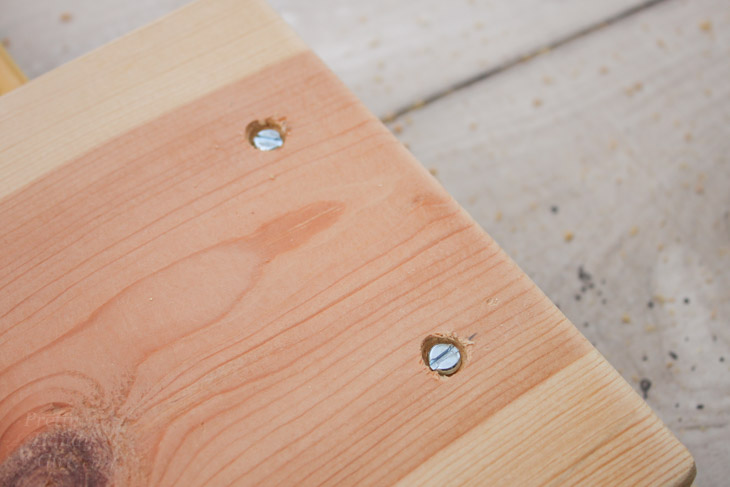
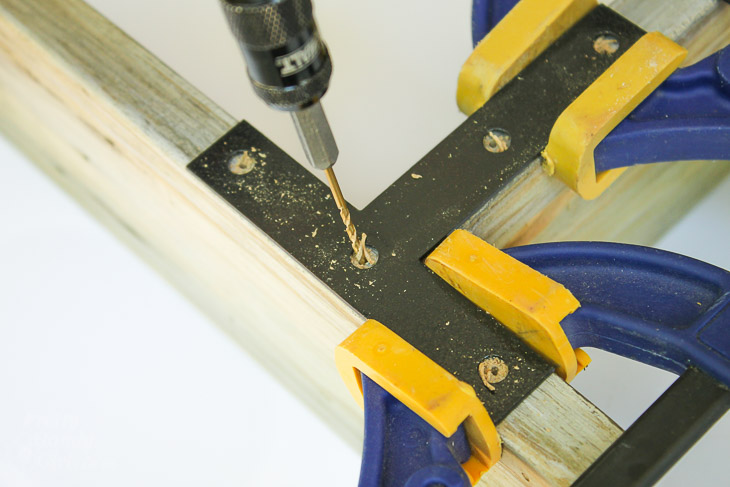
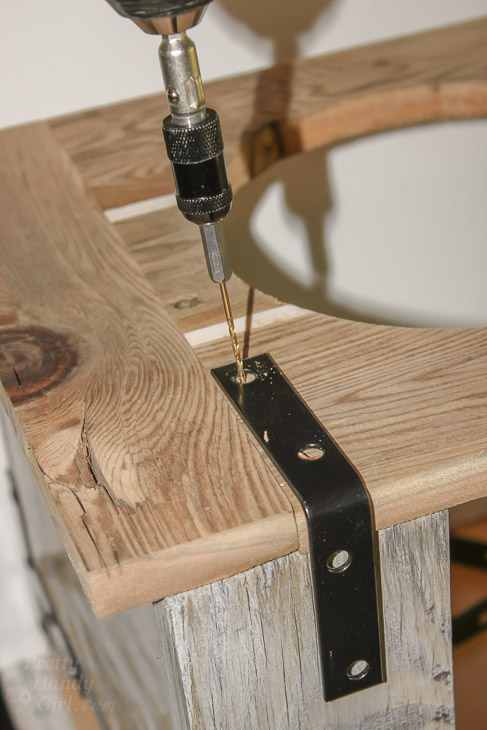
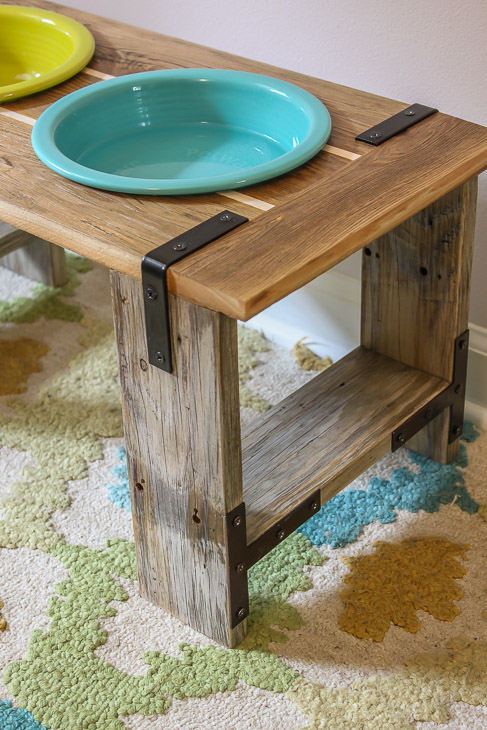
Line up the T mending plates where the legs and leg support pieces meet. Pre-drill holes with the 1/16″ drill bit. (It helps to use clamps to hold the plate in place.) Repeat for the other three mending plates.
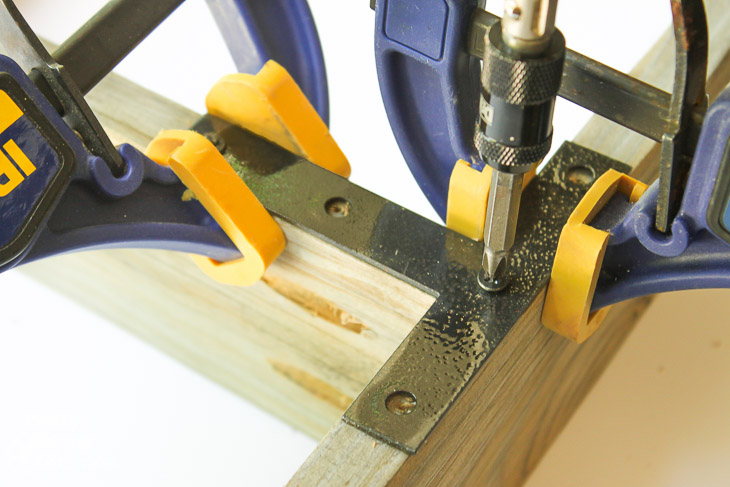
Secure the T plate to the legs and leg support using screws provided with the T mending plates.
Prepping the top for bowls:
Measure the diameter of your pet bowls. Subtract the lip dimensions.
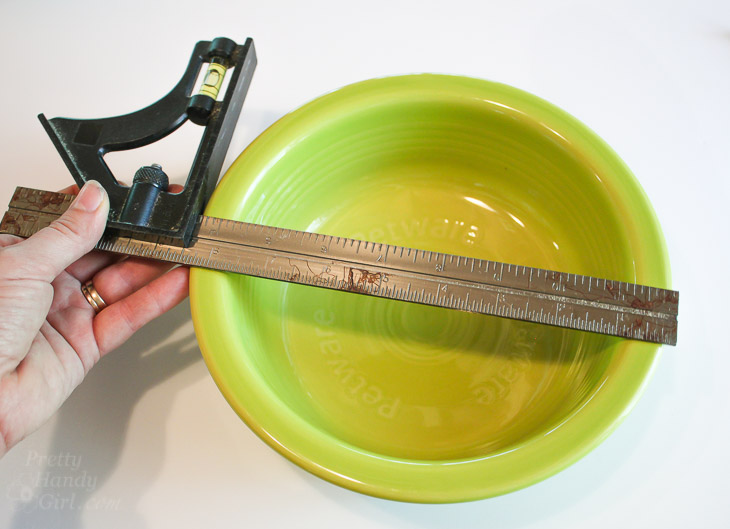
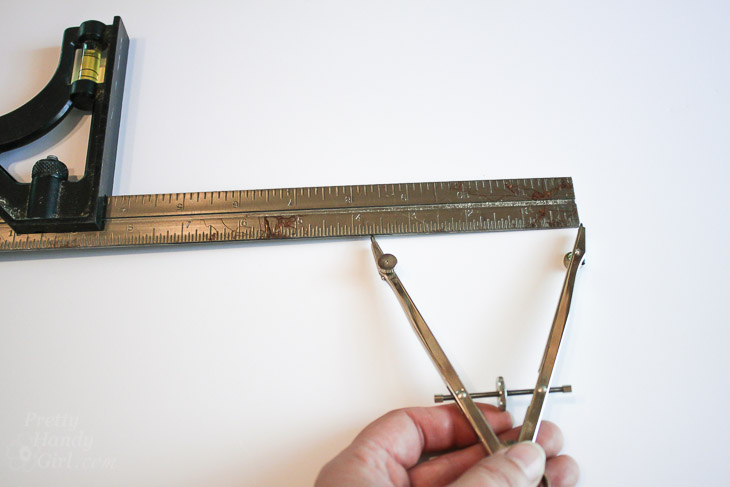
Divide your measurement in half and set your compass to this dimension.
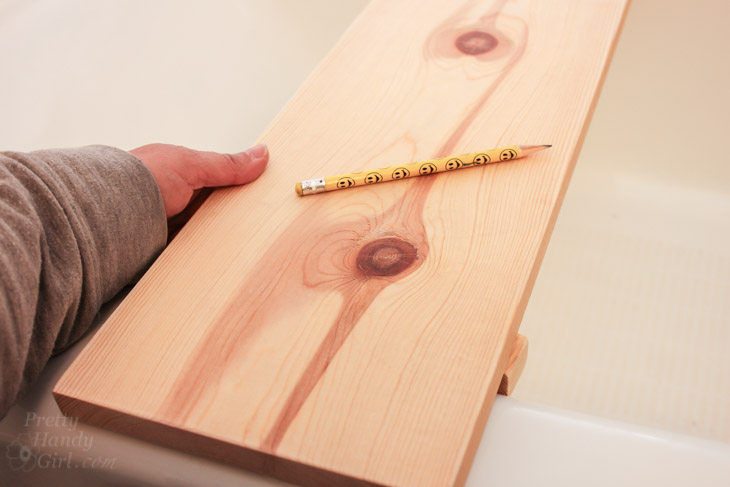
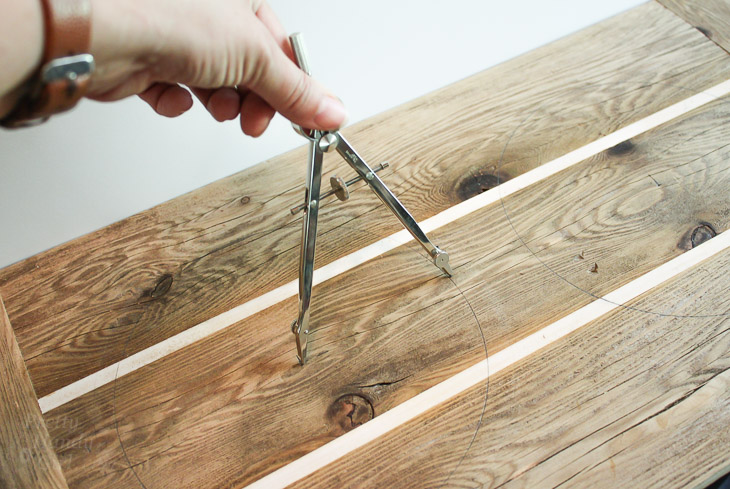
Decide where you want the bowls to sit on the feeder top. Center from front to back and draw a circle with your compass.
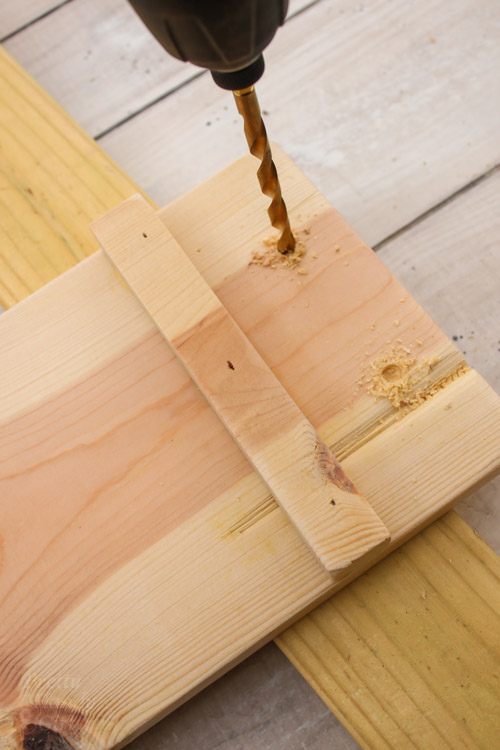
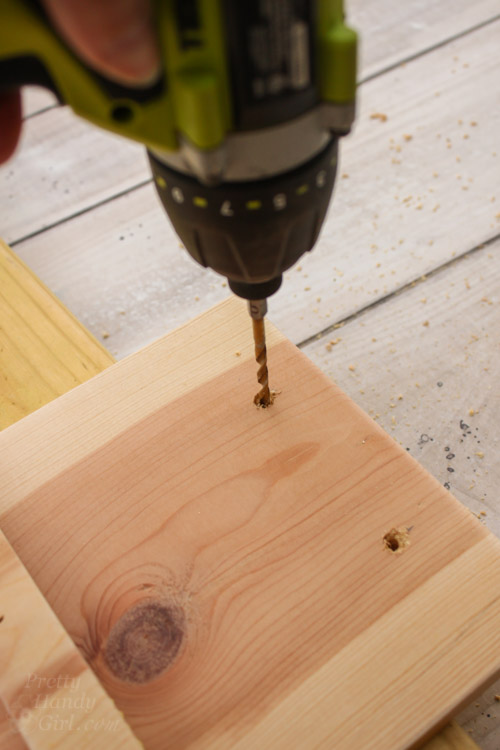
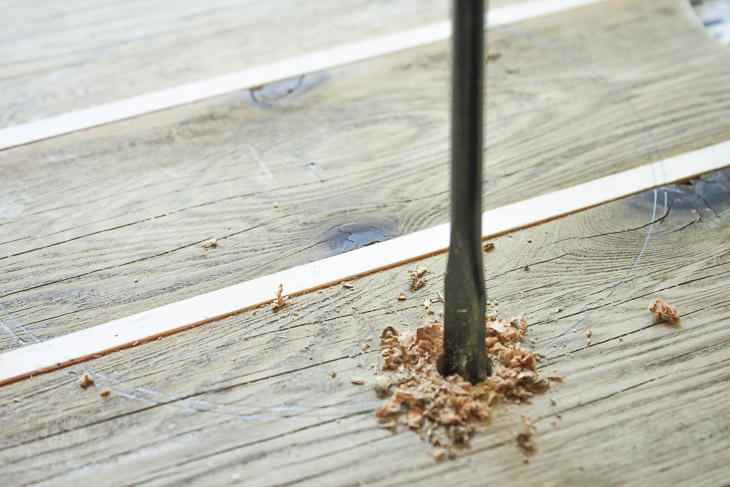
Drill a hole into the interior of the circle using the 1/2″ drill bit.
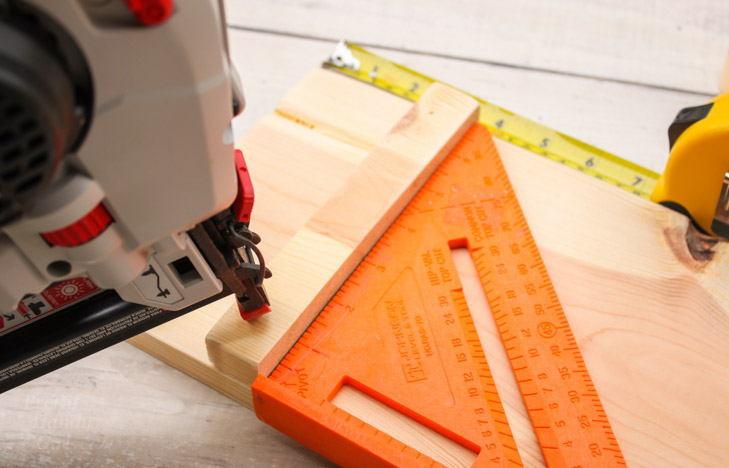
Set your jig saw blade into the circle and cut along the line of the circle.
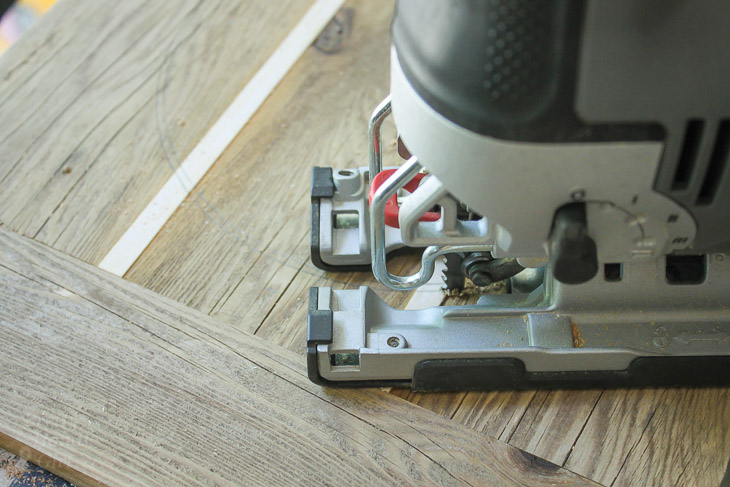
Repeat for the second hole. Test the fit of the bowls and make any adjustments necessary.
Center the top on the legs. Leave a 1 inch overhang on each side.
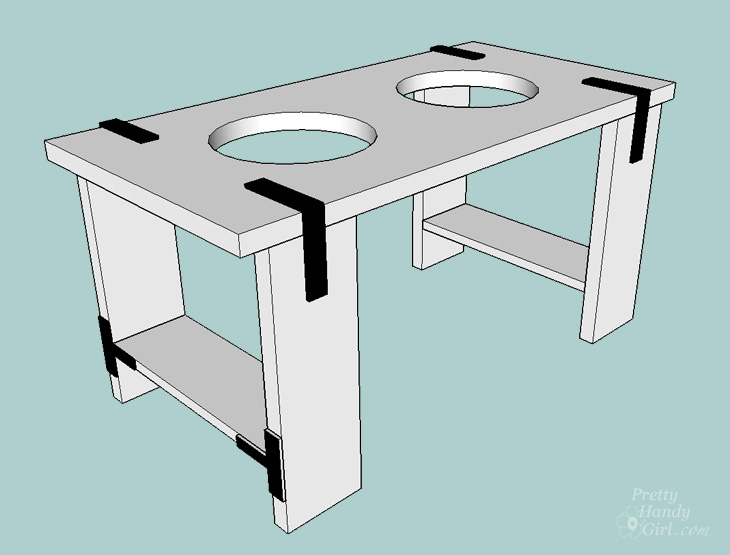
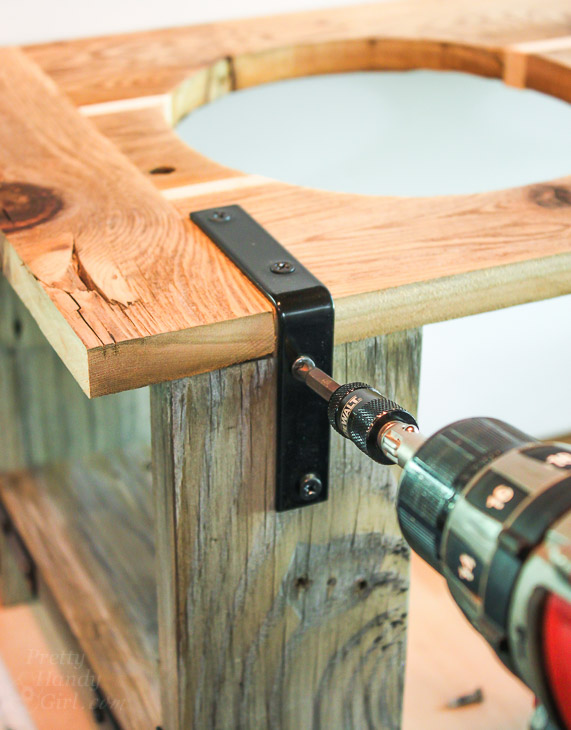
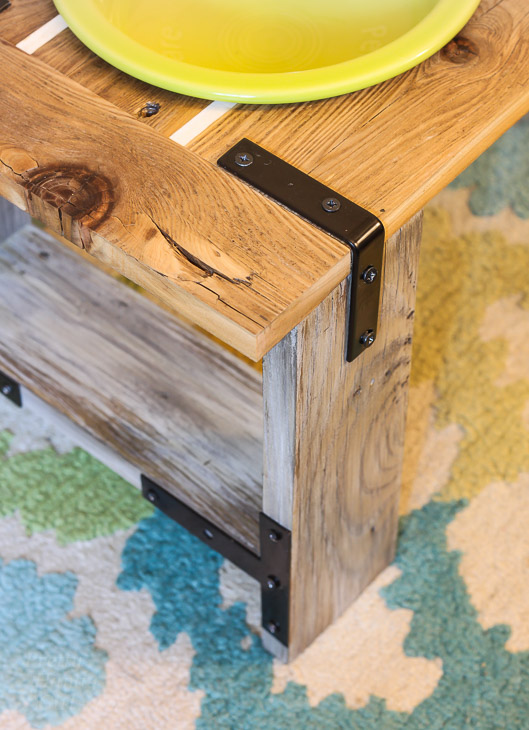
Rest the corner support brackets on the feeder top. Center the brackets on the legs. Pre-drill holes through the corner support bracket.
Attach the feeder top to the legs with the corner support brackets and provided screws.
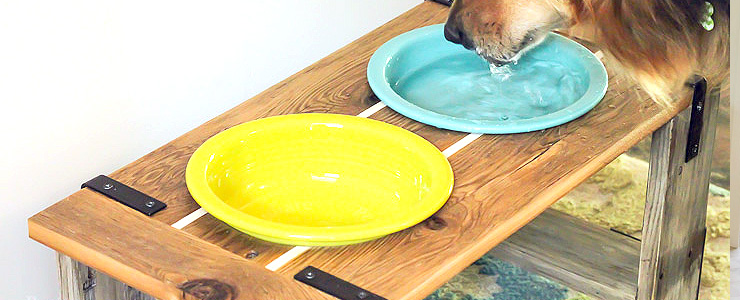
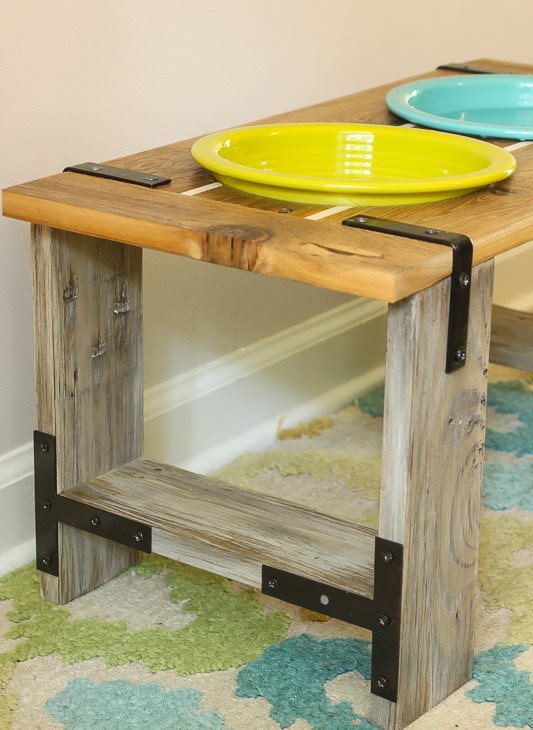
Place the dog bowls into the feeder stand and fill ’em up! Then check out your pup’s reaction as they discover their new stylish Industrial Dog Bowl Feeder Stand.
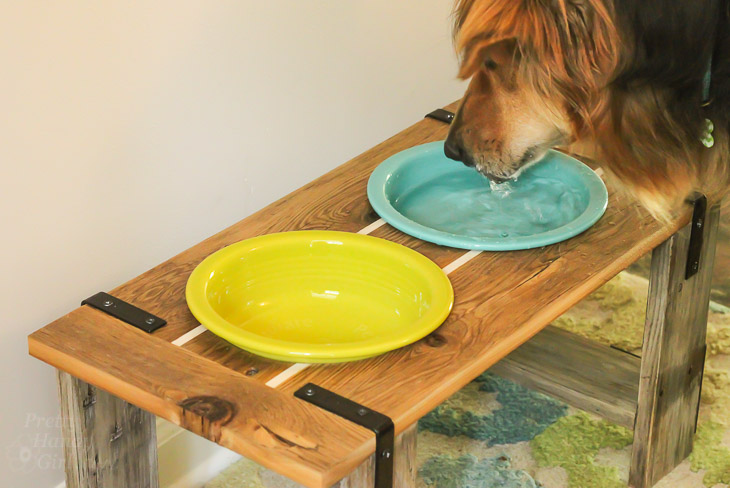
You are sure to be the hit of the neighborhood when the pets converse on the street.
I can hear it now, “Oh yeah, well my owner built me a cool industrial feeder while your’s just cleaned up your poop! Top that, Sparky!”
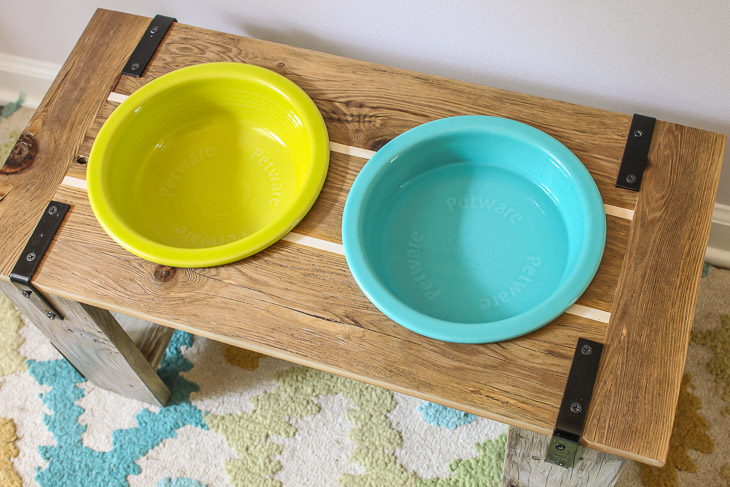
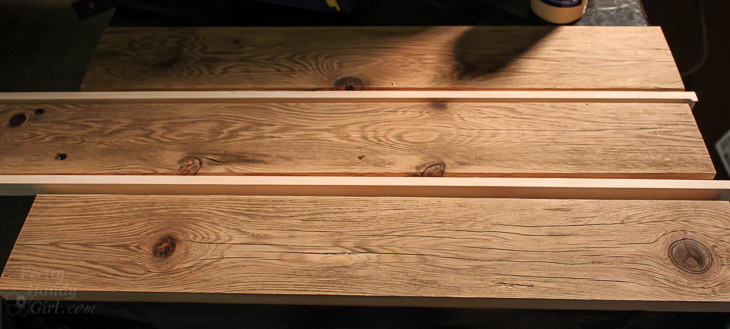
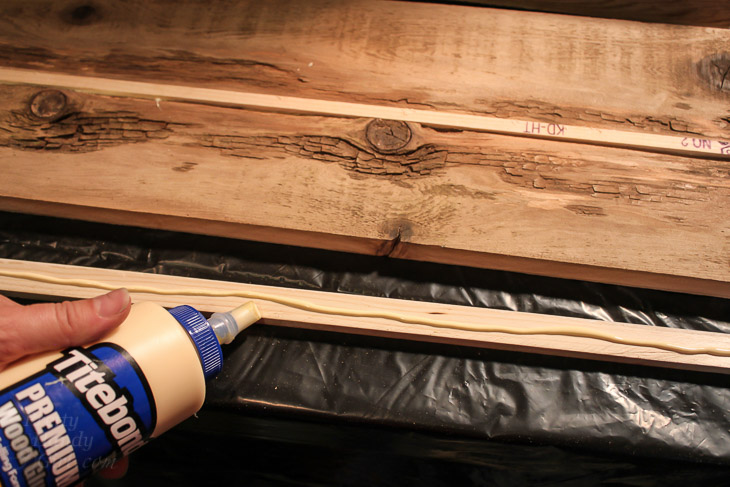
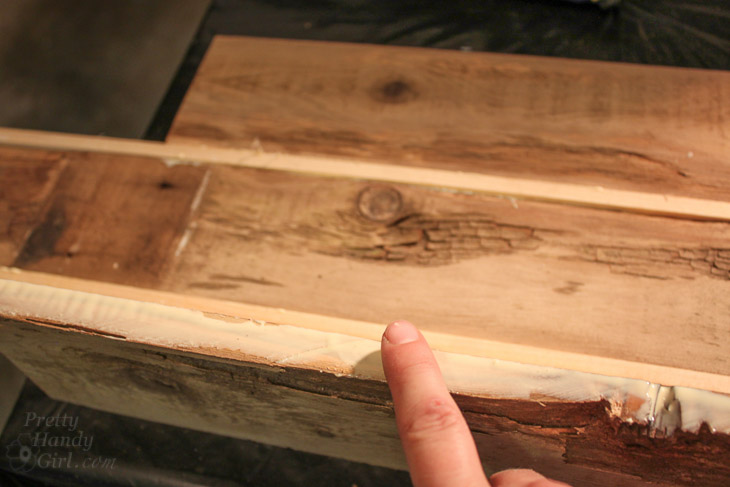
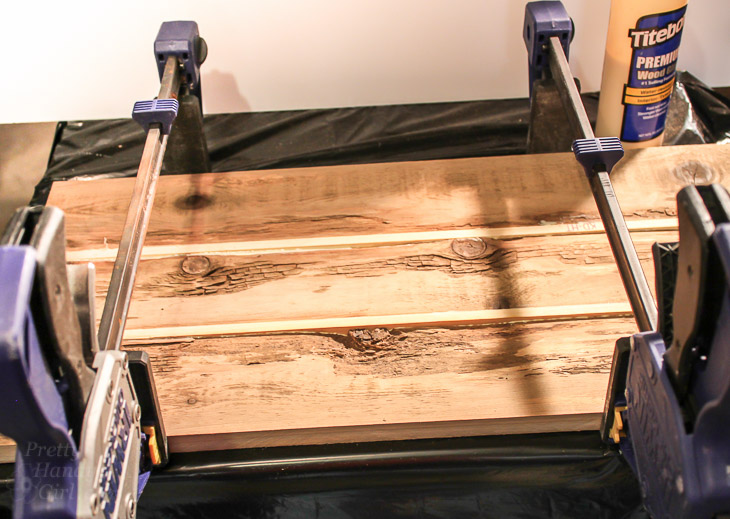
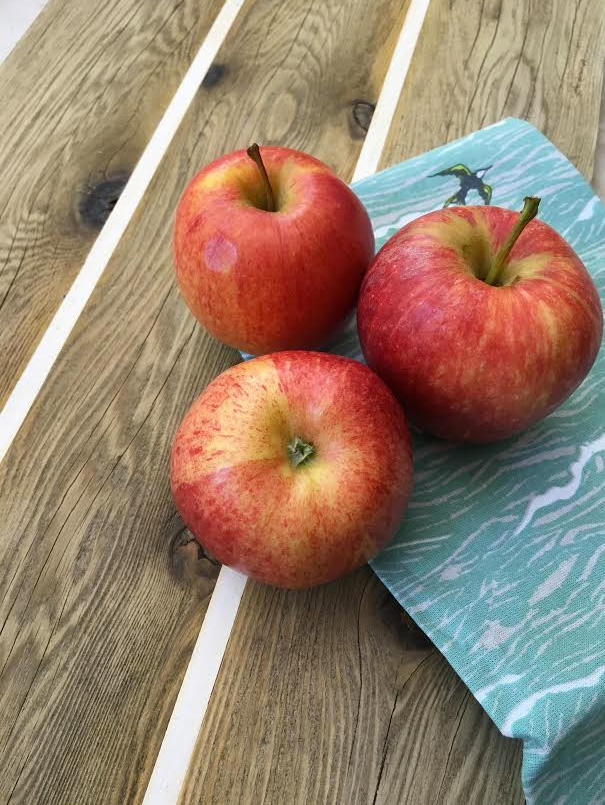
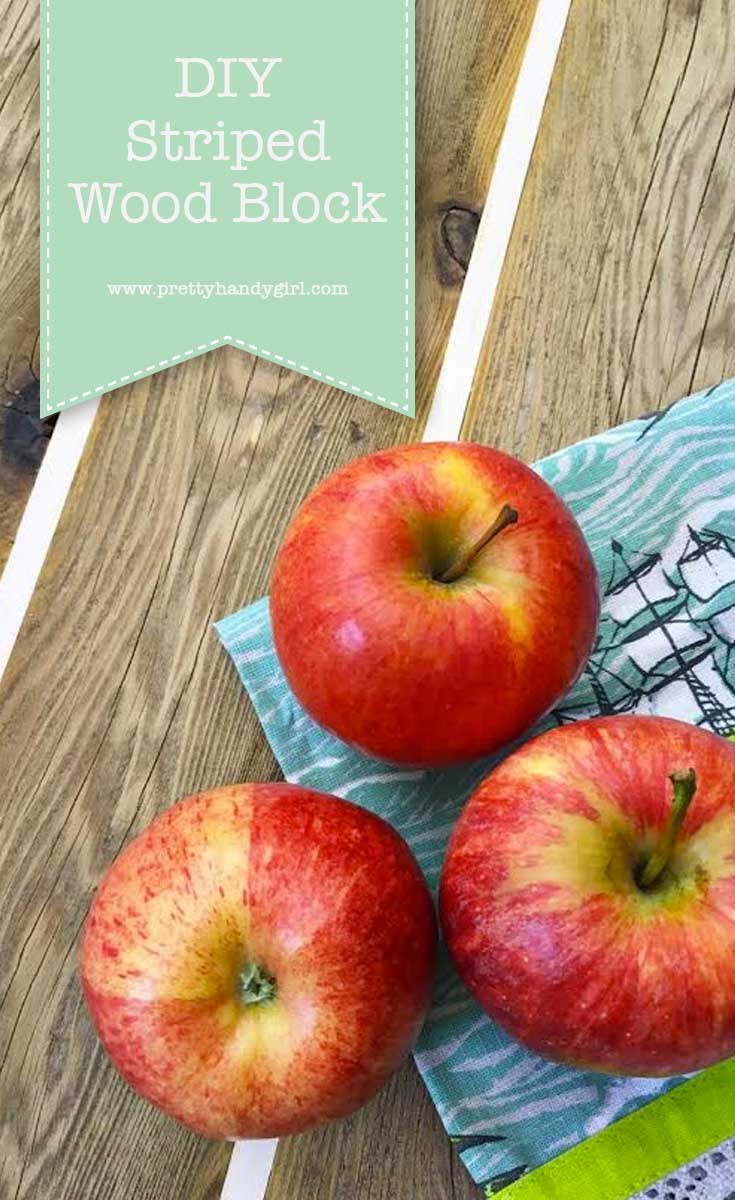
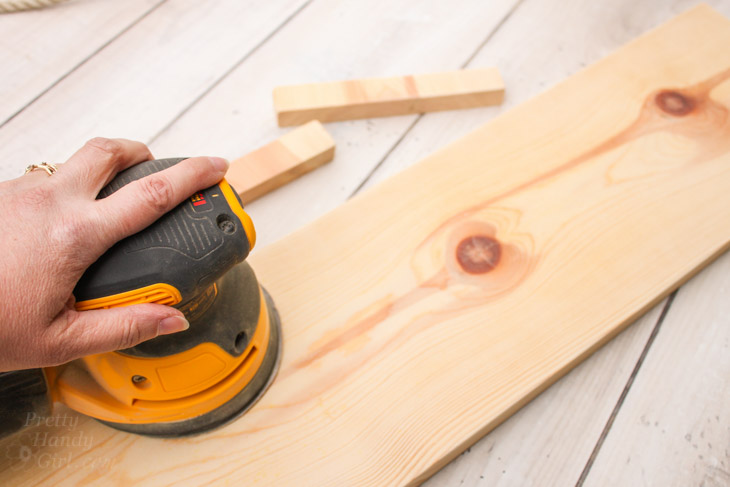
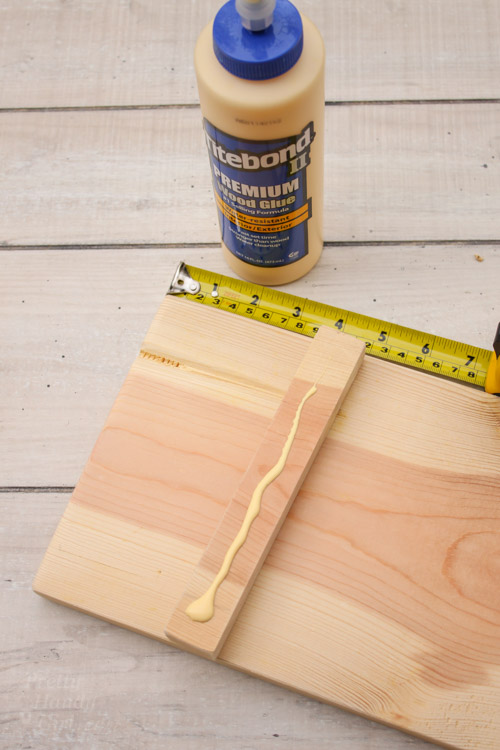
You may have noticed that my top was a little more than just a standard piece of lumber. I made that striped wood block following this method.
I don’t know about you, but my wheels are turning for how I can use these cool mending plates and support brackets for another industrial project.
Any ideas? I’m open to your suggestions. Bring it on!
![]()
Disclosure: This is a sponsored post for National Hardware. I was provided complimentary hardware and was compensated for my time and efforts to promote National Hardware. I was not told what to write. All opinions are my own. I am particular about the brands I represent and will always let you know when you are reading a sponsored post.