Hello friends, it’s Jessica from Decor Adventures. December is the most wonderful month of the year and these early days are perfect for holiday decorating. I’m sure you are decking your halls and getting ready to have a festive season.
One of my favorite ways to decorate for the holidays is to hang wreaths. I admit, I’m a wreath addict. I have them in many sizes and many colors. They are the perfect holiday decor item and one of the easiest to use. Today I want to show you 5 steps for beautiful holiday wreaths, come see!
Materials:
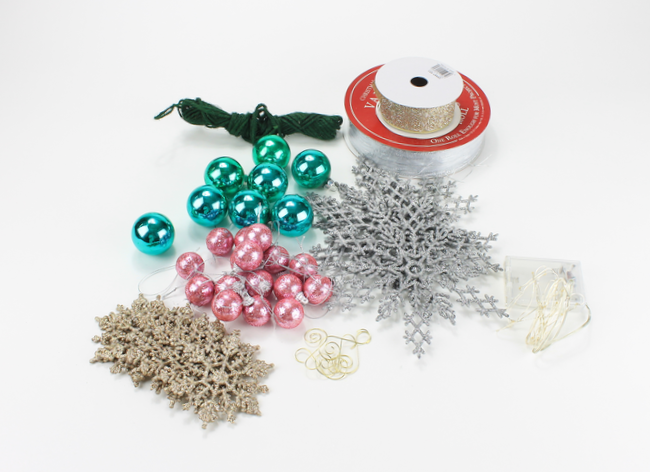
- A wreath
- Holiday lights or fairy lights
- Ribbon
- Ornaments
- Holiday decor accessories
- Scissors
- Green twine
- Batteries
The type of wreath you use for this project is up to you. The most common wreaths are evergreen and can be found at many retailers including grocery and home improvement stores. They also come in different types such as boxwood, fir, pine, cypress, and more. Real or fake wreaths will both work for decorating. Grab a wreath (or three!) and let’s get started.
5 Steps for Beautiful Holiday Wreaths:
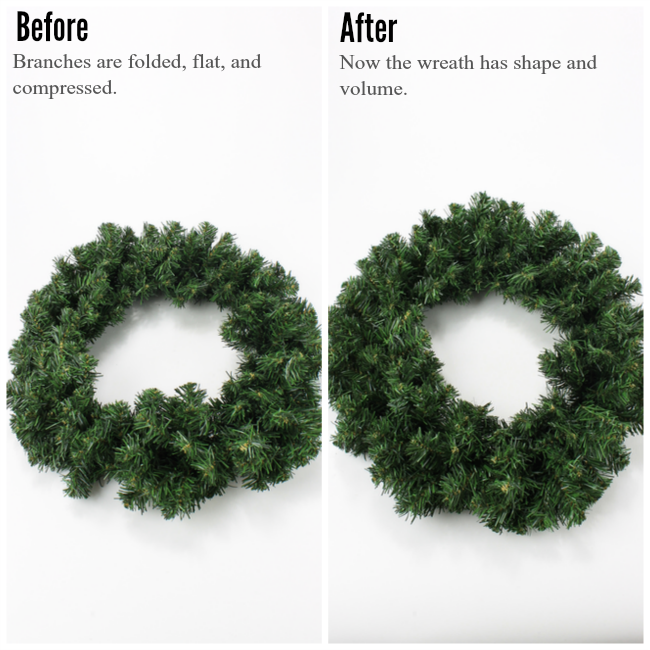
1. The fluffing. Wreaths often get smushed during shipping. Pull out the branches and shape them in a nice circle. The before and after will be dramatic and can make the wreath even bigger. Real wreaths may have some dry spots or unshapely branches, which you can easily trim off.