Easy Clipboard Stand | Pretty Handy Girl

Easy Clipboard Stand | Pretty Handy Girl

Today’s project is so easy, I named it the Easy Clipboard Stand (catchy name, no?) This is a great way to upcycle an old clipboard and a scrap 2×4. This clipboard stand is super versatile. It can be used as a traditional stand for announcements; a copy stand; a recipe holder; an art frame or anything you need to bring attention to. Plus, if you use a dark chalk paint color, it can be used as a chalkboard sign. Bonus.

Materials:
(contains affiliate links)

Tools:

Instructions:

Cut the 2×4 scrap to the same width as the clipboard. Set your table saw blade approximately 2/3 height of the 2×4 block. Angle the blade to 15 degrees. Carefully slide the block over the blade. You’ll notice I use a GRR-Ripper Push Block to keep my hands away from the blade. (If you own a table saw, you need one of these!)

Easy Clipboard Stand | Pretty Handy Girl

The 2×4 should look like the photo below.  Read more

DIY Macrame Plant Hanger

DIY Macrame Plant Hanger

If you follow home decor trends (or just love to add something different or vintage to your home), then a textile and macrame project is a perfect project to try.  If you think they are a nod to the 70’s, you are right but this macrame project is fresh and fun. And it will make a great addition to your home.

Today I have a quick and easy DIY macrame plant hanger to show you that can be customized by color and size. It’s also a new way to display plants instead of just putting them on a shelf or plant stand. Here’s how to make a DIY Macrame Plant Hanger.

Materials:

DIY Macrame Plant Hanger

  • 50 feet of cotton or polyester clothesline
  • Scissors
  • Tape measure
  • Plant in a small pot or bowl
  • Small metal ring
  • Cup hook and anchor (Optional for hanging from the ceiling)

Instructions:

Open the clothesline and fold it in half three times so you have eight strands of clothesline of equal lengths. One end will have all of the ends still connected, and the other will have two looped ends and the two open ends of the clothesline.

DIY Macrame Plant Hanger

Read more

Pretty Handy Girl Living Room Reveal | Pretty Handy Girl

Cory Rolling Storage Ottoman from La-Z-Boy | Pretty Handy Girl

I’m so excited to finally reveal our living room makeover to you. I partnered with La-Z-Boy to furnish our living room almost exclusively with La-Z-Boy furniture and accessories. The furniture from La-Z-Boy arrived a while ago, but the rug was backordered for several months. My La-Z-Boy in store designer asked me twice if I wanted to chose another rug, but I’m so glad I decided to wait. I love the rug and can honestly say that it was well worth the wait!

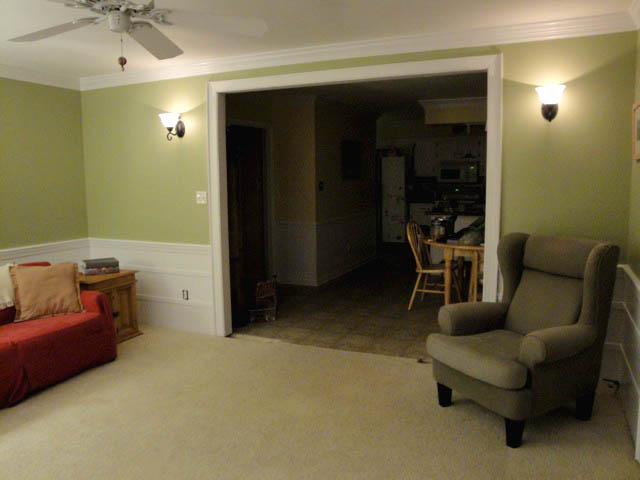
Before we get to the tour, I think it’s only fair to show you a few pictures of the progression of the living room over the years. About a year after we bought the house in 2007, I painted the walls a lighter sage green and added sconces. We also paid a contractor to double the width of the opening to the kitchen. That made a huge difference. You can see the missing flooring where the small opening used to be below:

doorwayopenedup

The sofa was a hand-me-down from my Godfather’s parents.

Xmasmorning

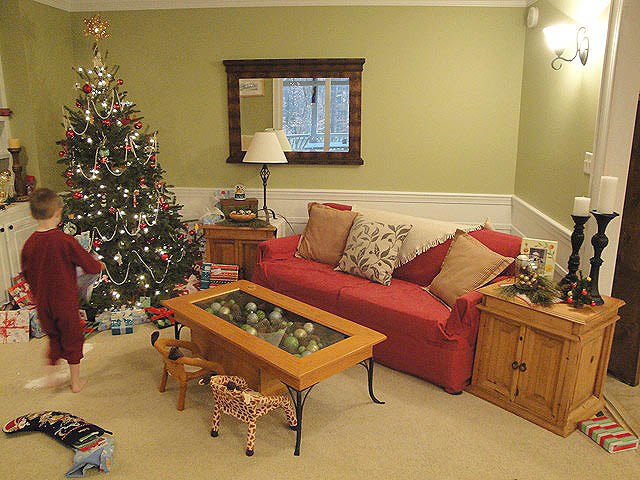
Underneath the red slipcover was this fabulously reupholstered sofa. Can you tell what year I re-covered it?

plaid_sofa

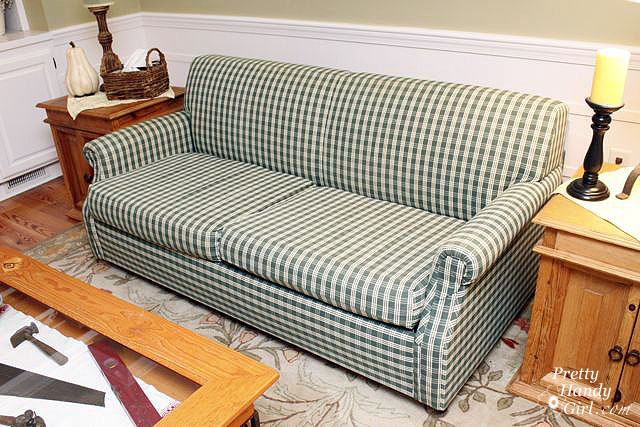
Ummm, hello 1990’s hunter green plaid. I don’t have a photo, but under this plaid monster is the original fabric from the 60’s. It was a floral woven tapestry fabric. I still can’t believe we sat on this sofa that was over 50 years old. It was hard as a rock.

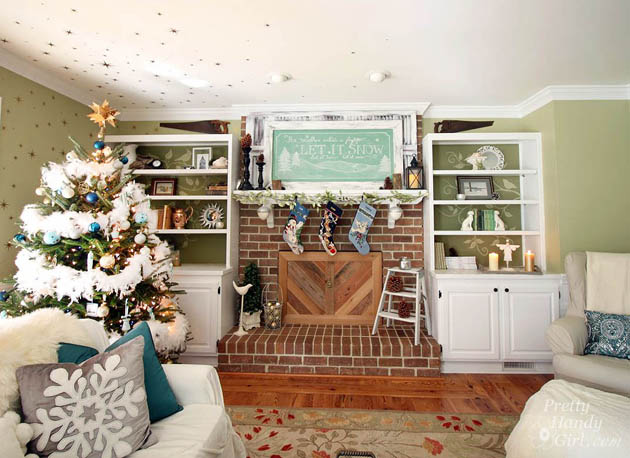
In 2009, I pulled up the wall-to-wall carpeting and installed antique heart pine wood flooring. I also painted the previously painted white fireplace to look like brick again.  You read that right, the brick is painted!

livingroomdone2

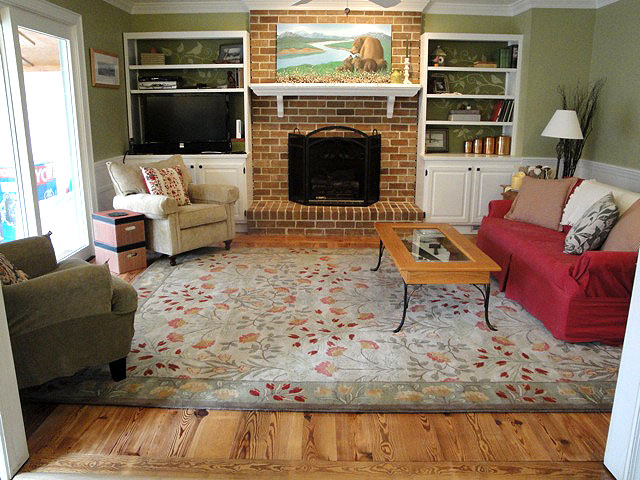
In 2011, I covered the sofa with a new slipcover, but it was still the same uncomfortable hard sofa. We also tried positioning the sofa at an angle in the room.

living_room_vertical

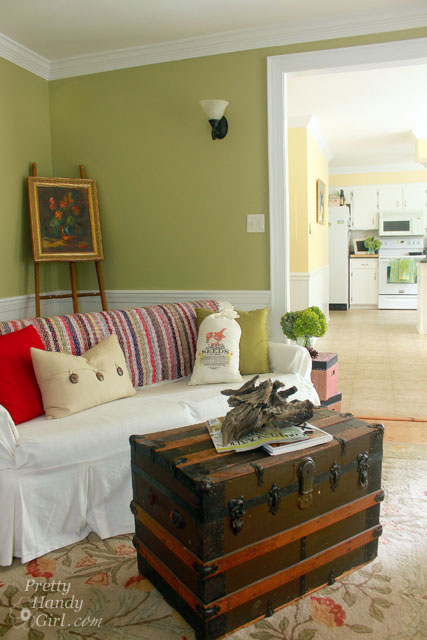
This past winter we moved the furniture around again and for the first time we felt that we had found an arrangement that worked for us.

Pretty Handy Girl's Holiday Home Tour 2014

If you recall, I took a little field trip to our local La-Z-Boy furniture gallery back in December. I met with Lexie, the designer, who was invaluable with her expertise and design advice. Then you all helped me by voting for your favorite fabric selection (big virtual kisses and hugs from me to you for that!)

The voting was a tie, so I combined fabrics from the two winners and ultimately chose this combination:

La-Z-Boy Living Room Mood Board | Pretty Handy Girl

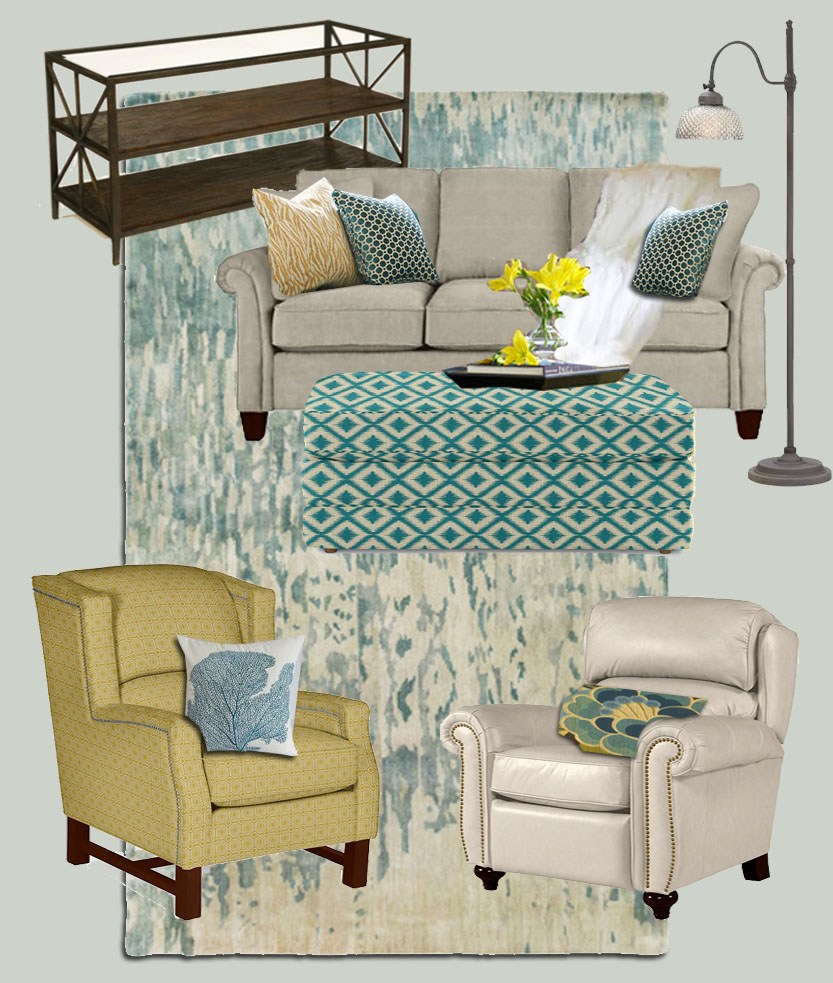
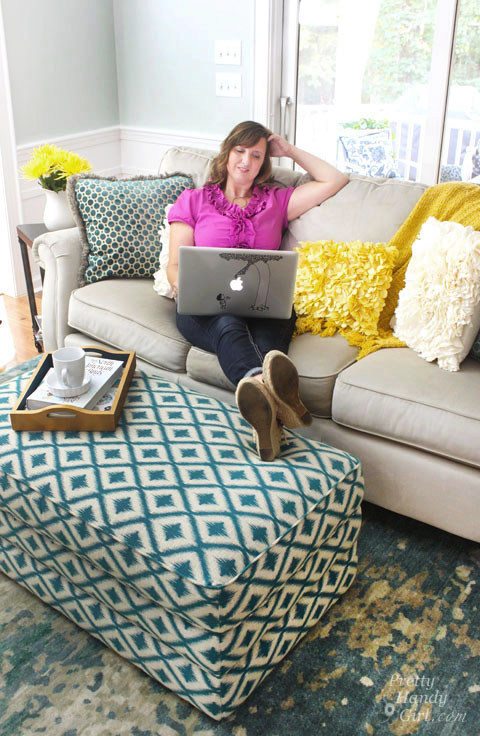
Ready to see how they look in the living room? Are you telling me to shut up already and get to the reveal? Your wish is my command, here is our living room reveal:

(I’ve included affiliate links for your convenience. I earn a small percentage from a purchase using these links. There is no additional cost to you. You can read more about affiliate links here.)

Read more

Cory Rolling Storage Ottoman from La-Z-Boy | Pretty Handy Girl

Daphne Ottoman from La-Z-Boy | Pretty Handy Girl

I’m in love with Cory and all the things he does for me. I can’t believe I just wrote that sentence, but it’s true. Cory has been with me for about two months now and he has easily won over my heart.

Daphne Ottoman from La-Z-Boy | Pretty Handy Girl

Honest, I’m not cheating on my husband. Cory is our rolling storage ottoman from La-Z-Boy. He scoots up close to our sofa and holds my feet after a long day. During the day, we spend a lot of time together, because this has become my favorite spot to blog.)

Cory Rolling Storage Ottoman from La-Z-Boy | Pretty Handy Girl

Before I go on gushing about Cory, I should tell you that this is a sponsored post for La-Z-Boy and they let me custom design Cory for my home. But, I never realized how much I would love him until he came into my living room.

When the La-Z-Boy design consultant first recommended an upholstered ottoman, I was hesitant. I worried that we wouldn’t have anywhere to set our drinks. But, she told me that I just needed to give Cory a tray to hold drinks and other necessities. Read more

NauticalTowel Rack

The kids are back in school, but we still have plenty of hot summer weather here in Arizona. This means a lot of time by the pool.  My boys swim every single day, and always leave a pile of towels left in their wake.  I was tired of the towels and swim trunks piling up in their bathroom, so I decided it was time to make a designated place for them to hang everything to dry.  This DIY Nautical Towel Rack keeps their bathroom picked up and it adds a little fun nautical decor to the pool area, so it’s a win-win!

Materials:

  • 1 – 1x6x8′ cedar board
  • 1 – 5 gallon paint stick
  • 1 roll of 1×2″ sisal rope (about 10 feet)
  • 6 coat hooks
  • Green Apple spray paint
  • acrylic paint in the color of your choice (I used Americana Bahama Blue)
  • Wood Glue
  • Super Glue
  • Staple Gun with 3/4″ staples
  • 1 yard of adhesive vinyl and transfer paper for the stencil
  • Die-cutting machine
  • 1 1/2″ hose clamps
  • 1/2″ self-tapping screws

Instructions:

Spray paint the coat hooks and set them aside to dry.

edited-0363

While the paint dries on the hooks, cut the cedar board into two 3′ sections.  (If you have a bigger family, you can always just cut it in half for a bigger towel rack. ) Cut the 5 gallon paint stick into three pieces to attach to the back.

cut-cedar-board-for-towel-rack

Line up the boards and attach the paint sticks to the back using wood glue and staples.  If you don’t have a staple gun, a brad nailer with 3/4″ nails will work as well. Read more