Chalkboard Gift Tags | Pretty Handy Girl

Chalkboard Gift Tags | Pretty Handy Girl

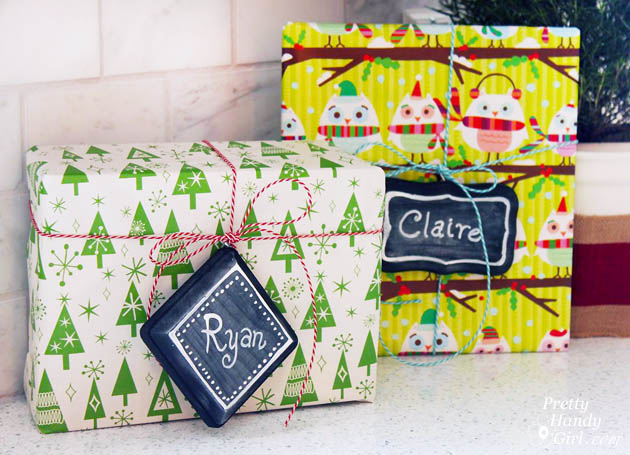
Want a great way to dress up gifts? Make these easy chalkboard gift tags for your holiday or birthday gifts. Purchase some inexpensive wood plaques or cut some masonite scraps and paint them with chalkboard paint.

Drill a few holes and thread them onto the ribbon on the gift. After the present has been opened the recipient can hang the chalkboard tag on their door or use them to label bins.

Materials:

  • Unfinished wood plaques (I bought mine at Michaels)
  • Small rectangular scraps of masonite
  • Chalkboard paint (spray or brush on works fine)
  • Screw eyes
  • Pliers
  • Drill
  • Drill Bits
  • Ribbon or rope
  • Chalk

Instructions:

Prep your tags by painting them with chalkboard paint. Typically I like to use two coats.

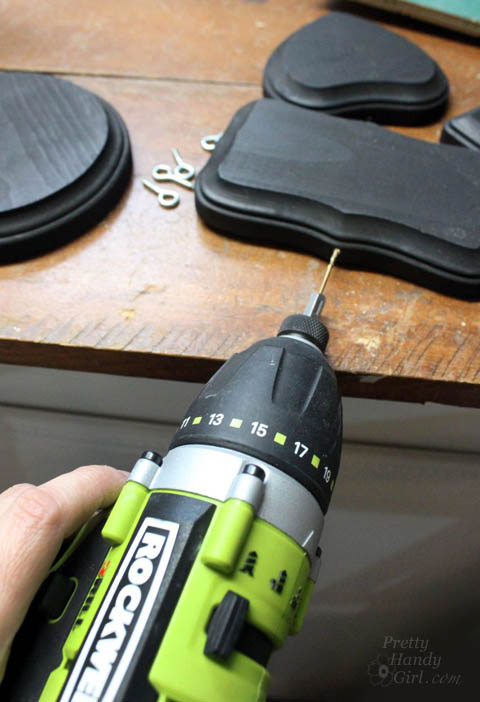
Drill holes in the top of the plaque (slightly smaller than the screw eye.)

Chalkboard Gift Tags | Pretty Handy Girl

Turn a screw eye into the hole. Pliers are helpful when it gets tough to turn. Read more

Hang Stockings Without a Mantel

Hang Stockings Without a Mantel

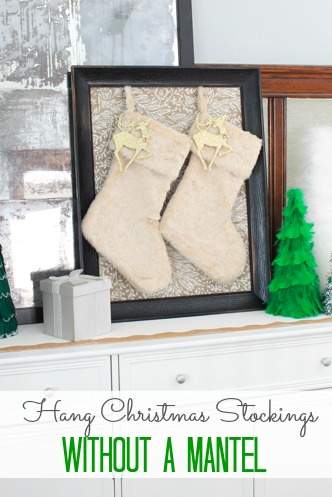
Hello, it’s Jessica here from Decor Adventures, back this month with a simple solution for holiday decorating. These days we see all kinds of lovely homes with Christmas stockings hung beautifully from the mantel or staircase. But what if you don’t have either in your home? I’ve come up with an easy way to display stockings that you can put together in less than an hour. Here is how to hang stockings without a mantel – frame them!

Materials:

Hang Stockings Without a Mantel

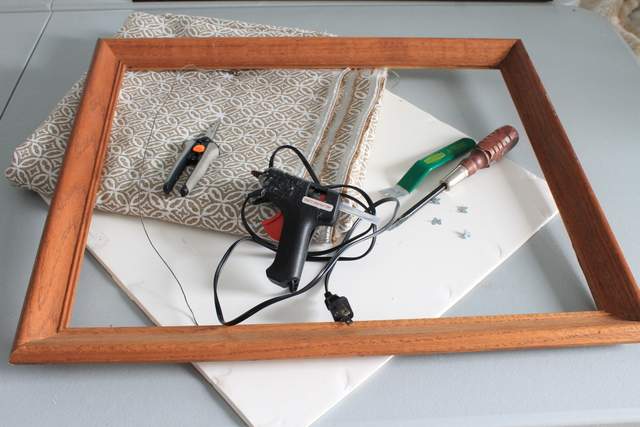
  • Large empty picture frame
  • Foam board
  • Fabric
  • Chicken wire
  • Wire snips or sharp scissors
  • Gloves
  • Paint (optional)
  • S-hooks
  • Glazier’s points and tool (or a wide flat head screwdriver)
  • S hooks
  • Stockings

Instructions:

1. For this project you’ll use a large empty picture frame that doesn’t have glass. You can find them at thrift stores, craft stores, or just reuse one of your own. You can paint or stain the frame to your liking, but that is optional depending on your style.

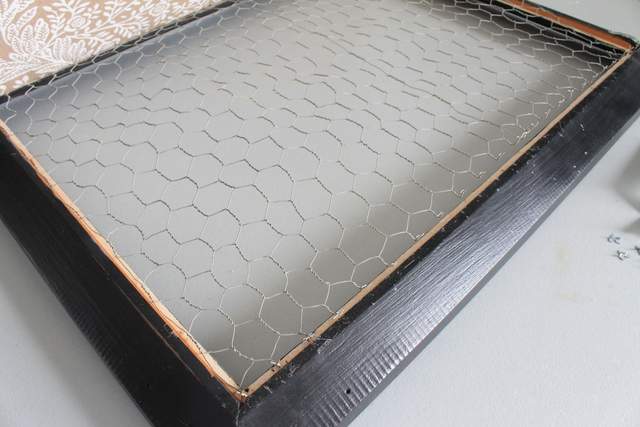
2. Cut a piece of chicken wire one inch larger on all sides than the inside of your frame where the glass would rest. Make sure to wear gloves for this part as the wire can be sharp. Most chicken wire comes with natural lines where the wire is twisted. You can use those as your edges. If you want to spray paint the wire to blend in, that would create a nice look too.

Hang Stockings Without a Mantel

3. Place the frame front side face down on a table and insert the wire into the back of the frame. Set that aside for the moment. Read more

Mosaic Tile Coasters | Pretty Handy Girl

Mosaic Tile Coasters | Pretty Handy Girl

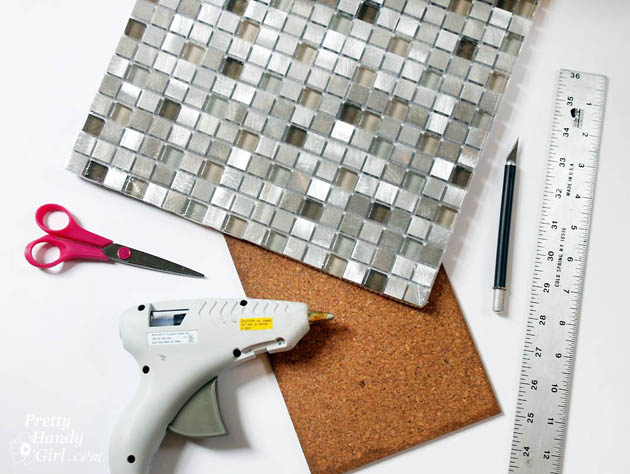
Want an easy and inexpensive gift idea to give out as a hostess gift for those upcoming holiday parties? How about Mosaic Tile Coasters? They are quick and easy to make. Last month, for my Lowe’s Creative Idea I created a unique lamp shade with mosaic glass tile. I had some leftover sheets and decided to make these coasters with the leftovers. Follow along to learn how to make another great Lowe’s Creative Idea.

Materials:

Mosaic Tile Coasters | Pretty Handy Girl

Instructions:

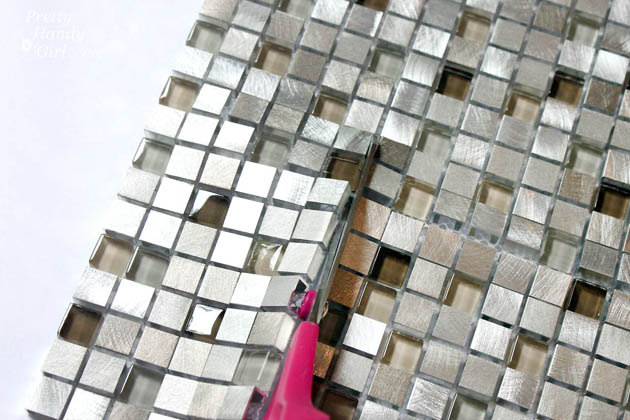
Begin by cutting your mosaic tile sheet into coaster size squares.

Mosaic Tile Coasters | Pretty Handy Girl

Trim off any excess mesh. Read more

WORX JawSaw Review | PrettyHandyGirl

WORX JawSaw Review | PrettyHandyGirlWORX JawSaw Review | PrettyHandyGirl

A few months ago WORX sent me their WORX Lithium Cordless Chainsaw with Extension Pole for a product review. Our property is very wooded and we have so many trees that I’ve lost count. I do know that they need pruning and maintaining on a regular basis (at least every six months.) I knew our yard was a good test environment that would put the JawSaw through a rigorous test on our hardwoods and ornamental trees.

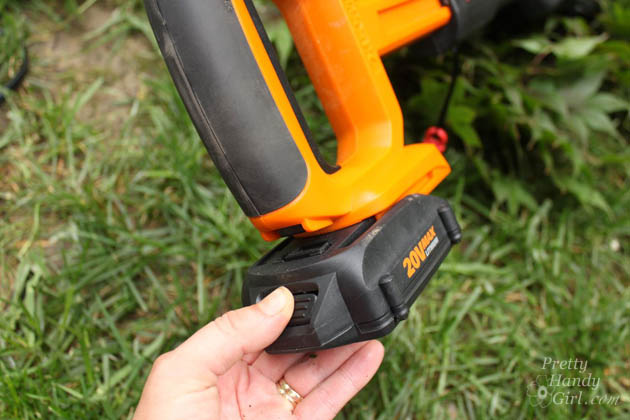
Recently one of our smaller trees died and needed to be removed. I charged up the JawSaw battery and snapped it in place after it was fully charged.
WORX JawSaw Review | PrettyHandyGirl

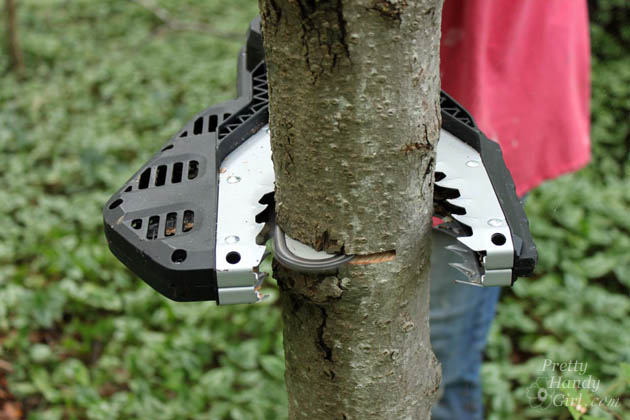
As is always the case, as I got closer, that little tree didn’t look so small. I honestly doubted I’d be able to use the JawSaw for this task. But, I was pleasantly surprised when the jaws fit around the trunk.

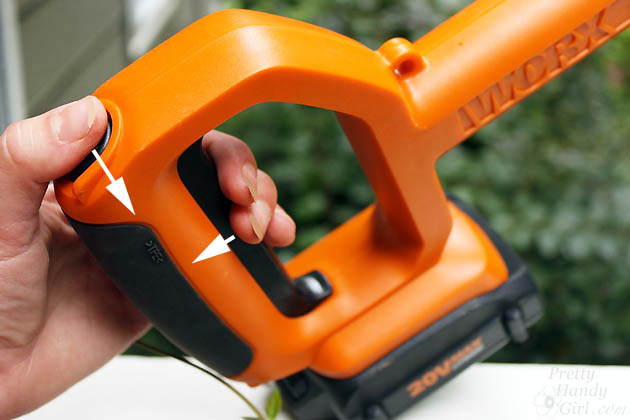
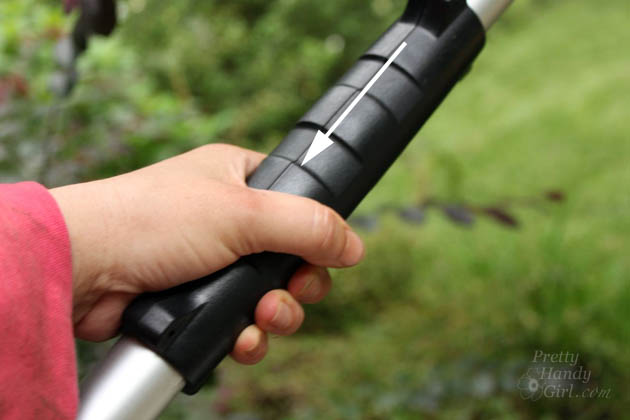
To work the JawSaw, you have to push the button with your thumb and pull the trigger at the same time. To start the saw moving, you push the handle in towards the shaft.
WORX JawSaw Review | PrettyHandyGirl

The blade easily cut through the tree trunk. And within about fifteen minutes I was able to cut the tree down and cut it into manageable pieces.
WORX JawSaw Review | PrettyHandyGirl

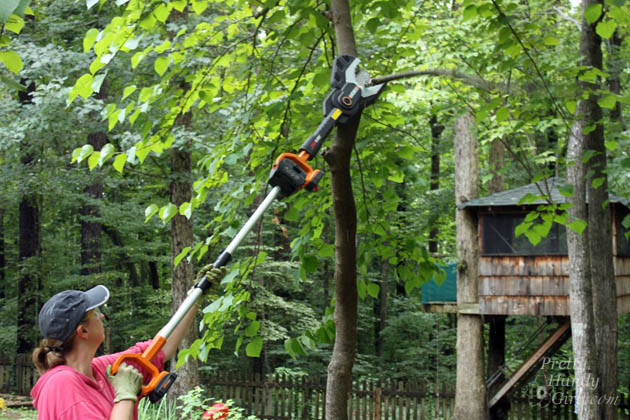
Next I added the pole attachment to trim branches up to 12 feet high. The pole slides into the slot near the black handle. The handle snaps into the handle clamp on the pole. The JawSaw handle needs to be pressed into the shaft and the red bar is inserted into the bottom to lock it in place.  The power pack slides into the battery slot on the JawSaw. The battery pack is then inserted below the handle on the extension pole.

WORX JawSaw Review | PrettyHandyGirl

The pole extension has a 12 foot reach, but you will need to position one hand on the black shaft to operate the JawSaw.
WORX JawSaw Review | PrettyHandyGirl

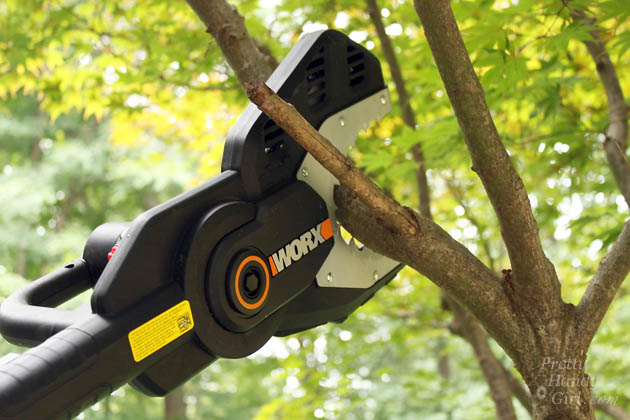
After positioning the JawSaw “jaws” around the branch…
WORX JawSaw Review | PrettyHandyGirl

…pull back on the black shaft to set the blade in motion.
WORX JawSaw Review | PrettyHandyGirl

The JawSaw does all the work for you while you remain safely on the ground. I also like the JawSaw because it gives the user a safe distance from the blade. With a regular chainsaw kickback is always a concern.

Logs and branches can be cut directly on the ground because the “jaws” blade guard holds the blade just above the ground. You can’t do that safely with a regular chainsaw.

WORX JawSaw Review | PrettyHandyGirl

The only negatives about the JawSaw is that you will need to have a battery charged ahead of time (but I much prefer the cordless vs. a corded yard tool.) And you are limited to a 4 inch cutting diameter.

Using the JawSaw on the extension pole is a bit awkward, but I don’t have the strongest arm strength. However, once the jaws are around the branch you don’t have to support the saw the entire time.

WORX JawSaw Review | PrettyHandyGirl

Overall, this is one yard tool that I’m happy to have in our tool shed. It is invaluable for safely removing limbs and cutting up small trees. I highly recommend the WORX Lithium Cordless Chainsaw with Extension Pole for tree trimming and small tree removal over a chainsaw.

PHGFancySign


Disclosure: This is a product review for the WORX JawSaw Cordless Chainsaw. I was provided with the tool at not cost to me. However, I was not swayed to write a positive review or write anything at all. This is NOT a sponsored post. As always I am very particular about the brands and products I choose to showcase on this blog.  
diy gift idea hot cocoa mix in a jar

Hot Cocoa Mix in a Jar

I love making homemade gifts during the holidays. Not only is it more personal than something store-bought, but it’s a budget saver as well.  One of my favorite quickie gifts to make is hot cocoa mix.  With mason jars being all the rage, this gift in a jar is the perfect neighbor or teacher gift for the holidays!

Hot Cocoa Mix in a Jar Supplies:

  • 4 tbsp cocoa powder
  • 4 tbsp sugar
  • 8 tbsp powdered milk
  • 1/2 cup mini marshmallows
  • 1/4 cup chocolate chips (optional)
  • 16 oz pint sized mason jar (I used a wide mouth jar)
  • sandwich bag
  • scrap fabric
  • ribbon

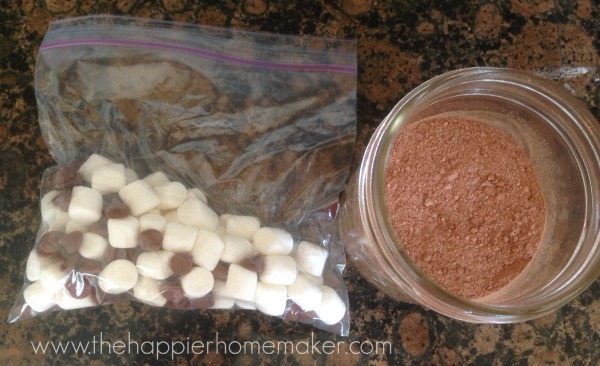
homemade cocoa mix ingredients

Combine powdered milk, sugar, and cocoa mix in a large bowl until well blended. Pour mix into a mason jar. If necessary, wipe down the inside of the jar to remove any mix residue on the top half of the jar.

cocoa gift in jar

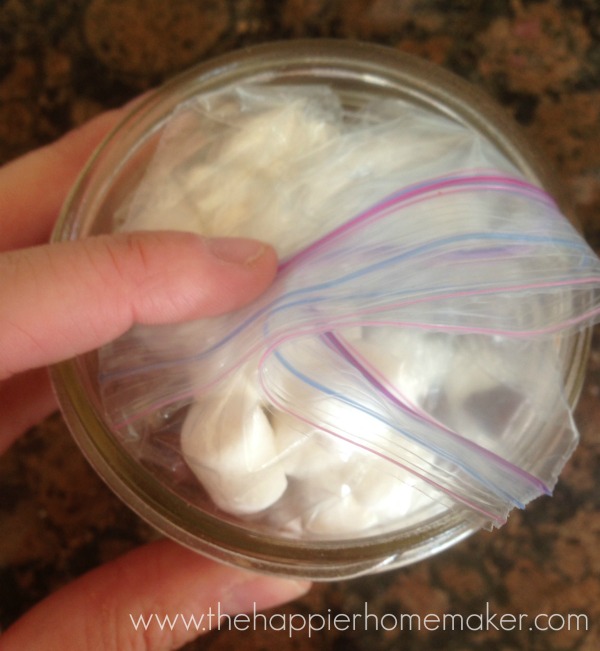
Add marshmallows and chocolate chips to the sandwich bag.  Squeeze all excess air out of the bag and twist to form a “ball” of marshmallows.

packaging cocoa jar gift

Carefully place the marshmallow bag on top of the cocoa mixture with the excess plastic at the top so the lid will conceal it.  Be sure to add your bag slowly so that you don’t cause the cocoa mix to spill.

mason jar topper diy

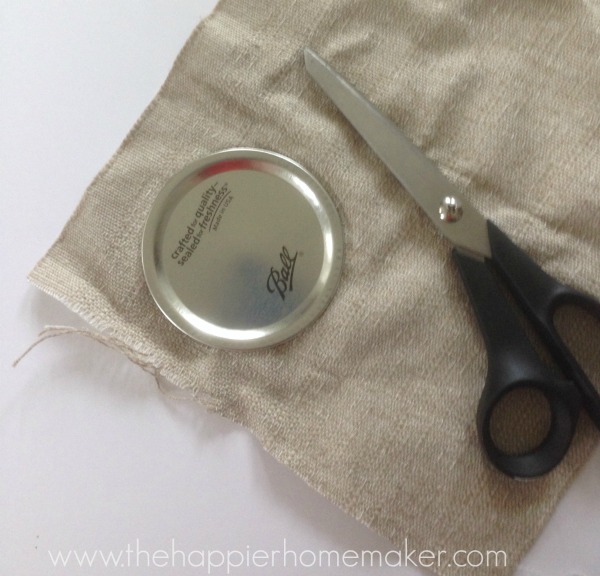
Cover the mason jar top with fabric. It’s a fast and easy way to make the packaging look a little more “fancy!” Simply cut a piece of scrap fabric slightly larger than your top.

making mason jar topper

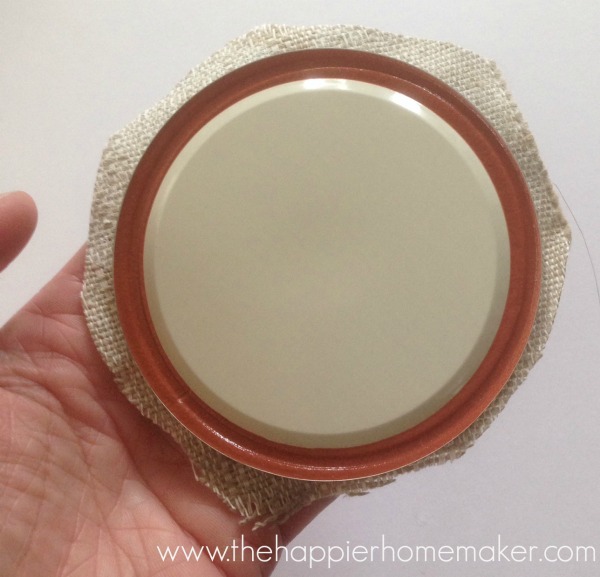
Place the fabric and top on the jar and use the canning ring to secure it in place.  Tie a ribbon around the top to finish it off! Gift with the instructions to add 3 tbsp to 8oz of hot water.

how to make hot cocoa in jar

Do you like to make homemade gifts as well? What are your favorite DIY gifts to make or receive?

MelissaSignature~ read more about Melissa ~


Pin for later!

Last minute DIY gift idea: hot cocoa in a jar! | Pretty Handy Girl