
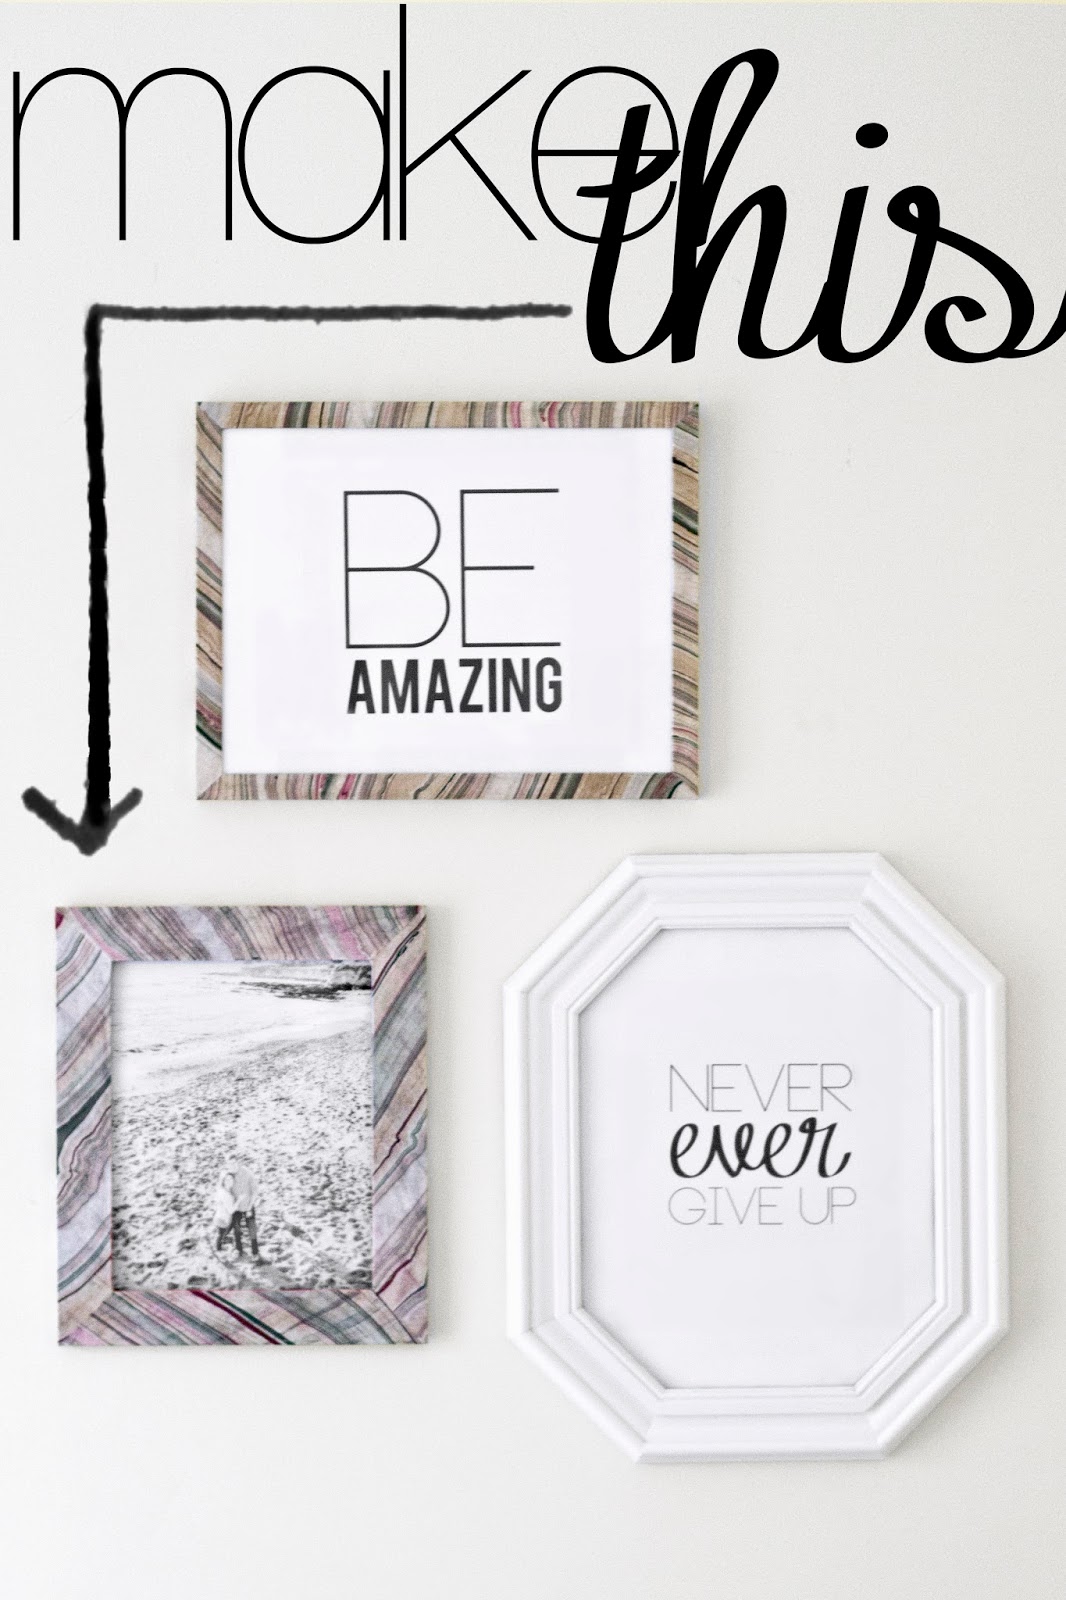
Marbled Picture Frames by Sarah M. Dorsey
Today I am so excited to have the very talented Sarah joining us with a fabulous très frugal DIY gift idea. Sarah is the creative genius behind Sarah M. Dorsey Designs. I am in love with her design style in her home. The coolest thing about Sarah’s designs is that she achieves them on a super frugal budget. Today she’ll show us how to make marbled picture frames in no time for only a few bucks.
![]()
Hi PHG Friends!! This is Sarah from Sarah M. Dorsey Designs. I’m so excited and honored to be here sharing a simple DIY gift idea.
Today may be Black Friday, but instead of buying a gift, think about making a gift. Handmade gifts mean so much more (at least to me 🙂 Plus you’ll save yourself the aggravation of crowded stores. A win win!

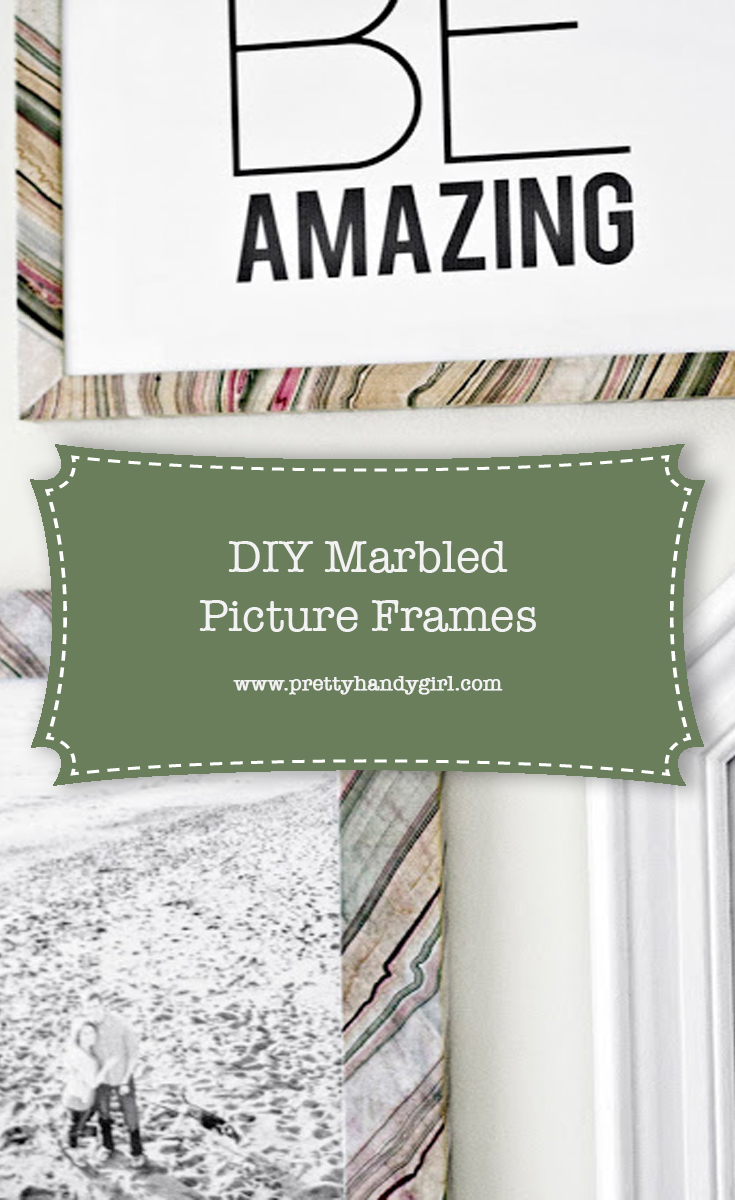
I love the variety of marble paper – adding that to a plain picture frame truly makes them one of a kind! Here’s how I did it.
Materials:
- 1 sheet of marble paper (available at paper source and blick art supply)
- Mod Podge
- Frame (recommend straight front and sides) ** Tip: check your local thrift store for frames, I was able to these for about $1 each
- Brush
- Cutting supplies: scissors, cutting mat, xacto knife, metal ruler
Instructions:
1. Cut a strip of your marble paper, you want it to be a little large so that you have plenty to fold around the sides. Also, the extra width will make it easier to line up the corners, since you can adjust as needed.
Cut a 45 on one end, line it up on the frame and mark your other 45.
(Note: for darker frames, use a white primer first so that it doesn’t show through the paper. I ended up applying an extra layer of paper to cover the dark areas)

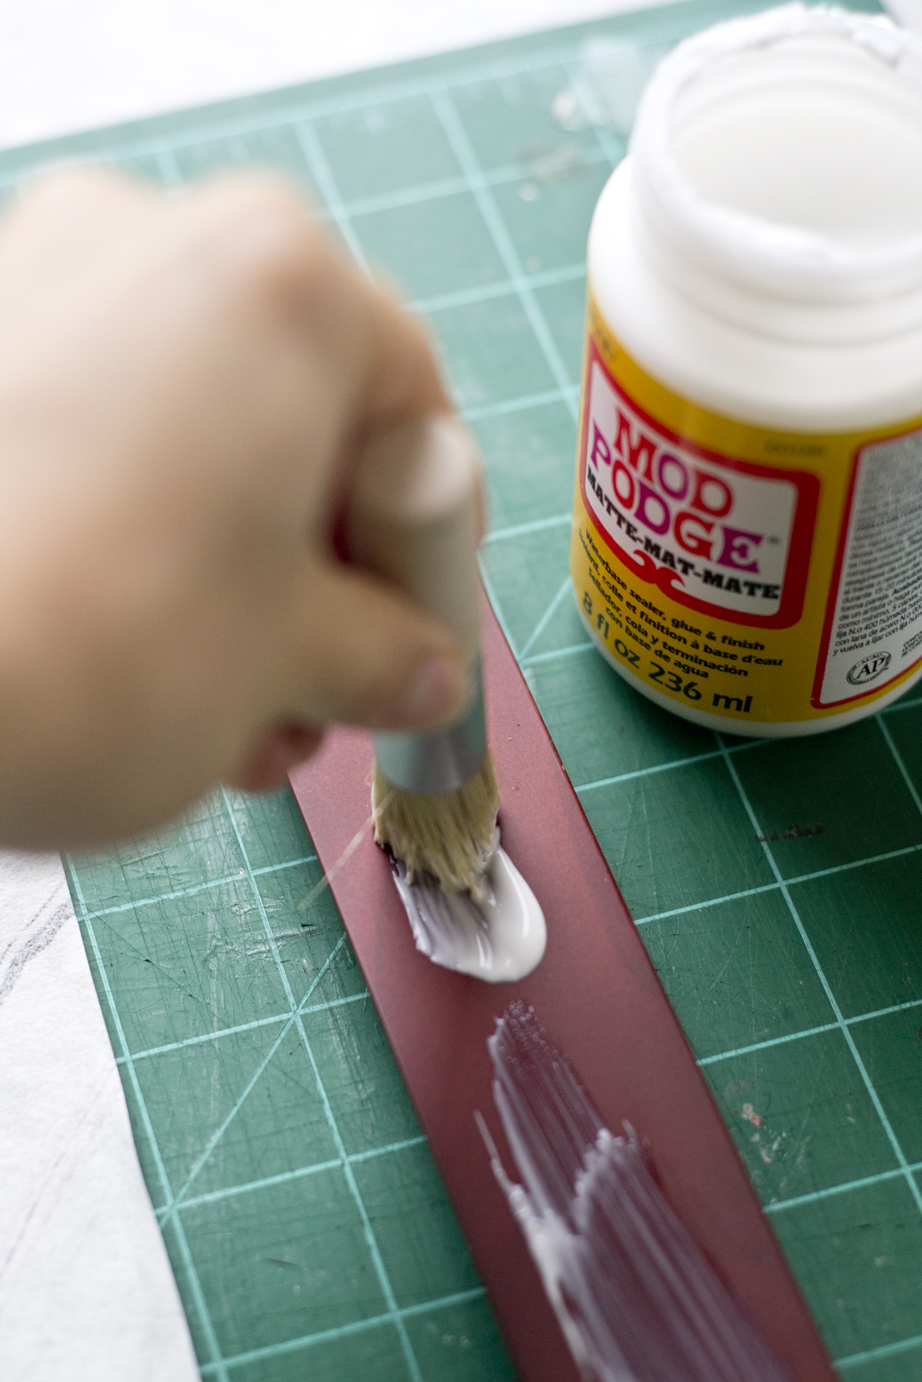
2. Apply a thin, even coat of Mod Podge to the front and inner edge, place you paper on and smooth any wrinkles. Repeat with the side and back.
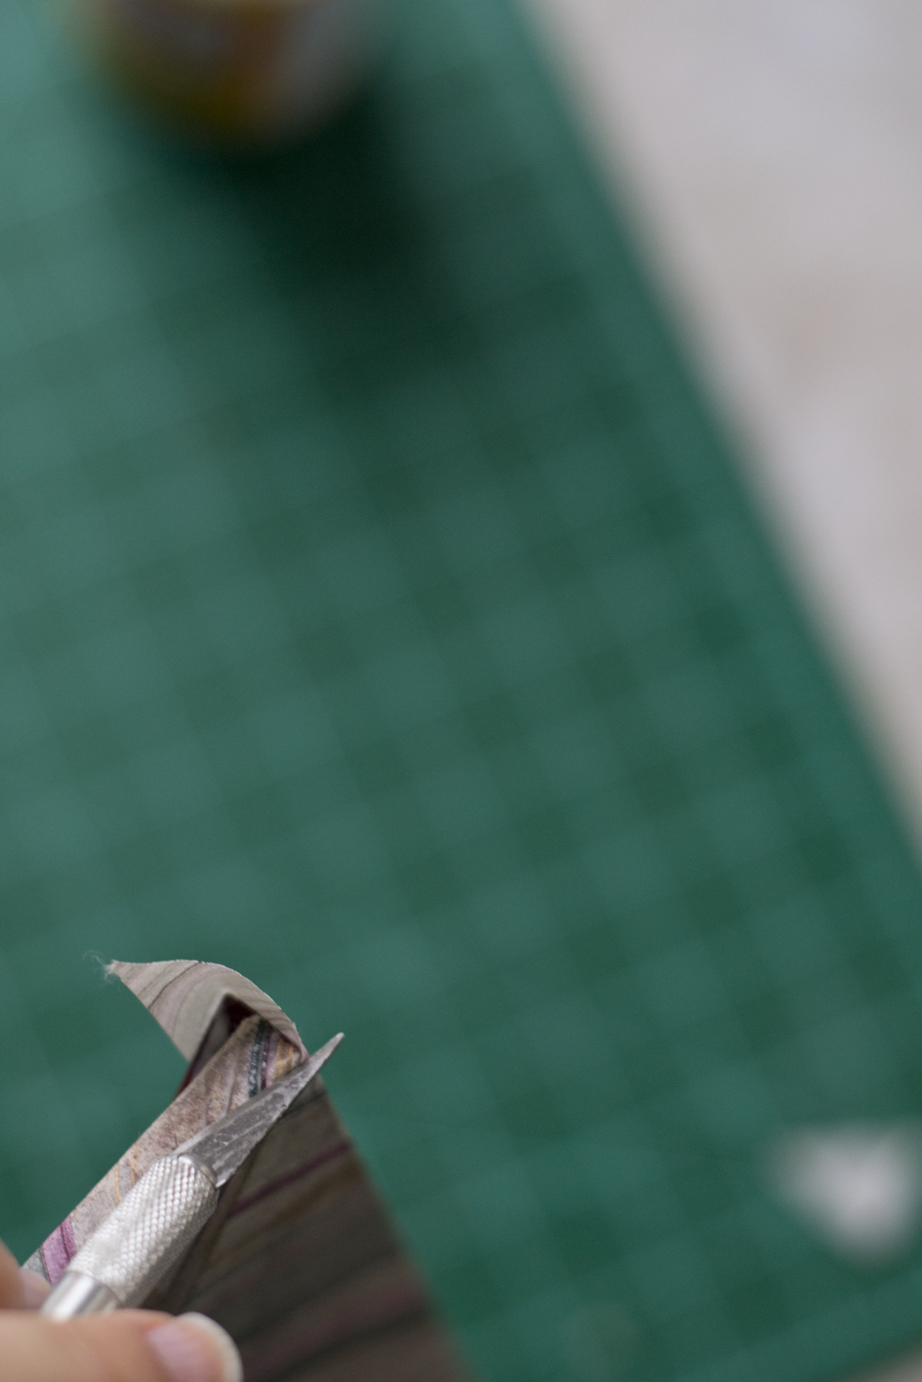
3. Trim the edge with a scissors or xacto knife. It doesn’t need to be perfect, just close since it gets sealed (see next step)
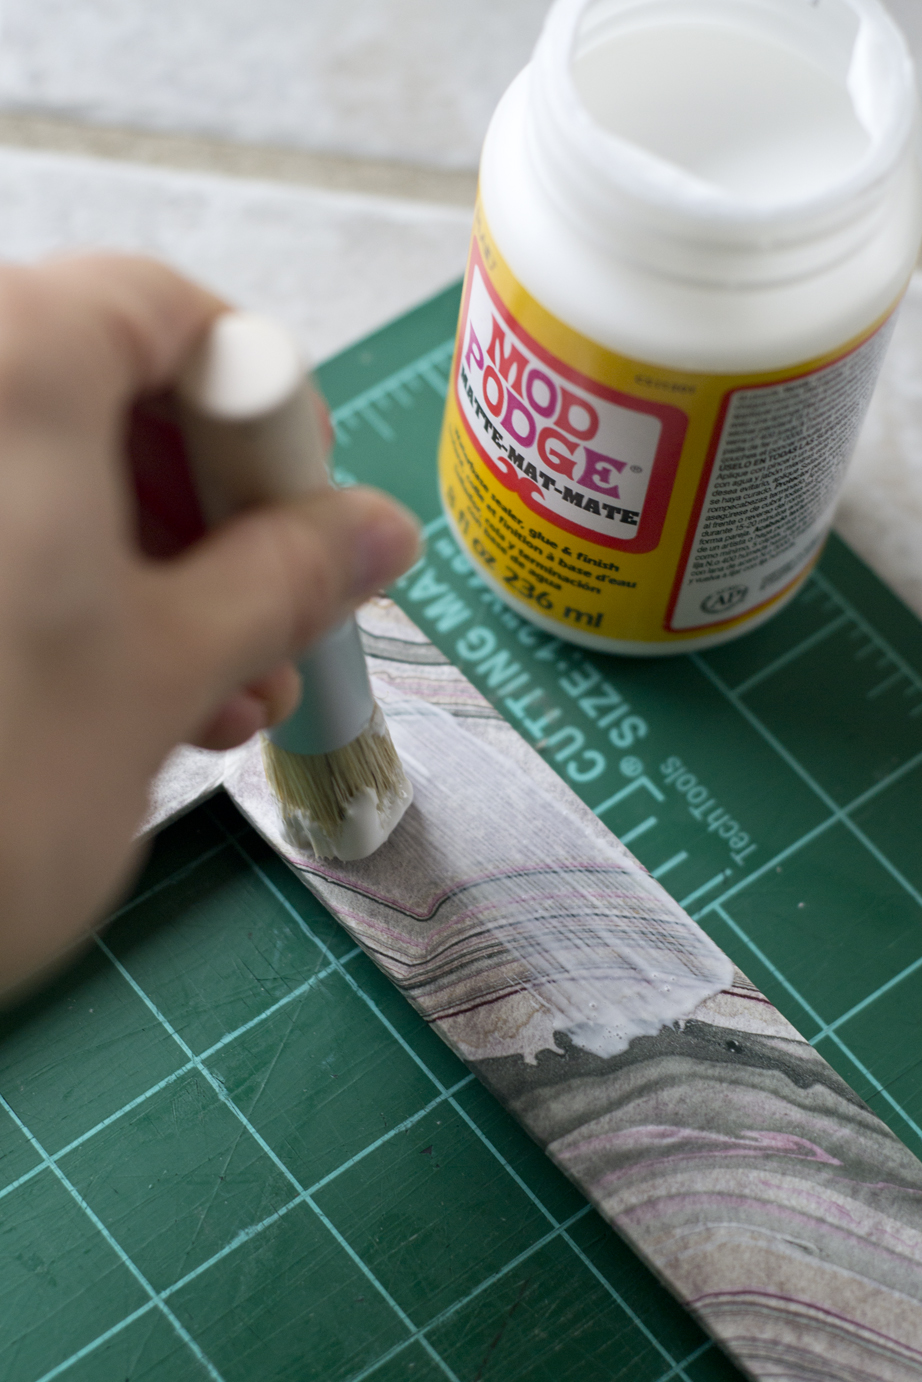
4. Once those steps have been completed on all four sides, apply a thin layer of mod podge on top to seal it.
After it dries, that’s it! SUPER easy!
This can easily be finished in under an hour and only costs a few dollars.

I hope you’ll give it a try! Thanks so much to Brittany for including me in this series!!
~Sarah~
Pin for later!

Super cool idea, especially for a frame that doesn’t look so good anymore!
love these! what a fun idea!