
How to Replace Decorative Trim on Furniture
I found a cute nightstand at an antique mall a while back. As usual it sat in the garage for some a few years time and then I decided it was time to re-finish the piece.
The nightstand had been painted multiple times and needed some paint stripping.

Rather than use any chemicals I opted for a heat gun and it worked great … 
…until I got to the delicate trim on the front of the nightstand drawers. Every time I would try to get the paint off it would gouge the trim. I knew that I had two options: try and repair the damage or replace the trim with new trim that wasn’t caked with 40 years of paint. I had a few trial runs with various trims and various cutting methods but rather than dwell on wasted time I’ll just tell you all about what worked best for me!
Materials:
– Decorative Trim (I used dollhouse trim from the hobby store)
– Mini Miter Box & Saw
– Wood Glue
– Wood Clamps
– Flathead Screwdriver
– Pliers
Instructions: Use a flathead screwdriver to pry up the old pieces of trim. If nails are present use the pliers to remove the nails. Gather your trim that works best for your furniture. (In my case it was the dollhouse trim from the hobby/craft store. A tad pricier than the type you can get at the hardware store but it was the exact width I needed.)
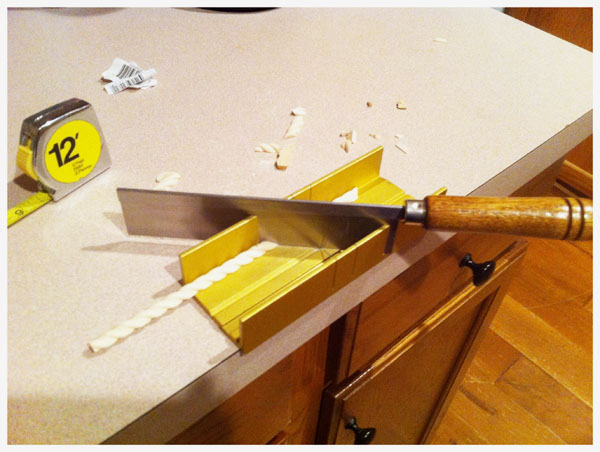
Measure from corner to corner on one side where the trim will be replaced. The outer most point will be the outside corner of your 45 degree angle cut. Make the same cut in reverse on the opposite end of your trim. The angles will resemble a V shape.
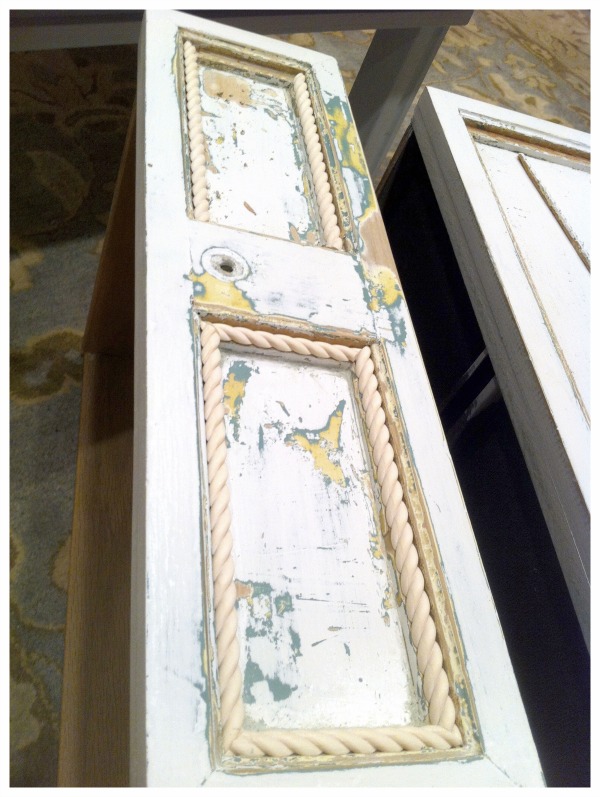 Place the trim inside the drawer front to check for accurate fit. Continue this process until all 4 sides are completed.

If there are any gaps, you can fill that in later with wood filler if you like. Make sure the drawer and trim are free of any dirt or chipping paint. Then apply a small bead of wood glue to the back of each piece of trim, place it on the drawer fronts and clamp it into place. Let the glue set.

Once the glue has cured completely it’s time to paint! I chose to do some mild distressing on this nightstand and then gave it a few good coats of polycrylic to protect it.
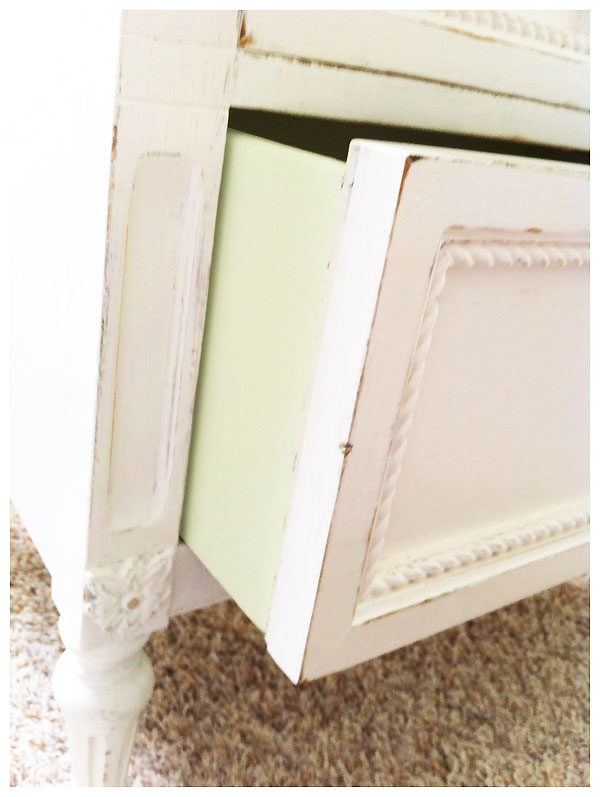
If you’re looking to add a little fun to your furniture, try painting the sides of the drawer the same color as your wall. It is a subtle change, but a nice surprise.
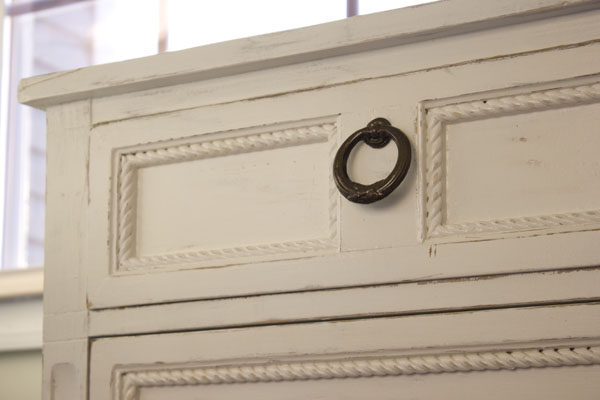
The nightstand is a perfect accent to our little girl’s shabby chic nursery!


I like your post. you really mentioned some nice tips about how to replace decorative trim on furniture. Thanks for sharing this post.
Great idea. Love it!
Just brilliant to use dollhouse trim! Pinning for future use!
So pretty. I’ve always wondered how to go about that since paint tends to build up those decorative areas and its harder to get it looking nice. 🙂
Love this! The new trim is perfect for the piece, and love that you used the original (or what looks like original) hardware. However the bottom handle is upside down, it’s a common mistake with that style for some strange reason. 🙂
It only takes a creative a mind to do this. Great makeover idea. Now I have idea to makeover some of my steel frameto more functional ones.
Aya
Kit Homes Perth
Amazingly gorgeous makeover. Wow. Just darling!!
Great tutorial! This is such an awesome idea. I love upcycled furniture.
What a great idea. I even like the idea of changing the trim if I didn’t like the original. Changing it out probably preserved some trim detail too as I’m sure all the layers of paint had started to smooth it over.
Very pretty!
I would never even think to look in a dollhouse store for trim. That’s a really good idea. Thanks for sharing that.
That looks super pretty! love this look!