How to Move a Floor Register in a Window Seat
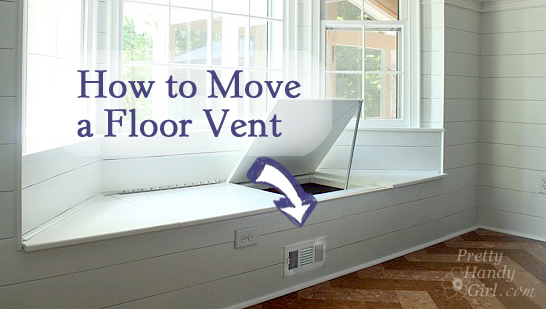
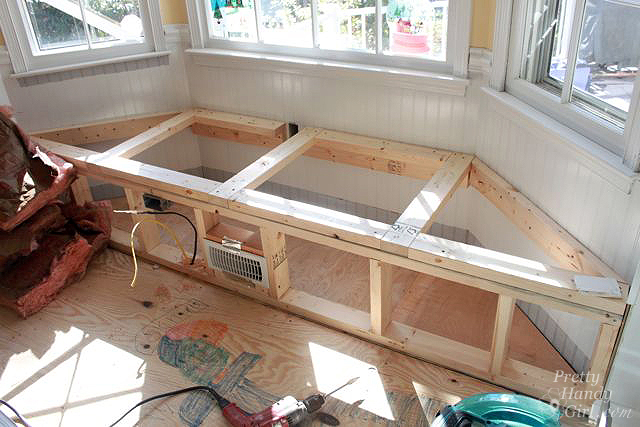
Remember last month when I showed you how to build a window seat in a bay window? I had promised to share with you how to move the floor register. I’m true to my word and am back with the tutorial today.
When I built our kitchen window seat, I had two obstacles in my path. The first was moving the wiring for the outlet, the electrician and I simply pulled the wiring down from the outlet on the wall and re-routed it into the new outlet box in the front of the window seat. A relatively easy task. Moving the HVAC vent wasn’t very difficult, it just involved a little more cutting and measuring. But, this is a task you can handle!
I have seen some other methods for re-routing the floor vent. One such method involved building a wooden box to channel the air out the front. I caution you from doing this if you live in a humid climate. Mold can grow inside the wooden box. You could build a channel with HVAC rigid ductwork, but you’d be adding an extra turn which can cut down on the airflow. Another alternative would be to move the register to another location in the floor. I chose to move it to the front of the window seat.
How to Move a Floor Register Materials:
- Carpenter’s Square
- Pencil
- 90 degree Ductwork (if you can’t use the existing)
- Wall register
- Small level
- Roofing nails
- Zip tie
- Foil duct tape
- Dremel Multi-Max
- Drill with bits
Instructions:
1. The existing floor register is likely situated between two floor joists. Hopefully they run parallel with the sides of the register so you can simply move the register forward into the bench. It’s a good idea to look under the house (assuming you have a crawl space) to assess where your register is and where the new location will lie. Look for any potential obstacles in your way.
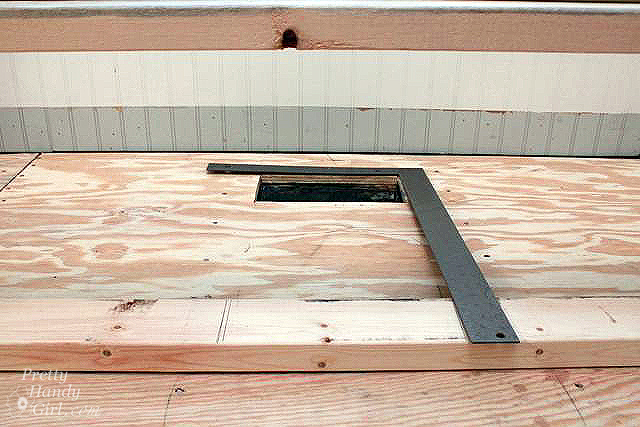
2. Use the carpenter’s square to draw lines parallel to the sides of the floor register and transfer them onto the front of the window seat wall’s base plate.
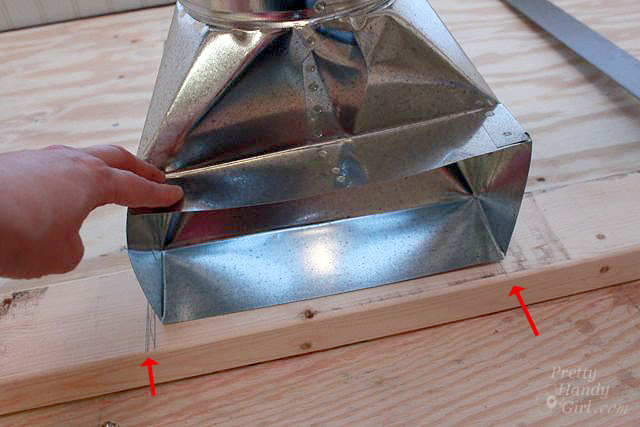
3. Set the floor register box on the base plate and mark the two sides of the metal box.
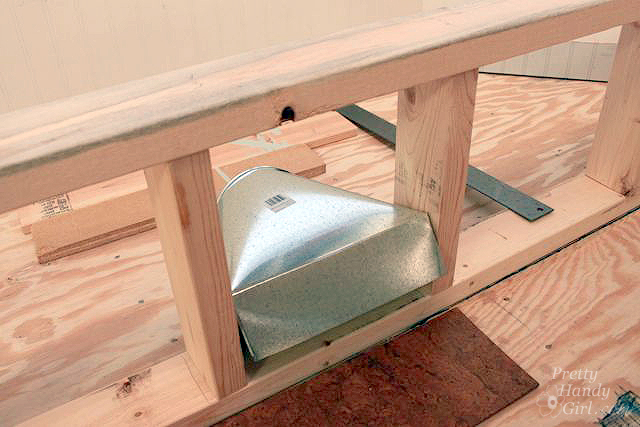
4. Build the front wall of the window seat, spacing the two studs snuggly on either side of the register box.
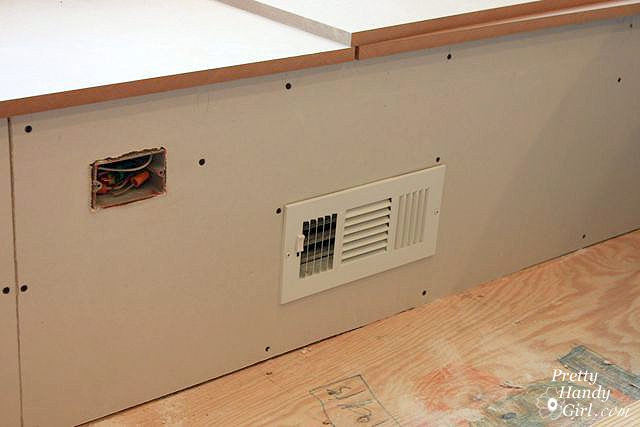
5. The 90 degree register box I used overlaps the 2×4″ baseplate slightly. Trace around the overlap to cut out with the Dremel Multi-Max.

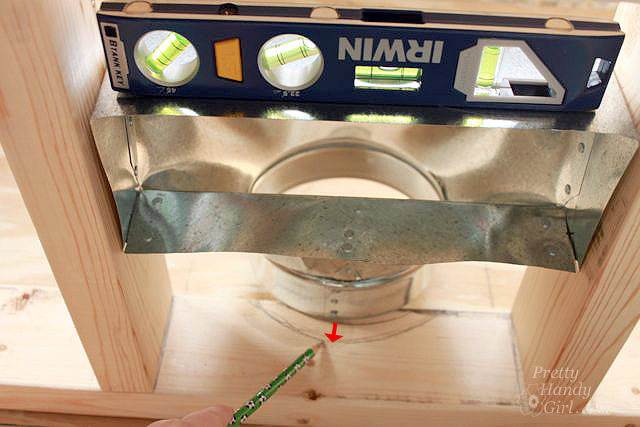
6. When the metal box fits snugly with the front of the window seat framing, trace around the backside of the round duct.

7. Drill holes periodically around the perimeter of the circle you outlined. Then connect the holes with the Dremel Multi-Max until you have the hole completely cut.

8. Disconnect the flexible ductwork from the existing register and pull it up through the hole you made for the new location.
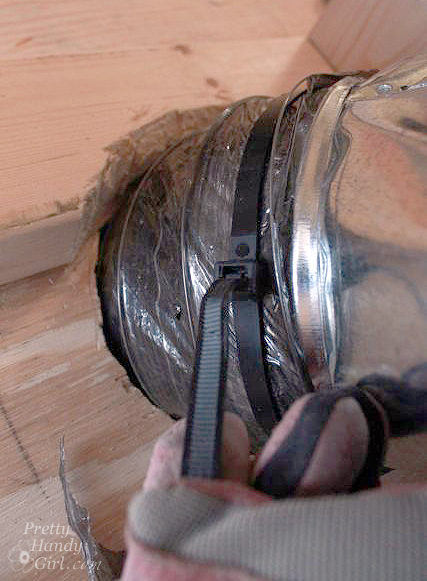
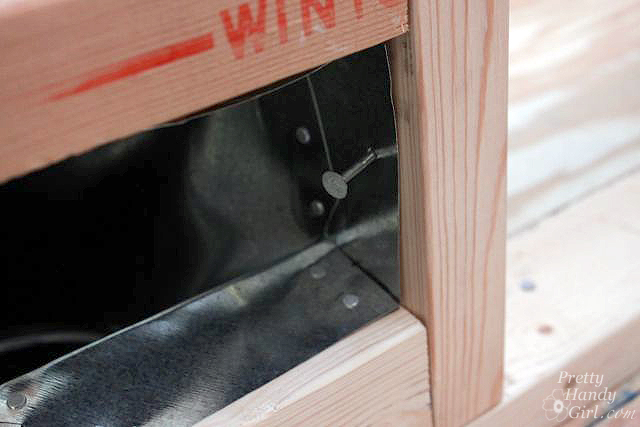
9. Secure the flexible ductwork to the metal register box with a zip tie.

10. For added hold and to eliminate air gaps, wrap a layer or two of foil duct tape around the cable tie and where the flex duct meets the register box.
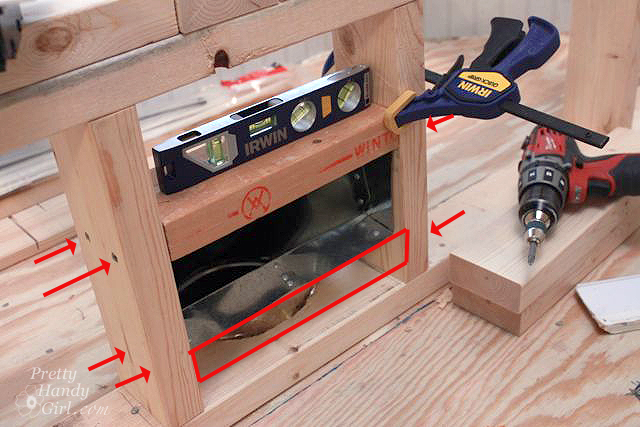
11. Position the register box into the seat framing. Add blocking above and below the box opening. Secure the blocking with screws or nails through the sides of the vertical studs.
12. Secure the register box using roofing nails into the sides and top and bottom of the register box.
13. You have successfully moved the HVAC register!
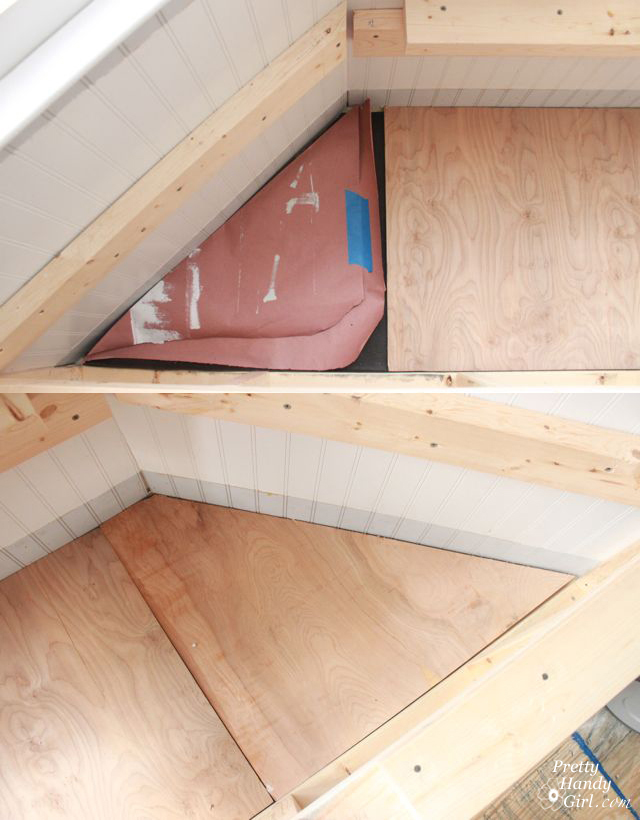
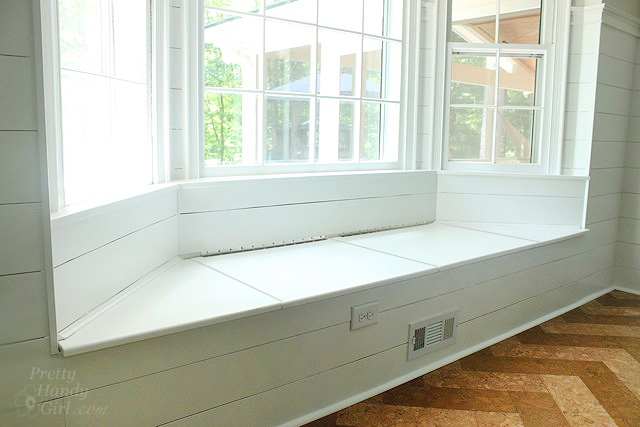
To finish up your bench, cover the old register hole with plywood. Use craft paper to create a template to get a tight fit in the bench.
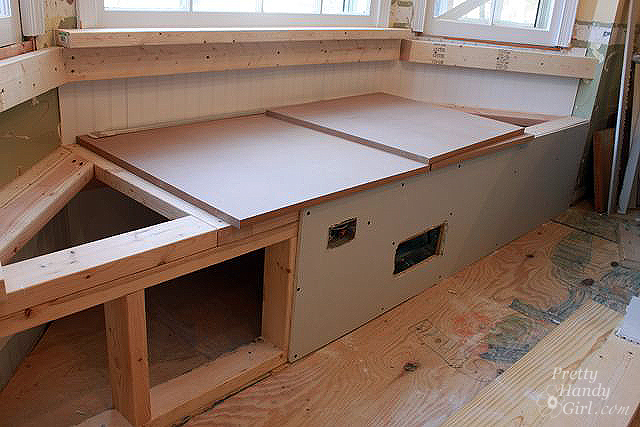
Add drywall to the front of your bench, cut holes around any outlets and the HVAC register.
Add a wall register, spackle and paint! BAM you’re done!

Down With Spammers! You may be wondering why you can’t comment on this post. To sum it up: Boo hiss to spammers! This post was attracting oodles of spam comments. In order to put an end to it, I had to turn off comments. If you have a comment or question, please email me: PrettyHandyGirl (at) gmail.com.


Thank you! Thank you! Thank you! Thank you! I sooooooooo wanted to know how to do this. I have 3 projects that I’m dreaming of working on but all 3 have a vent in the place where I wanted build my bookcases and I didn’t want to have to ask the hubs for his help. This is awesome.
Wow – such a useful post! thank you!