
How to install landscape bed black edging
Jaime here from That’s My Letter to share an easy project that will make your landscaping look clean and neat. Today we are going to talk about how to install landscape bed black edging.

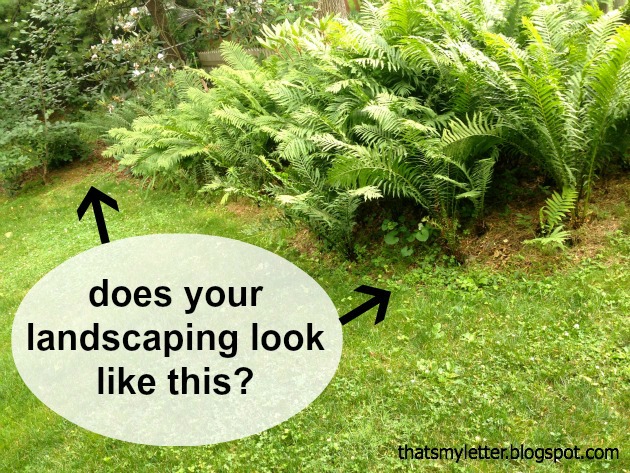
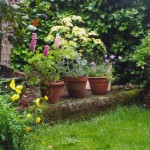
We just moved into a new home with tons of landscaping, it’s full and lush and mature AND lacks definition from the grassy yard.
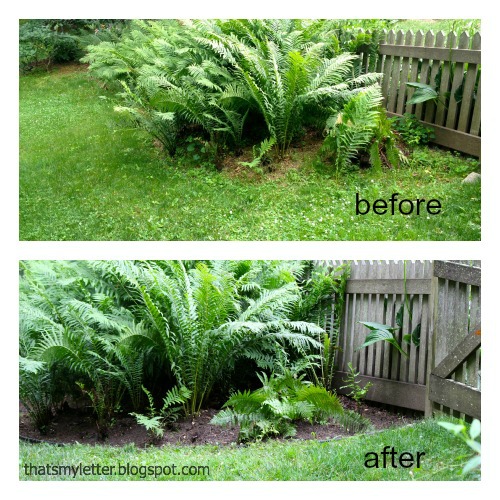
With help from the folks at True Temper® I installed landscape edging using the round point shovel and black plastic edging to create that defining line between grass and plantings:
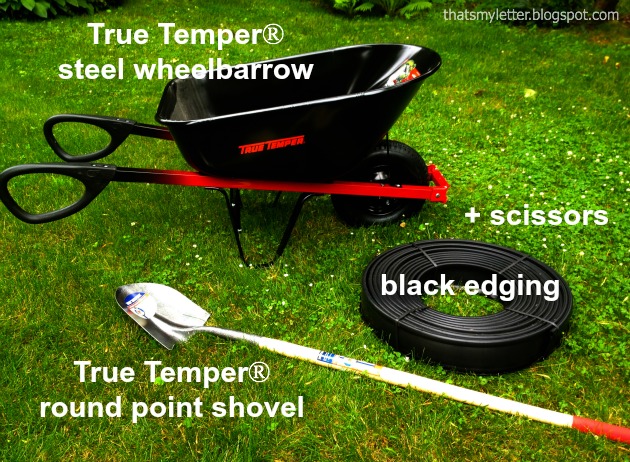
Supplies:
- round point shovel
- black plastic edging
- scissors
- wheelbarrow (optional but great for transplanting)
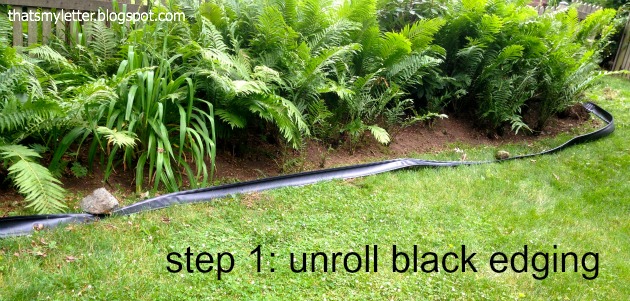
Step 1: Unroll black plastic edging to make installation easier. Even better if you can do this the day before and let the sun warm the plastic so it’s not so curly:
Step 2: Using your round point shovel starting digging a trench about 6″ deep, keep the dug up soil nearby because you will need it in Step 4. This shovel has a nice long handle which makes maneuvering it a dream and it goes into the earth with ease, even in flip flops!

Step 3: Firmly place black edging down into trench, be sure only the top rolled edge is above the surface level.

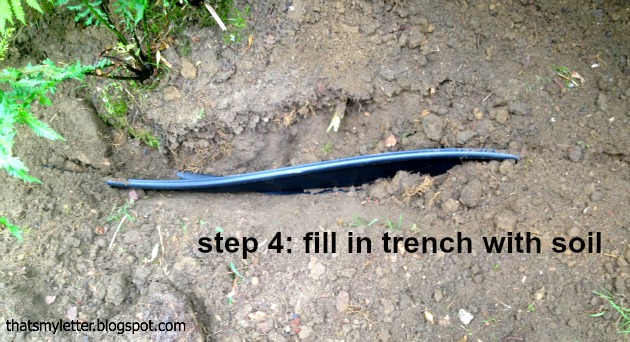
Step 4: Fill in trench with soil from digging in Step 2:
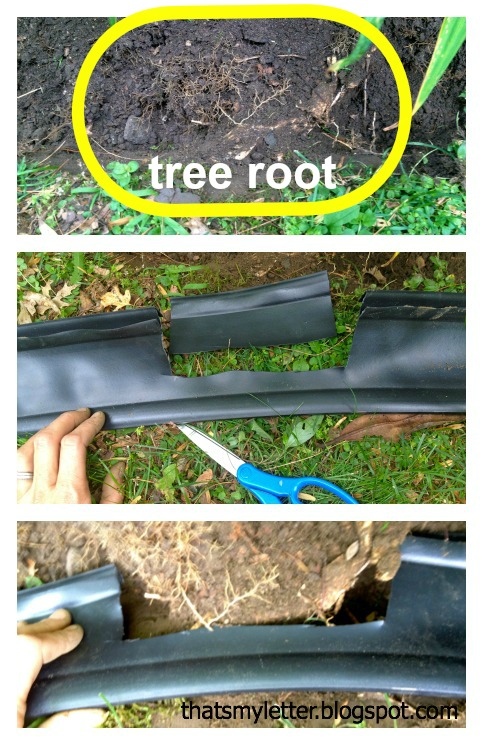
Keep going the entire edge of your plantings area until you come to a giant tree root! There was no removing this root so I had to work around it. By cutting a notch in the black edging you can still continue with the edging as if the tree root was never there:
In addition to installing the black edging I transplanted a few hosta and ferns I had saved when we removed the koi pond. The True Temper Total Control 6 cubic foot steel wheelbarrow provided the perfect temporary housing for the transplants while they were awaiting their new home and made the transplants super portable – I simply wheeled them over to their new home!

A portion of the side yard needed some serious attention: a dead tree, tons of weeds and of course no edging. I removed the dead tree, transplanted a hosta where that weedy mess was and added the black edging:

Prefer not to dig a trench? An alternative landscape edging would be this nail in version Brittany installed. Follow her step by step instructions to create a beautiful divided border between lawn and landscaping without digging a trench.
Either way a little black edging is all is takes to make that yard look great. Thank you to the nice people at True Temper who supplied me with the round point shovel and steel wheelbarrow for this project, my yard is forever grateful:

~ Learn more about Jaime ~
Disclaimer: True Temper® did not compensate me for writing this post, all opinions are completely mine. I was however provided with complimentary tools to review.

Tough to dig with a shovel in a lot of the ground. I’d suggest using an old ax and beat it down into the ground with a 4lb hammer and then wiggle the ax to make a wide slit. Keep doing this and then insert your black plastic edging and tamp down around it.
I definitely need to add some edging round my backyard – thanks for this post!
this is a project I have done myself recently … beautifully captured Jamie. I do love how you addressed the tree root. and you know every time I do a border or edging there is a tree root … right where I don’t want it to be. but you know the tree would hate you if you went in there hacking it up. again well done. ~jb
Looks great and very organized! I have to clean up my gardens a bit – thanks for the tutorial.
PS Are those your flipflops? I have several pairs in diff colors each by a different door so I can always grab comfy shoes going in and out. Flipflops are way underrated! 🙂
I gleen so much from you posts and tutorials. Thanks so much for good ideas!