Installing Weatherstripping on a Garage Door Really Warms Up the Workshop
Last year I froze my handy buns off working in the garage. (This year they returned after eating loads of Christmas cookies! Ugh.) In all seriousness, while searching for bigger and more powerful heaters it occurred to me that I might want to try weatherstripping my garage doors.
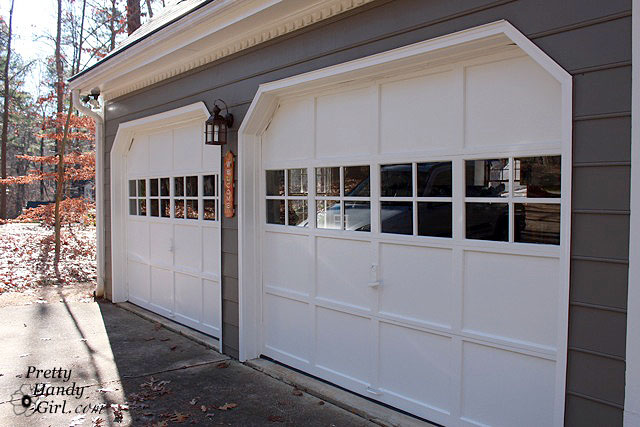
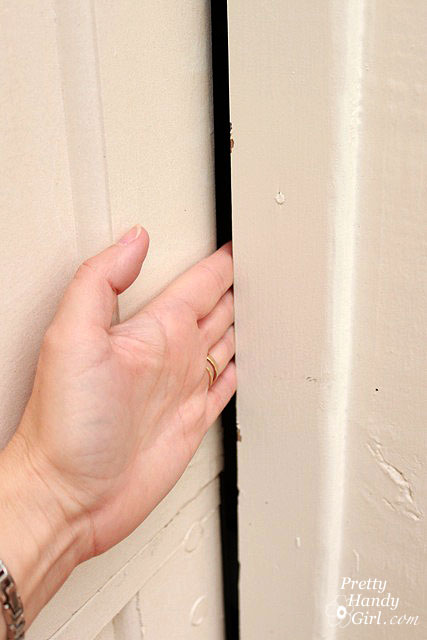
When you have garage doors with no weatherstripping, you might have a gap as big as your hand! Can you imagine? That is 68 linear feet (2 doors) of cold air rushing in. This is the equivalent of all the windows in your house being cracked open an inch. You’d never dream of doing that in the winter, and yet that was the situation in our garage.
Weatherstripping garage doors is a very easy DIY task that shouldn’t take more than an hour. Buy neoprene rubber stripping from your local hardware store or home improvement warehouse. (I purchased the Garage Door Side and Top Weather-strip Kit by Frost King for under $20.) The rewards of this project are that you can take your garage from an icebox to comfortably cool in less than 60 minutes!
Here are my unscientific results of the temperatures in our garage before and after weatherstripping.
Before Weather Stripping:
| Outside Temperature | Inside Garage Temperature | Temperature Difference |
| 45˚F | 55˚F | 10 degrees |
| 30˚F | 45˚F | 15 degrees |
After Weather Stripping:
| Outside Temperature | Inside Garage Temperature | Temperature Difference |
| 45˚F | 65˚F | 20 degrees |
| 30˚F | 58˚F | 28 degrees |
I was so thrilled by the difference it made that I knew I wanted to share the tutorial with y’all. But, sadly I didn’t take any photos. So, I asked my friend, Holly (the one with the adorable house that has loads of character and charm), if I could help her install some on her doors. Luckily I didn’t have to twist her arm too much. Here is how we did it (the super quick way, but not necessarily the “correct” way.)
Weatherstripping Materials:
(I’ve included affiliate links for your convenience. I earn a small percentage from a purchase using these links. There is no additional cost to you. You can read more about affiliate links here.)
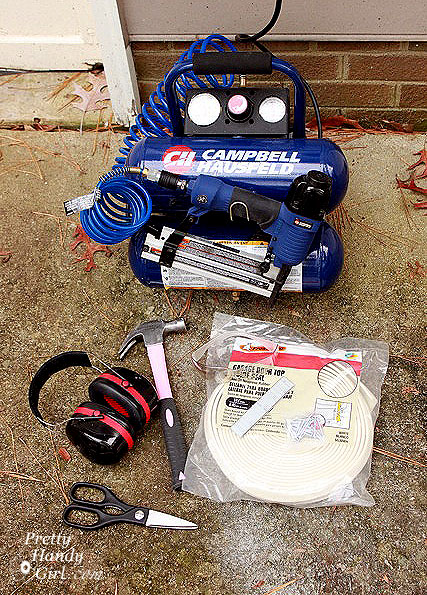
- Frost King Weatherstripping for Sides and Top of Garage Doors
- Hammer
- Air Compressor and brad nailer
- U-shaped staples for nailer
- Ear protection
- Safety glasses
- Scissors
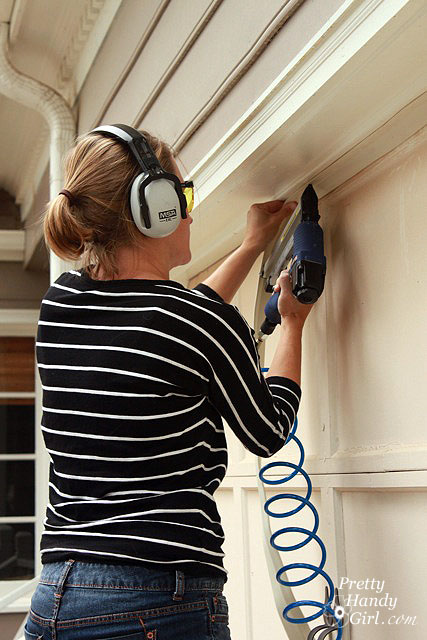
Open the package of weatherstripping and remove the bag of nails included. Put on your hearing protection and safety glasses.
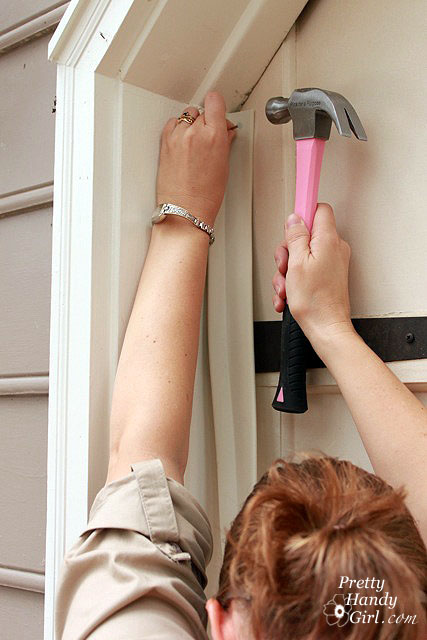
Unroll the weather stripping and pull the end up to the top of the garage door on one side. The short side of the foam strip should be against the frame of the door, and the longer side should be pressed lightly against the garage door.
Nail one nail into the frame of the door to hold the stripping in place.
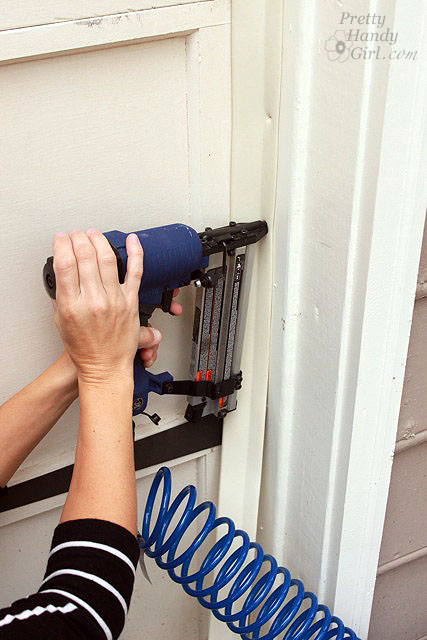
(Here is where we cheated.) Instead of using only nails, use the brad nailer to attach “U” shaped staples into the weather stripping. After every 4th staple, hammer another nail into the frame. By using mostly staples we were able to cut down significantly on the install time. Be sure to start and end with a nail.
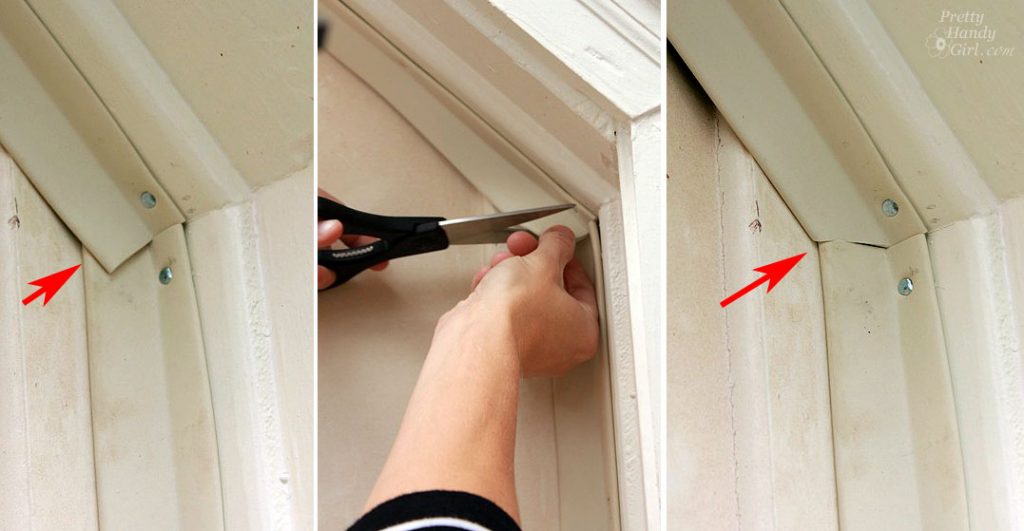
At the bottom of the door, trim the weatherstripping at an angle as shown. We left a longer tail on the door frame side to close up the gap under the door frame.
Continue attaching weather stripping along the top of the door. Alternate between hammering a nail and then four staples.
When you reach the sides, cut your weather stripping so that it meets the side pieces. Do not let the weatherstripping overlap or it will create a gap.
Repeat for the second garage door (if you have two.)
Here are a few other bonus features of the weatherstripping:
- Quieter. Which means I can get away with using power tools a little later at night.
- The bonus room above the garage stays warmer. Before it was always chilly up there.
- Less critters. Since installing the weatherstripping I’ve seen a lot fewer spiders and centipedes.
- Now when I use the space heater, I can bump up the temperature in the garage by a few degrees per hour. Before the weatherstripping, the space heater really didn’t warm the garage because all the heat was being lost out the sides of the doors.
- Do I even have to say it? Energy savings! We don’t have to pay as much to heat the bonus room. And I don’t spend hours running the space heater.
I should note that our garage has insulation in the walls. If yours doesn’t, you may not notice as big a difference as I did.
I’d love to hear from you if you tackle this easy project and if you notice a huge change in temperature in your garage too. I can’t tell you how excited I am with the results. I can continue to work in my garage/workshop in comfort through the winter now!





If you need it to be “invisible” because you don’t like the colors (or whatever) they sell long, thin “brushes” that you install inside the door and which brush against the door as it opens and closes. It is not *as* effective, but it’s better than doing nothing. They’re 4 (or 8) feet long, you just tack them to the inside of the door so they lightly skim the door as it opens and closes. Not hard.