This Whole Post is on Repairing Holes!
How often have you removed a screw, accidentally dented your drywall, or had a hole that couldn’t hold a screw anymore? And, how long has that hole stared glaringly at you? Let’s talk about repairing holes.
Today, I will empower you to fix that hole! Or give you the tips and tutorial to handle that future hole.

A month ago, you probably saw this post on turning a closet into a reading nook. I removed the closet doors and needed to patch the screw holes left behind.
Repairing Holes
Patching small holes in wood (or drywall):
Materials:
(I’ve included affiliate links for your convenience. I earn a small percentage from a purchase using these links. There is no additional cost to you. You can read more about affiliate links here.)
- Wood Putty for wood or Spackle for drywall
- Putty knife
- Utility knife
- Damp rag
- Sandpaper
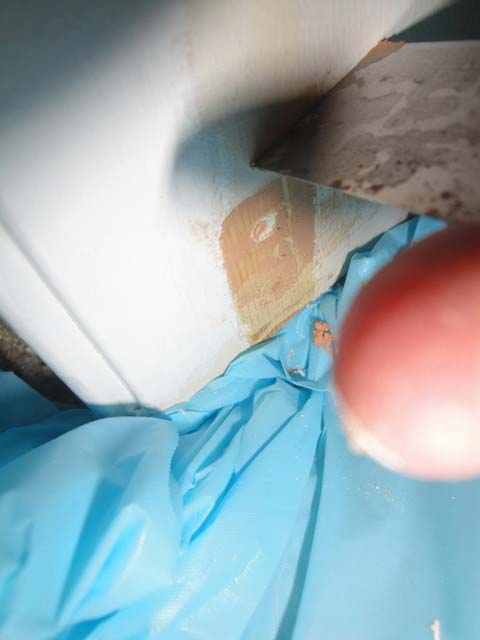
1. Use your putty knife or utility knife to scrape off or cut away any edges of the hole that are not flush with the wall or trim.
2. Put a small amount of putty (or spackle) on your putty knife.

3. Push the putty (or spackle) firmly into the hole as you slide the knife over the hole.
4. Scrape the excess off the surface.
5. Use the damp rag to wipe excess putty (or spackle) off.
6. Wait for putty (or spackle) to dry, and sand smooth.

On the same project, my three year old had nearly pulled the tie backs out of the door casing, leaving two stripped holes. I wanted to hang the tie back up in the same location, so I had to repair the holes and leave it strong enough to hold up to a 3 yr. old!
How to fix a stripped hole in wood:
Materials:
Toothpicks
Wood glue
Damp rag
Hand saw
Sandpaper
1. Dry fit toothpicks so they are snug in the hole.

2. Remove toothpicks in one bunch and add glue to the tips of the toothpicks and more glue in the hole.

3. Push the toothpicks firmly into the hole.
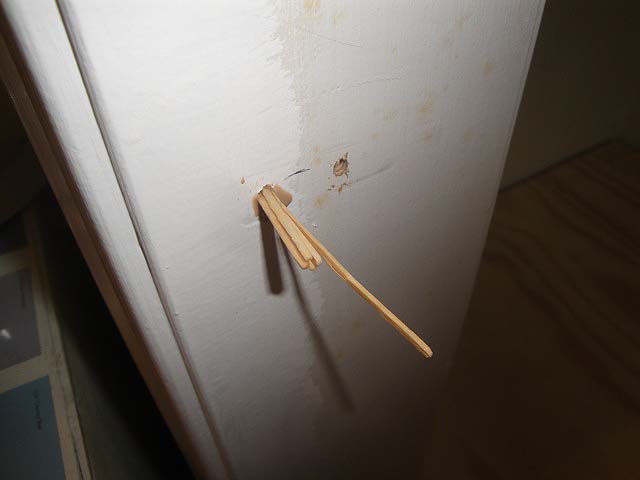
4. Wipe any excess glue up immediately.
5. When the wood glue dries, saw off the toothpicks as close to the hole as possible (without damaging your trim.)
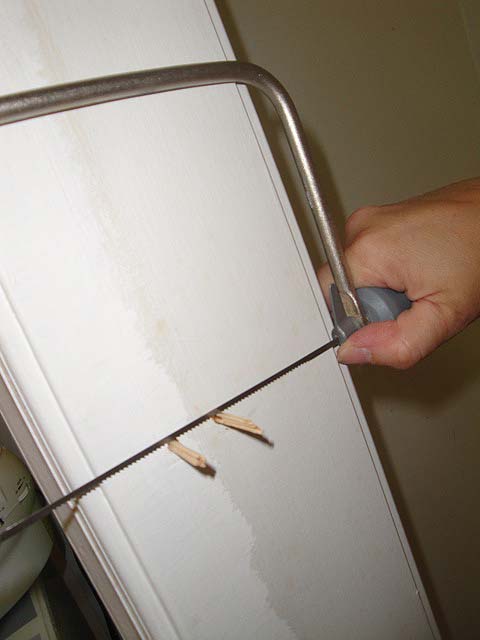
6. Use the sandpaper to smooth the toothpicks flush with the wood.
7. Follow up with putty if necessary for cosmetic appearance. (You can use the above directions for patching a small hole.)
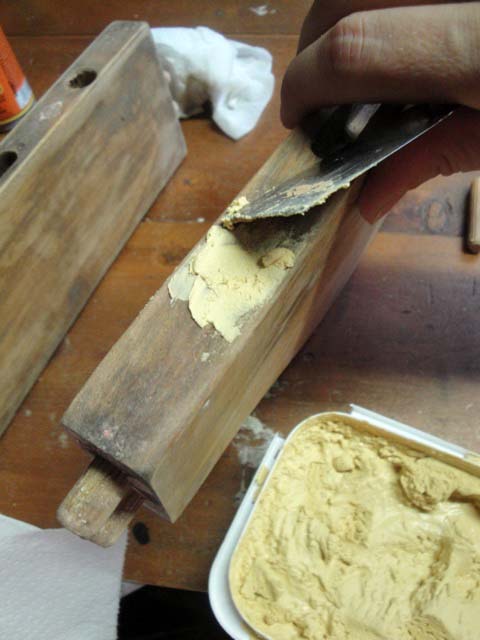
Yesterday I showed you the transformation of a curbside chair named Daisy. She had a few holes that needed filling where I had removed the spindles.

How to fill a hole in wood (non-structural):
Materials:
Wood Putty
Putty Knife
Damp rag
Sandpaper
1. Clean out hole of any dirt or debris.
2. Roll wood putty in hand to fit in hole.

3. Insert putty in hole and then push it in using a pencil or similar blunt object.

4. Continue filling the hole until you are almost flush with the top.

5. Use your putty knive to apply final topping of putty.
6. Wipe excess off with damp rag and create a flush top with the surrounding wood.
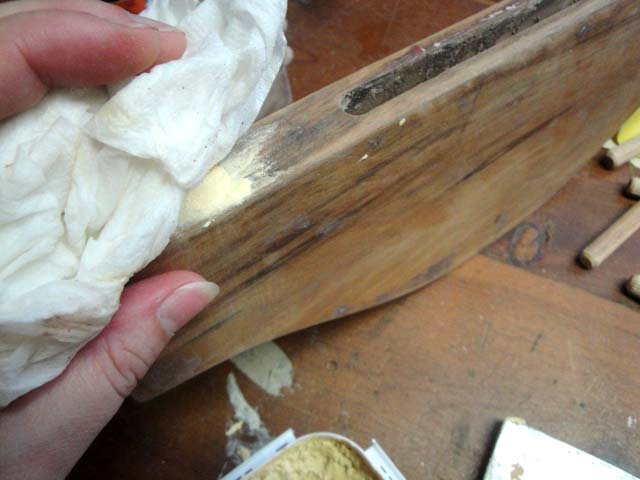
7. Putty will shrink slightly when dry, so you may need to add another top layer of putty.
8. Once putty is thoroughly dry, sand it smooth.
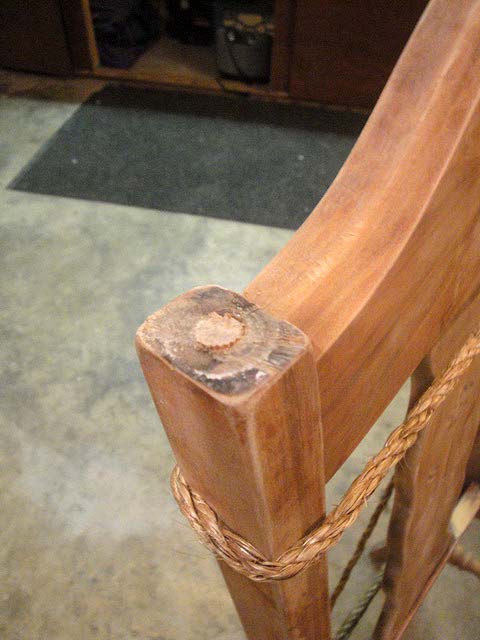
Also in the transformation of a curbside chair named Daisy, I had to add new finials to the top.
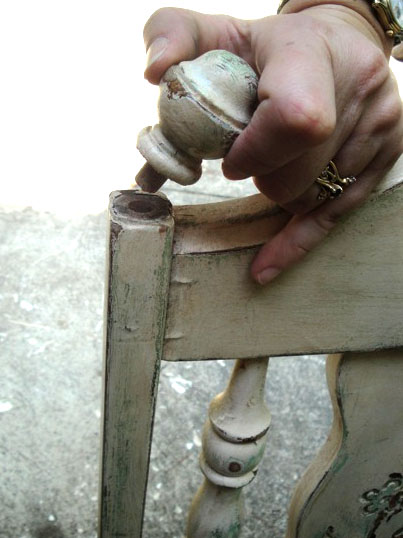
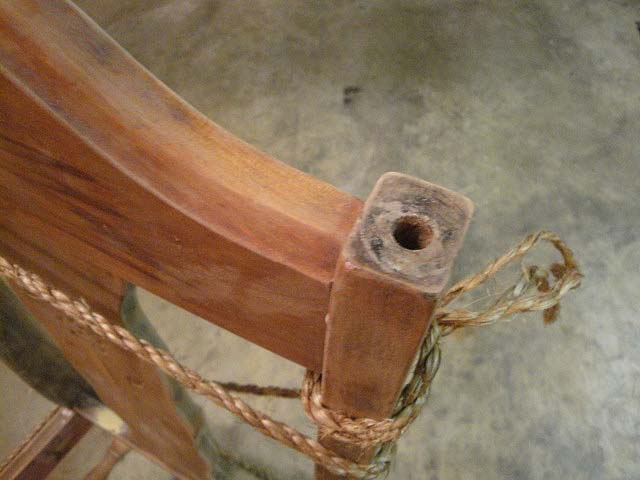
How to fix a slightly larger hole in wood (that needs to be structurally sound):
Materials:
Wooden peg (to size of hole)
Gorilla glue
Wet rag
Hand saw
Sandpaper
1. Dry fit wooden peg so that it fits snug in the hole.

2. Remove peg and dampen inside of the hole.
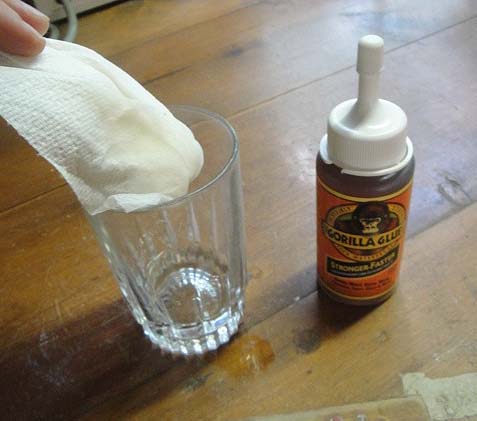
3. Squeeze in a small amount of Gorilla glue (this glue will expand as it cures.) And insert peg back into hole.
4. Wipe any excess glue up immediately.
5. Clamp peg in place until Gorilla glue is dry.
6. After the glue dries, saw off the top of the peg as close to the hole as possible.

7. Use the sandpaper to smooth the peg flush with the wood.
Screwing into repaired hole:
1. Choose a drill bit that is slightly smaller than the screw you are using.

2. Predrill your hole.
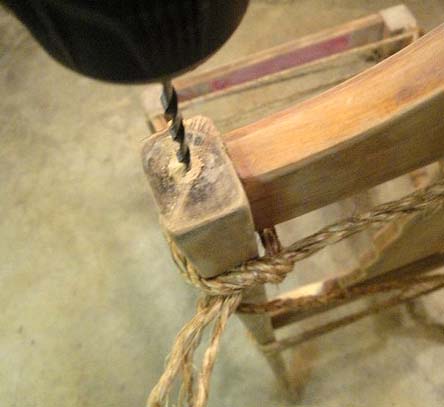
3. Screw in your screw (or in my case, the finial).

Also, during the making of the closet turned into a reading nook. I accidentally knocked a hole in the drywall. The hole was too big for just spackle.
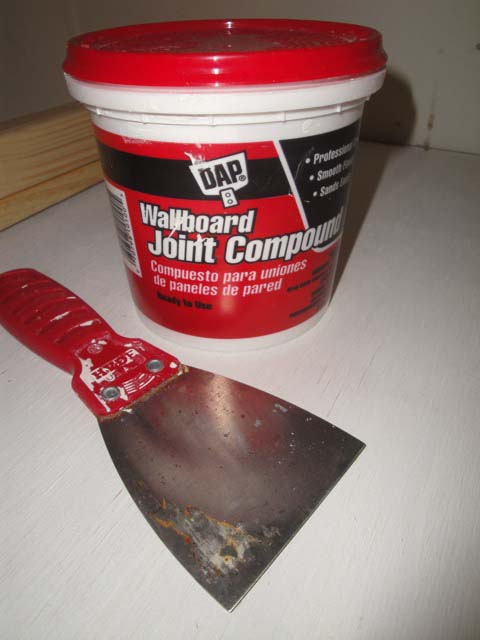
Repairing larger drywall holes (up to 3 inches):
Materials:
Joint compound
6″ taping knife
Utility knife
Webbed tape (or webbed patch kit)
Sandpaper
1. Use your putty knife or utility knife to scrape off or cut away any edges of the hole that are not flush with the wall or trim.
2. Adhere webbing over the hole.


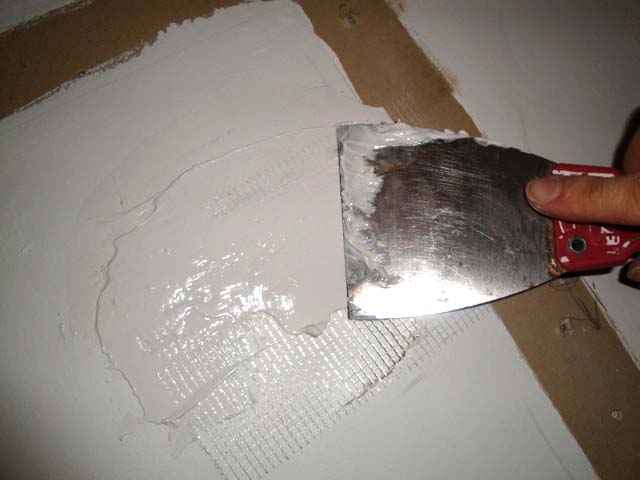
3. Put a small amount of joint compound on your taping knife and push the compound gently into the hole as you slide the knife over the webbing.

4. Extend the compound beyond the taping.

5. Scrape the excess off the surface.
6. Wait for compound to dry and add another layer. Your goal is to have a smooth layer on top that hides the webbing and bumps out ever so slightly above your wall surface.
7. Use damp rag to wipe excess compound off and to smooth any visible edges.
8. Again, wait for compound to dry, and sand smooth so the patch is flush with the wall.
9. The best way to paint over a larger patch job is to use a paint roller and paint at least 2 thin layers of matching wall paint over the repair area.
Repairing holes is easier than it sounds. If you have larger holes or need more information on patching drywall holes, check out this video tutorial.
This is not so much a comment, but it is a question. How to repair plaster walls that have holes in them. One of my cats loved to jump up at the shadows on the wall and in turn the plaster was dry and loosened and became holes. My house is over 100 years old and the plaster is drying out. Can not afford to remove and put in drywall. My walls are over 8 feet tall.
Nice post! I just wanted to point out that you use wood filler but call it wood putty. I’ve been doing some work around the house recently and discovered that they are actually two completely different things. Just thought I’d mention it for clarity and in case you were unaware.
This is SO helpful and perfect for a issue I have with refurbishing these old wooden trunks I’m interested in. Thank you so much!
Lauren, I love old trunks! I’m glad I could help and hope it helps.
Excellent suggestions. I can’t wait to try them.
Great tips! I love seeing a girl that knows how to use her tools!
Great tutorials!! You should link up to the DIY Club August event! Gorilla Glue is one of our sponsor products!! 🙂
Amy
Brittany! This is a fantastic post! You are like the QUEEN of tips and hints! Thank you so much for this post – I will SO be using these hole-filling tips. Thank you!!!
Love your blog!
I am signing up to follow!
Leticia
Great tutorial! 🙂 Thanks so much for the visit yesterday!
Wow, great minds… I just posted this one yesterday! – http://www.oneprojectcloser.com/how-to-patch-small-holes-in-a-textured-ceiling/
Great tips., the toothpicks to fill the hole is genius!
Once again you are awesome. I have needed to do all of those things except fixing a large hole in dry wall. Hopefully I won't need to do that any time soon, but just in case I do I will know what to do now! I love your use of the toothpicks, that's a great idea. I used toothpicks to reinforce my sons cheap plastic toy arrows when they broke, but never used them for the wall. (I always just picked a different spot after filling in the holes!)Thanks for the great ideas!
I just started following your blog and wanted to jump on to say that I love it. Love love love it. Thank you 🙂
Nothing like a Girl’s way of doing things!! Thank you for the nail hole filling tutorial!
Becky