Quick and Easy Bookcase Facelift – I’ve Got Your Back
Now that my re-upholstered office chair is complete, I wanted to address the dark looming bookcase that I sit next to. I am obsessed with natural light and the color of a room can really effect my mood. We recently painted our office and had ceiling lights installed in the ceiling. Anyone else out there have one of those old houses where the light switch on the wall controls the outlets? I HATE this! Let there be light in all my rooms. Let’s talk about a Quick and Easy Bookcase Facelift.
Now that we have light in the ceiling, I also want to be sure that I take advantage of natural light as well. The majority of the furniture in our office is a dark cherry color. Bookcases, armoires and other recessed furniture will absorb light. I knew I wanted to lighten up the back of the bookcase, but didn’t want to paint it or do anything to destroy the value of the furniture. So, I set to work on this super quick and easy project, making decorative backer boards for the bookcase.

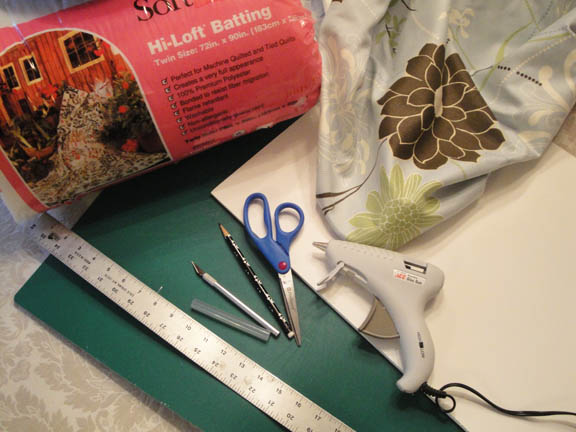
Materials:
Foamcore (32″ x 40″ made 3 backer boards)
Decorative Fabric (leftover from my chair upholstery project)
Batting
Scissors
Hot Glue Gun
Cutting surface
X-acto knife and fresh blade
Metal Ruler (or ruler with a metal edge)
Pencil
Sharpie Marker
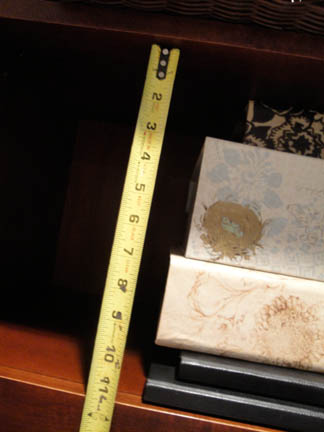
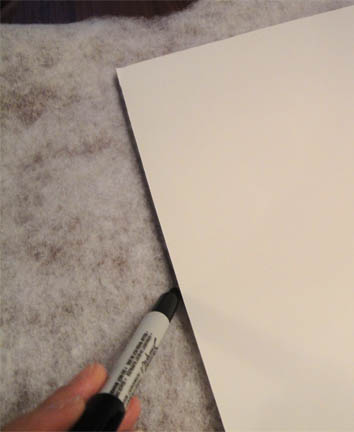
First measure the bookcase cubby dimensions.
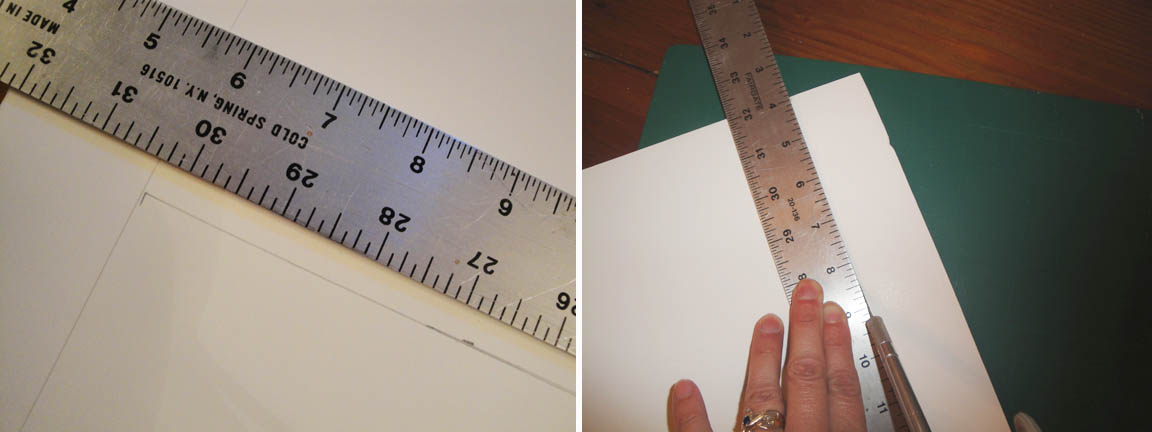
Next draw out the dimensions on a large piece of foamcore. Then lay your foamcore on top of your cutting surface. Personally I like the self healing cutting mats. I use them for everything (matting, paper cutting, sewing, craft projects, etc.) I recommend buying at least a 24 x 36″ size. You can find them for about $40 here: https://www.jerrysartarama.com/discount-art-supplies/Mat-and-Paper-Cutters/Creative-Mark-Self-Healing-Cutting-Mats.htm
A Note on Safely Using an X-acto Knife:
First, be sure that you always use a clean and new x-acto blade while you are cutting foamcore. Otherwise, the blade will catch on the foam interior and tear up your board. I learned the hard way how to use an X-acto knife while in art school. Let’s just say I’m glad that thumb tips grow back. Always use a ruler that is metal or has a metal edge. When holding your ruler, be sure your fingers are WELL AWAY from the edge of the ruler you are cutting on.
Try to cut with your blade on the waste side of the piece you are cutting. That way if the blade slips, it will mess up on the waste edge. For cutting foamcore or mat board, use light pressure and pull your blade through the material and towards you. You will need to make several light cuts until you are through the material completely. You will get a cleaner cut this way as opposed to using heavy pressure and try to cut through your material in one pass.
If your board is larger than your cutting surface, cut half your foamcore, then move the board on the cutting surface to protect the floor or furniture you are cutting on.


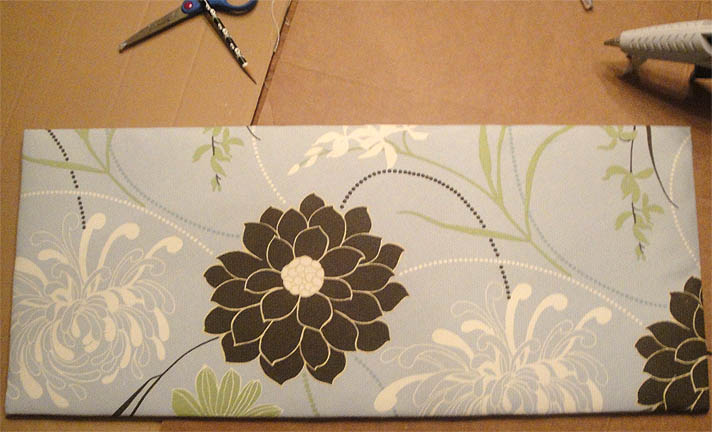
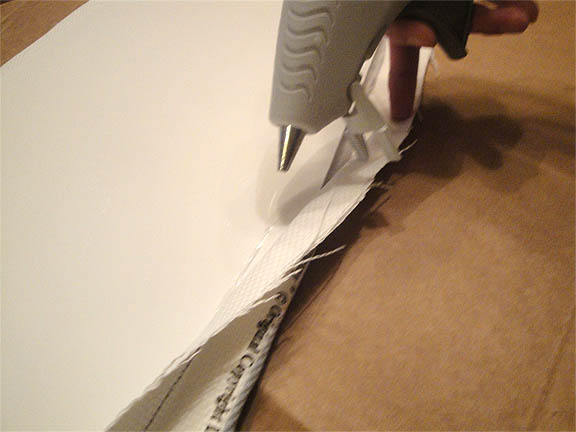
Run a line of glue on the edges of your backer board and fold your fabric over on top of the glue.


My church has a new building, and instead of working from home I am now doing some office work at the church…and I have an office! Ugly black bookcase came into the office last weekend, and while I was glad to have the case, I immediately thought of this post as a remedy to its bland-ness.
The thing is…I’m not sure *how* I initially found you! I knew I wanted to find the post to review the steps … I figured I could do it from memory, but yeah, I’m glad I woke up at 4 and found myself thinking about this project. Here I am at 4:15 in my jammies, Googling and perusing pictures ’til I saw the familiar one, and now I know exactly what to do.
Ok where did you find your fabric? & thanks so much for explaining how to dress up a bookcase with fabric, I've been racking my feeble brain to come up with an easy way to it.
I love this idea! I plan on doing this on my bookshelves!
I've enjoyed browsing your blog!
It gives it such depth! Love it:) I might have even used a different fabric perhaps with stripes but I like to mix and match. Great job as usual:)
Ritta