Pillow Talk – Making Red & Blue Star Pillows

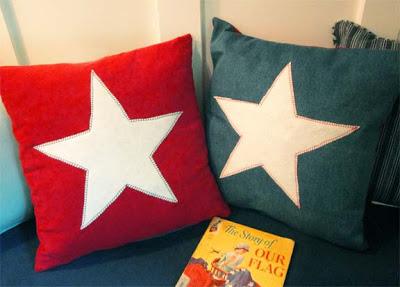
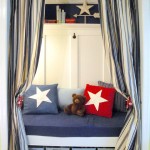
If you read yesterday’s post, you saw two star pillows on my son’s reading nook bench. I promised you the tutorial, so here it is:
These were super easy to make. I made two pillows in just over an hour on my Brother CS6000i sewing machine. This was a great Mother’s Day present from my hubby 2 years ago. (Last year he bought something most men would swoon over – A 10 inch sliding dual bevel compound miter saw. I just love saying that long name!)
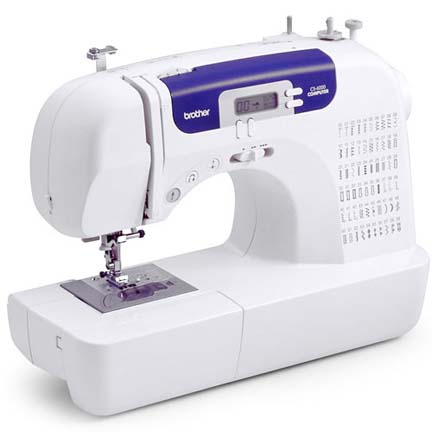
This sewing machine is very reasonably priced at $125 and it has loads of decorative stitches!
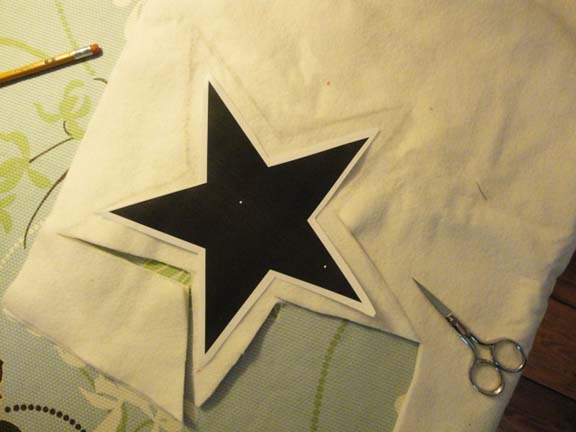
The first thing I did was print out a star symbol from the computer as large as I could on letter size paper. (Look through your dingbat fonts if you can’t find a star. Mine is Option + H when using zapf dingbats font. But, yours may differ. Or better yet, google star in the images tab.)
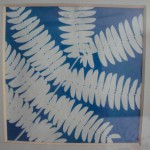
Then I traced the star slightly larger than my print out onto white felt. Be sure you are using sharp scissors when you cut the felt or it will tear.
Luckily I had leftover fabric from some pillows I made for Christmas presents and 2 denim cloth napkins handed down to me from my super stepmom!
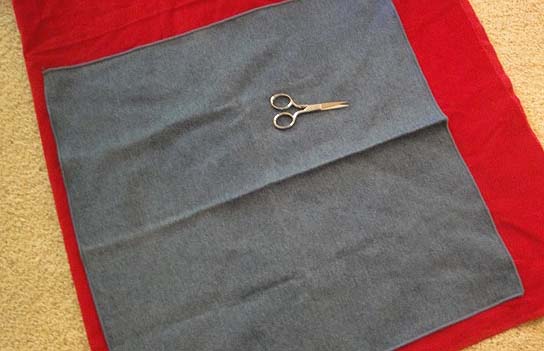
I simply cut out two squares of red corduroy the same size as the napkins. At this point I should have ironed my fabric, but I was too impatient to finish sewing these starry stunners.
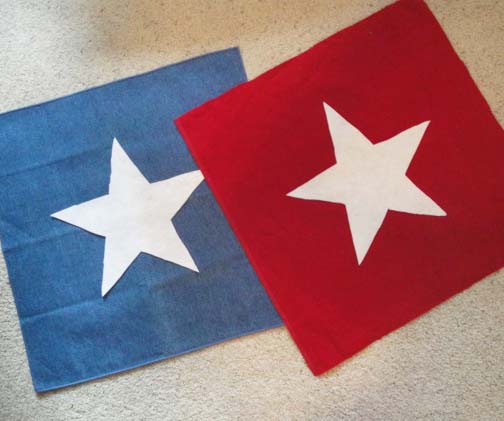
I laid out the stars on the center of the fabric (one on blue and one on red.) Then pinned them in place and stitched the stars onto the fabric.

I used this decorative stitch (I don’t know the name of it…can anyone tell me?), because it made it looked hand-stitched. I used red thread on the blue denim pillow and navy on the red corduroy pillow.
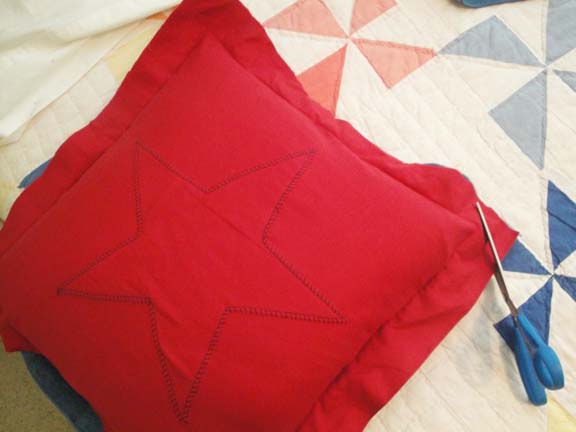
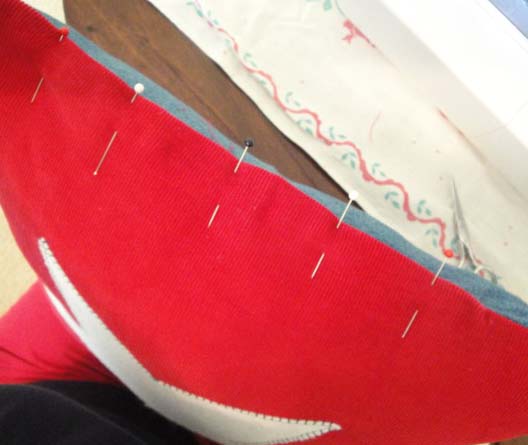
Then I matched up one denim napkin with the red corduroy star front and vice versa for the denim star pillow. After laying out my pillow (gotta love that I kept those hunter green pillows from the 90’s!) on top of the fabric, I pinned the fabric right sides together forming a guide for where my seams would be.

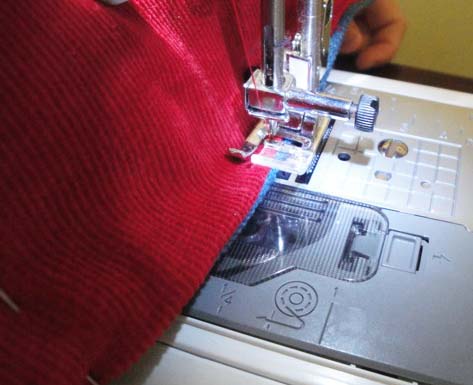
Next I straight stitched the sides together leaving an opening, about half the width, at the bottom to stuff the pillow inside. I checked to make sure the pillow fit before I turned it right side out. Then trimmed my extra salvage edges and made 45 degree cuts at all corners. At this point, I turned the pillow case right side out.
I used the blunt tipped scissors to poke the corners out (broken tipped pencils or other blunt pointy objects work just as well. Wow, that sounds like a murder weapon.) Then stuffed my pillow back inside and pinned the bottom of the pillow together.
Last, I stitched a straight stitch as close to the bottom of the pillow as I could to seal the open edge.
And that is my super-duper, easy and quick guide to creating star pillows.

But, who says you have to make star pillows. Get inspired to make your own pillows! Here are some other ideas:
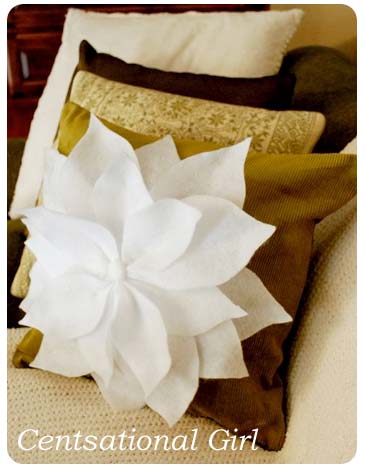
Poinsettia pillows made with corduroy and felt on Centsational Girl’s blog. I loved the combination of the textures and the graphic images.
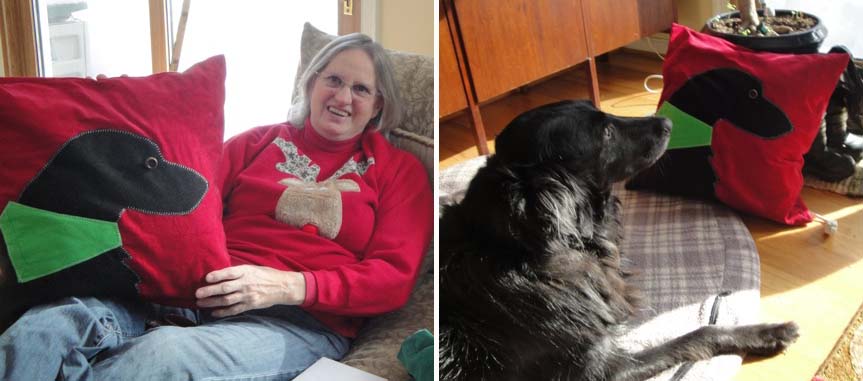
Or adorable pet silhouette pillows. I made a dog portrait pillow for my pretty handy sister and my super talented mom (who both coincidentally own black dogs.)
Next up will be a tutorial on rewiring and adding a switch to the copper wall sconce lamp that hangs in the closet turned reading nook project, that I bought from the Habitat for Humanity ReStore!

Love these pillows. Stars are my favorite shape. They show up in lots of places all over my house. I love how you used the blanket stitch on your machine… it really does look like you did it by hand. Nice work! Visiting from CSI.
Lucky boy to have that reading nook! I'd like one 😉 The star pillows are the perfect touch. You did such a nice job!
I love all the detail in this how-to. Your pillows are fantastic! I'll be linking to this if you don't mind.
Okay – I found the pillow post!
They are so cute, and I think I could even do this!
I adore your patriotic spirit. It is red, white and bluetiful!
I hope you'll stop by for my bbq on an Anthropologie inspired white tablecloth. 🙂
The pillows are such eye catchers! Love them! Great job!
I love these pillows. They turned out fabulous. I have so many pillows that I want to make. I guess I better get busy.
Linked you to my blog about the Stars and Stripes Party!
http://www.twoby2.wordpress.com
Great idea! Visiting from Blog Frog and your post about your new DIY blog!
http://www.twoby2.wordpress.com
I believe that stitch is called a blanket stitch. And I LOVE my black lab pillow!!!